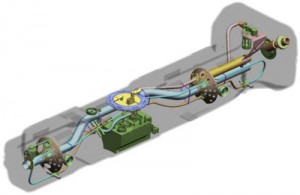
 The BMW N54 fuel pump recall a few years ago brought to light the importance of the integrity of the fuel system and how it can contribute to the overall reliability of a vehicle. While BMW never officially stated what was causing the high-pressure fuel pumps to fail, some put the blame on low-quality fuel that might have been contaminated or had higher-than-normal levels of ethanol.
These fuel quality issues apply to all BMW vehicles with either port or direct injection. The underlying message here is that if the cleanliness and overall integrity of the fuel tank is ignored, it will damage any fuel pump. This is why addressing the fuel tank is essential during any pump replacement to prevent costly comebacks that can also hurt your reputation.
If a vehicle gets 20 miles to the gallon, then more than 5,000 gallons of gas (from many stations) will go through the tank in 100,000 miles. And, during this time, sediment, rust and debris from the pump can find its way into the tank.
Removing all contaminants is critical. If possible, have the tank steam-cleaned at a radiator shop that performs these services. They can recondition a tank and check for leaks that you may not be able to spot. Your goal in cleaning the tank is to restore the environment inside the tank to its original state, before it moved off the assembly line.
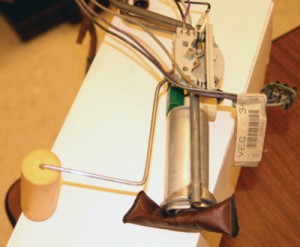
If you think the new sock or strainer on the fuel pump will catch all of the bad stuff, you’re wrong. The typical sock or strainer is designed to catch contaminants that are between 50-100 microns in diameter. For comparison’s sake, the size of a human hair is 40 microns. A typical inline fuel filter can catch particles as small as 10 microns. The sock also has a limited capacity due to its small surface area.
Always install a new filter. Sounds simple, but it’s often forgotten. The old filter can restrict flow and cause the new pump to work harder. This makes for a hotter-running pump that fails sooner.
Bad grounds and connections can also kill a new pump. Check the connector for any signs of thermal damage that may indicate there was a voltage drop or a circuit with high resistance. Do not assume the old pump caused the thermal damage. Bad grounds and circuits will stay with the vehicle and damage the new pump.

Bad grounds and connections can also kill a new pump. Check the connector for any signs of thermal damage that may indicate there was a voltage drop or a circuit with high resistance. Do not assume the old pump caused the thermal damage. Bad grounds and circuits will stay with the vehicle and damage the new pump.
Filter the fuel before you put it back in the tank. If a fuel pump went through a full meltdown, chances are pieces from the old pump are still in the removed fuel. Many fuel caddies have built-in filters.
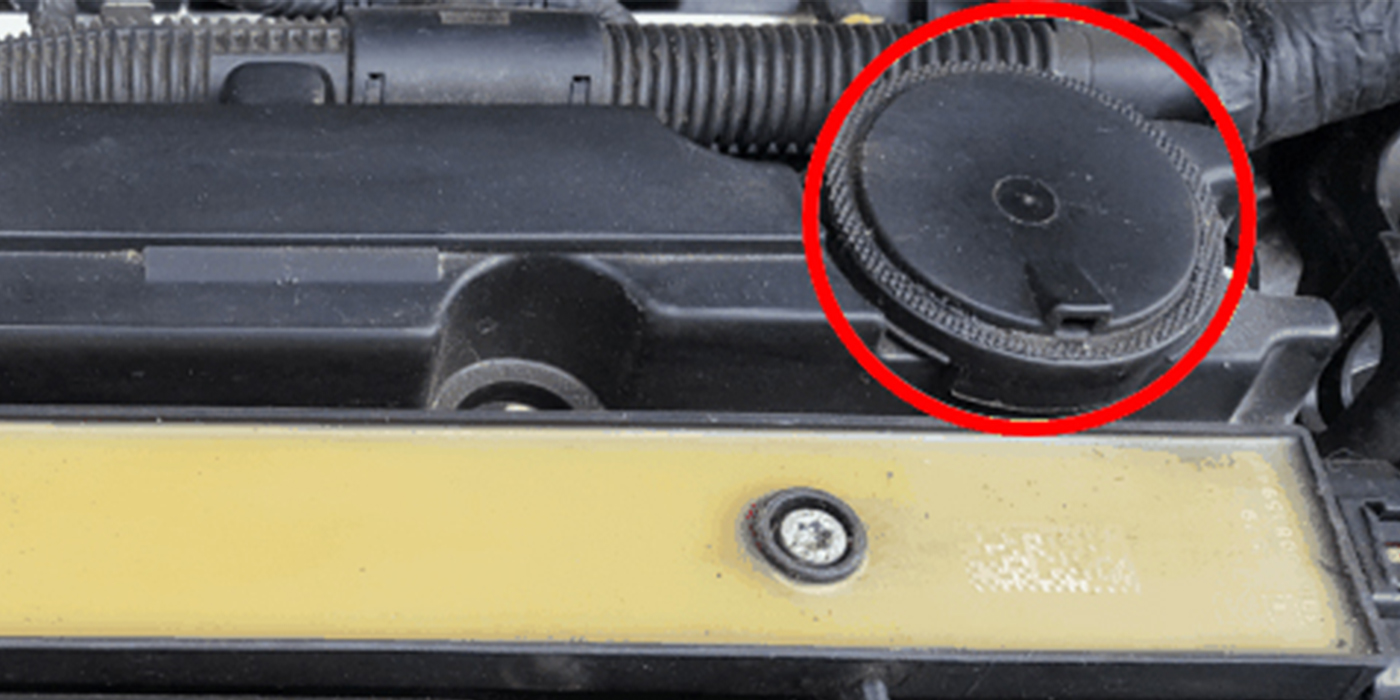
Check the EVAP system before returning the car to the customer. It takes at least one drive cycle for most vehicles to set an EVAP code. A leak due to disturbing the lines may not set a code during the initial test drive. The code may come on after the vehicle has been sitting for awhile or after a certain temperature has been reached.
Check the system with a scan tool and/or smoke machine before delivering the car to the customer. Some scan tools and vehicles can perform a self-leak check. Fuel filler necks are especially susceptible to leaks if the tank has been dropped.
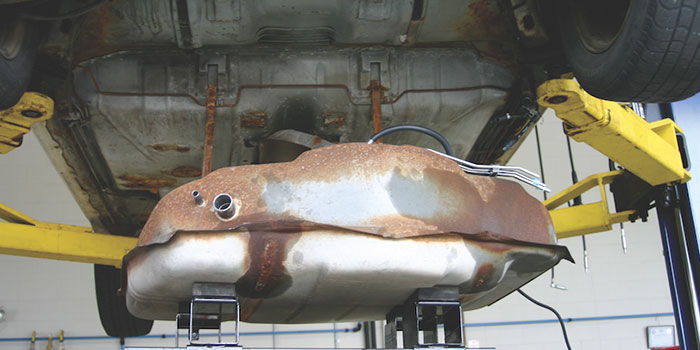
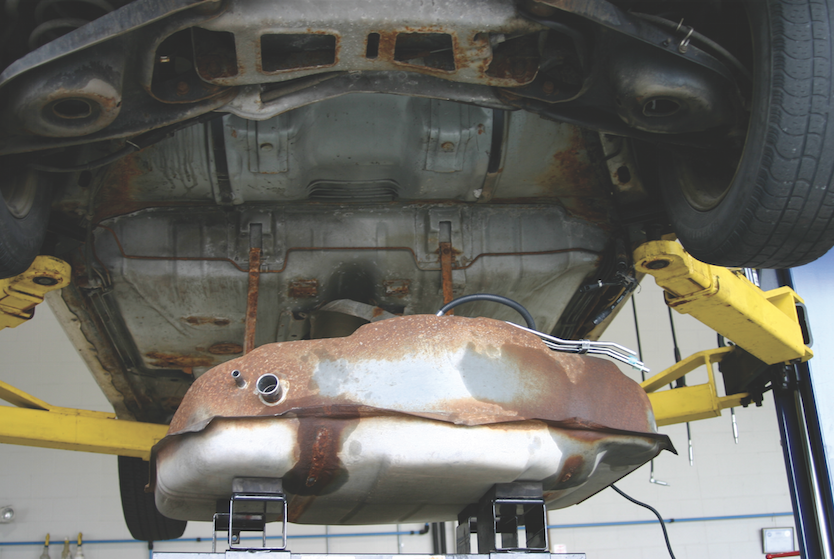
In the Rust Belt states, corrosion on the top of the tanks and on the fuel lines can become a big headache during fuel pump replacement. This comes from brines that are used on roads to prevent icing. Brines stick to vehicles — even the tops of fuel tanks — long after the snow storms have passed and even into summer. Then, every time it rains, the brines are reactivated and start to corrode the tank.
Be sure to check the straps and the tank mounting hardware. In 2010, one automaker recalled 1.2 million trucks due to corrosion of the straps that held up the gas tank.
Note: It’s a good practice to inspect the fuel lines for corrosion before starting the job. Nothing is worse than having to call the customer because a line collapsed due to corrosion during removal or installation.
Fuel Tank Cleaning Procedures

Fuel Tank Cleaning Procedures
1. Once the tank has been removed, drain all fuel from the tank. Use only an approved container or a fuel caddy to filter and store the fuel.
2. Clean accumulated road debris or rust from the top of the fuel tank, especially around the module or hanger assembly to avoid contaminating the fuel tank.
3. Remove the lock ring.
4. Remove the module or hanger assembly.
5. Clean and flush the tank with water before installing the new module or hanger assembly.
6. Swirl the fuel tank around in a circular motion to collect any debris remaining in the fuel tank.
7. Slowly and carefully poor the fuel out of the tank into the approved container or fuel caddy.
8. Turn the fuel tank over, then tap the bottom to remove any debris.
9. If a tank can be cleaned, it’s important to use high-pressure soap and water to remove the dirt. Late-model fuel tanks are difficult to clean because of their internal baffling. The tank should then be thoroughly dried by circulating air through the tank or by simply placing it in the summer sun. In many cases, a fuel tank replacement is the most cost-effective and safest alternative.
10. If possible, take a lint-free shop towel and wipe the inside of the fuel tank until it is clean.
11. Dry out the fuel tank completely with compressed air.
12. Inspect the fuel tank carefully. If the tank is rusted inside or shows signs of physical damage, it must be repaired or replaced.
13. After the tank has been dried with compressed air, let it sit for 30 minutes.
Courtesy of the Fuel Pump Manufacturers Council.