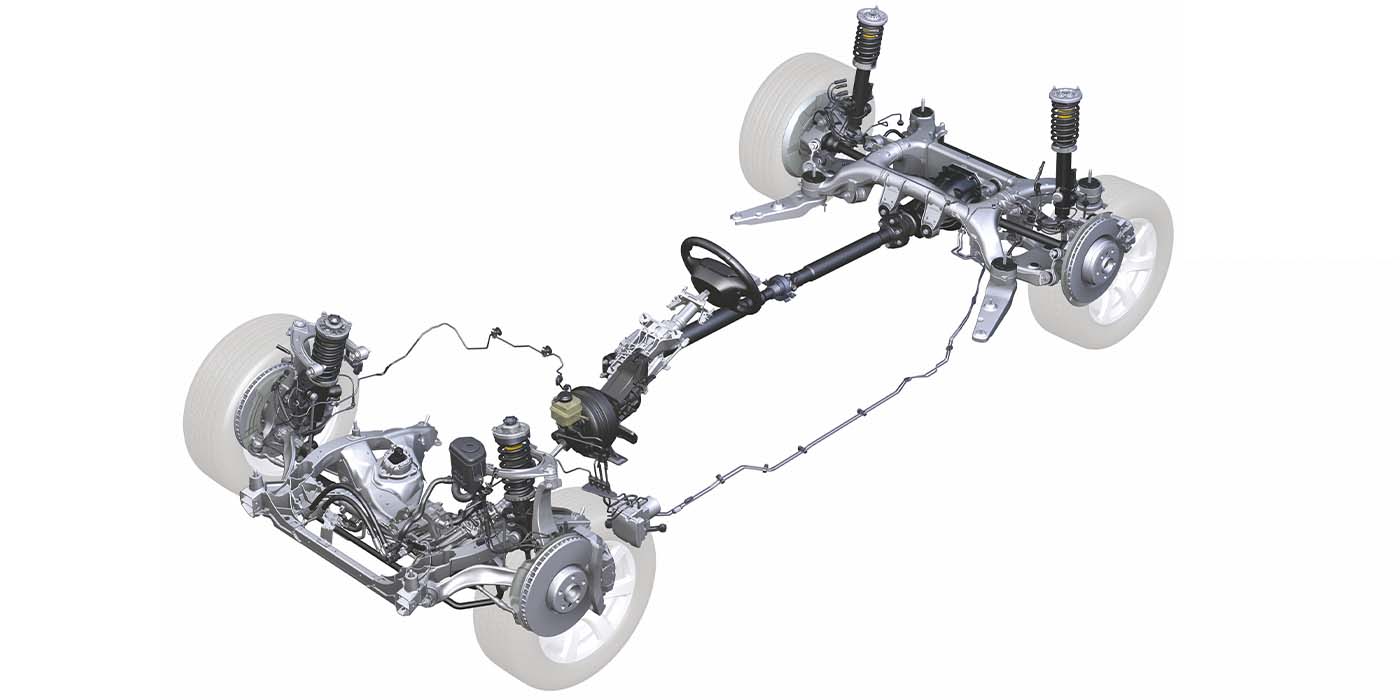
Under normal operating conditions, CV joints and boots are engineered to last upward of 150,000 miles. Some go the distance, but a lot reach the end of the road far short of their design life.
CV joint shafts are typically being replaced at anywhere from 70,000 to 130,000 miles.
What’s more, some makes and models are notorious for eating shafts, sometimes because of the relatively thin case hardening used in CV joints.
Outer CV joints are usually the ones that most often need to be replaced for two reasons. One is that the outer CV joints wear more than the inner CV joints because of the steering angles they experience. The other is that the boots on the outer joints are more apt to fail than the ones on the inner joints.
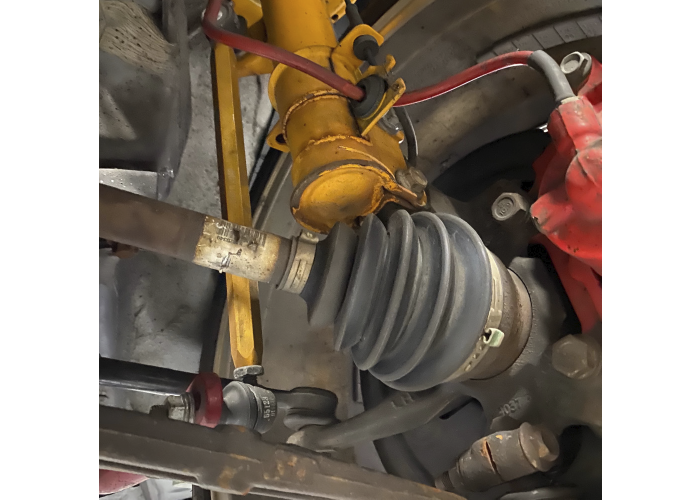
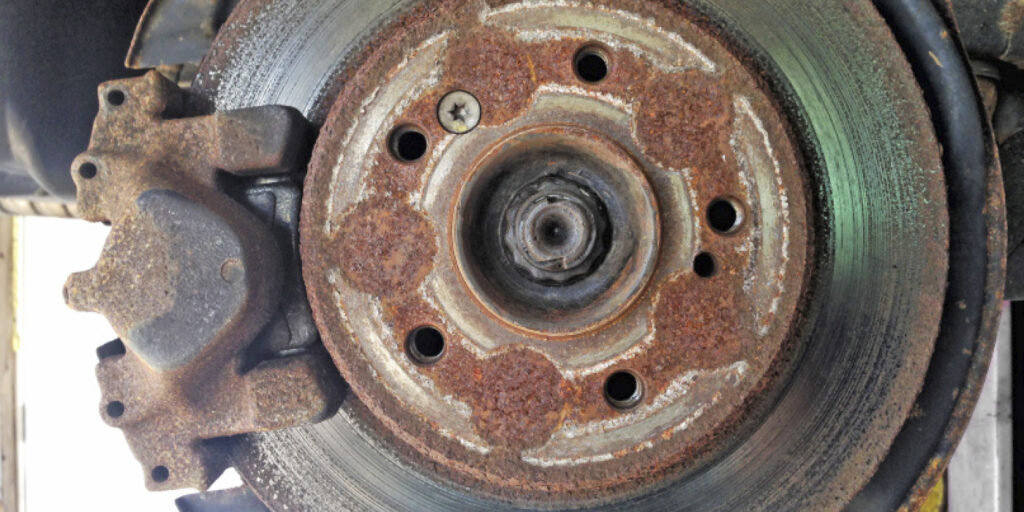
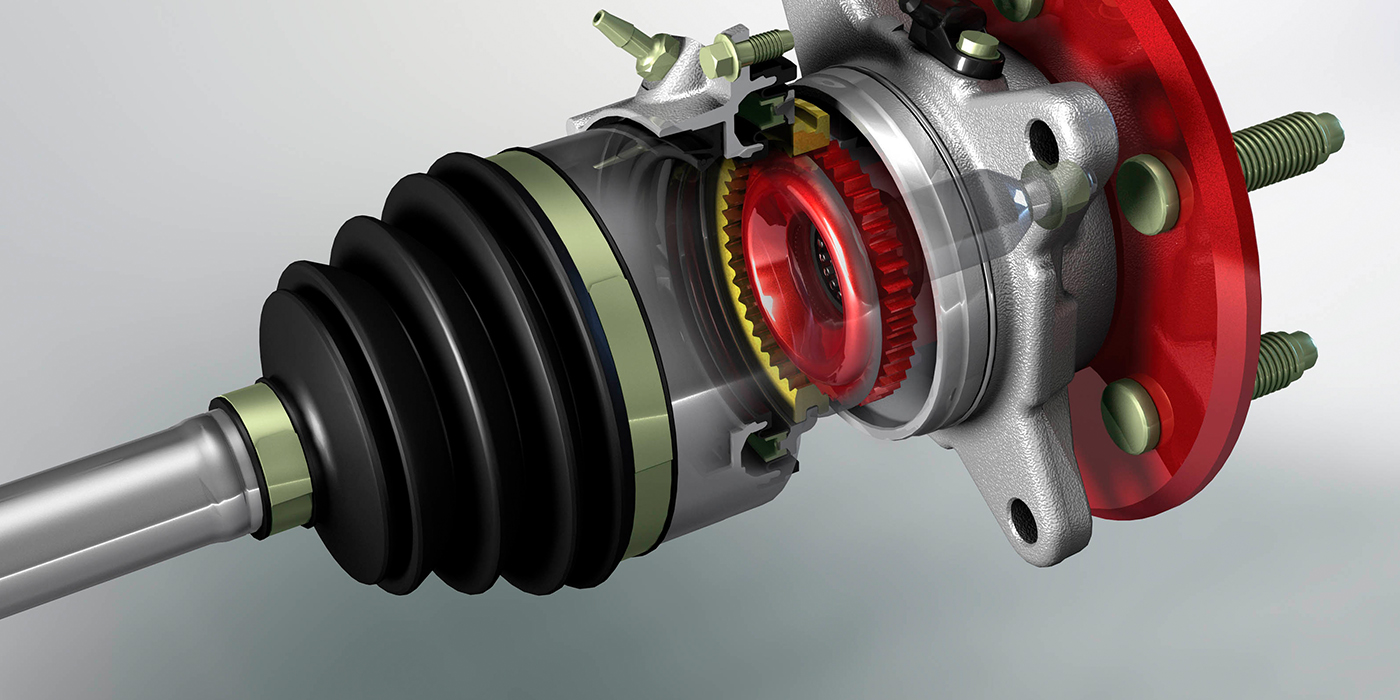
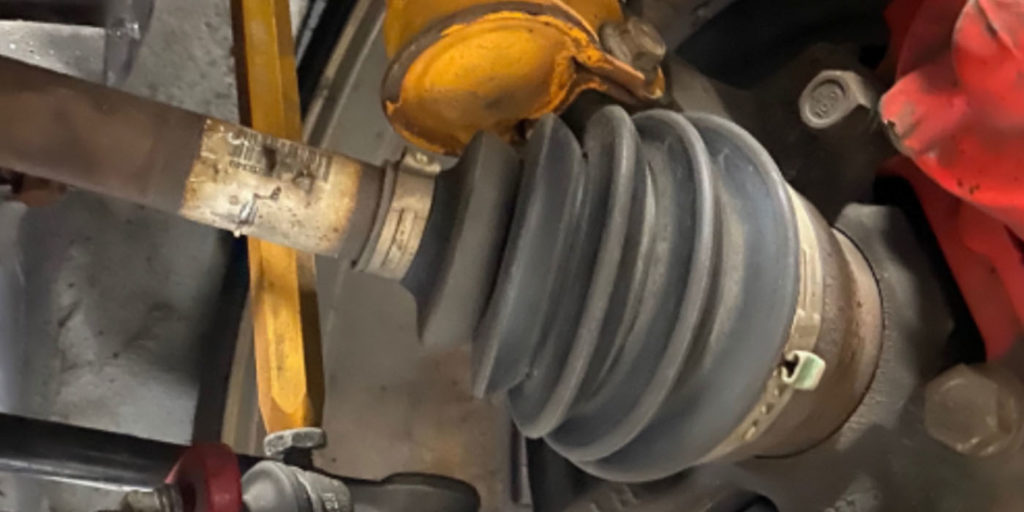
As long as a CV joint remains sealed inside its protective environment, it will do its job until it wears out. But real-world driving creates conditions that can cause bad things to happen to good boots. Age, heat, cold and road hazards can all conspire to breech the protective barrier provided by the boot around the joint. And once the seal is breached, trouble quickly follows. This is why you should always take the time to visually inspect the boots around both the inner and outer CV joints any time you are under a vehicle doing other maintenance or repairs.
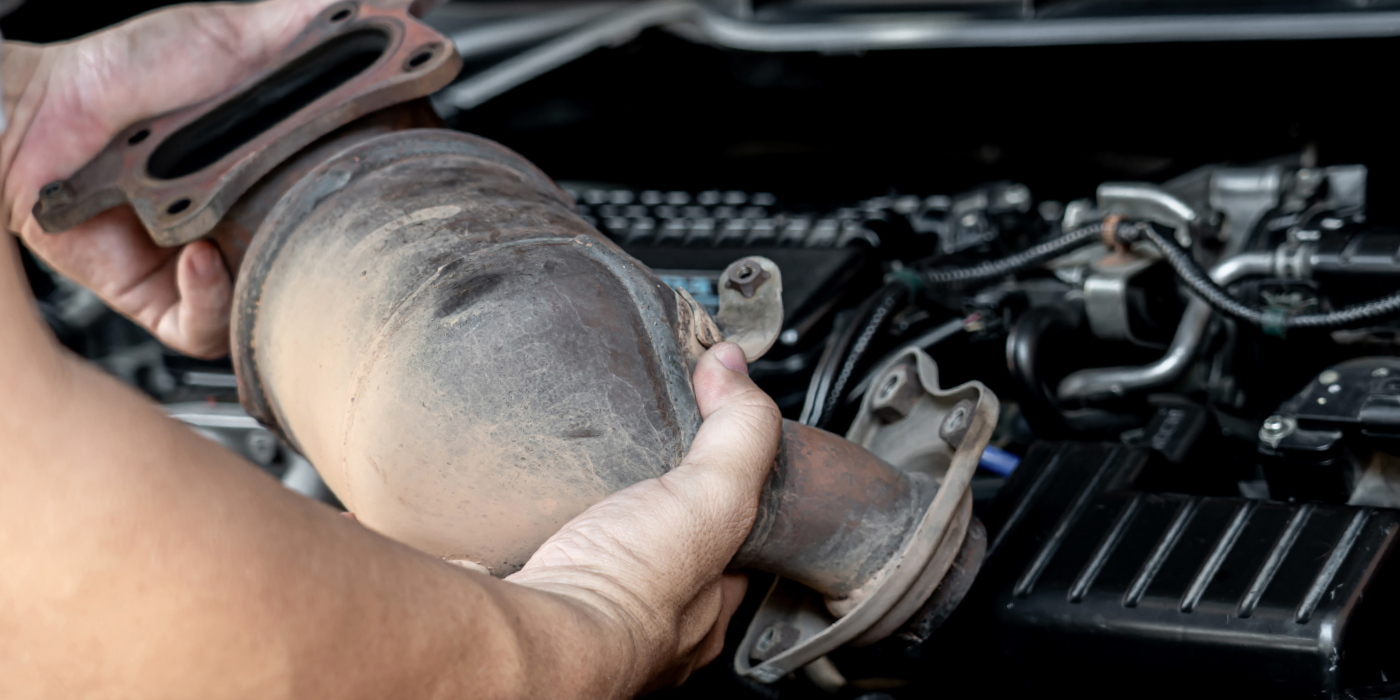
“Check the CV joint boots” should be a line item check off on every job ticket for every oil change, every brake job, every alignment job, every steering and suspension repair, and every exhaust repair. Seek and ye shall find. Then make your customer aware of the needed repairs and chances are you’ll usually make the sale.
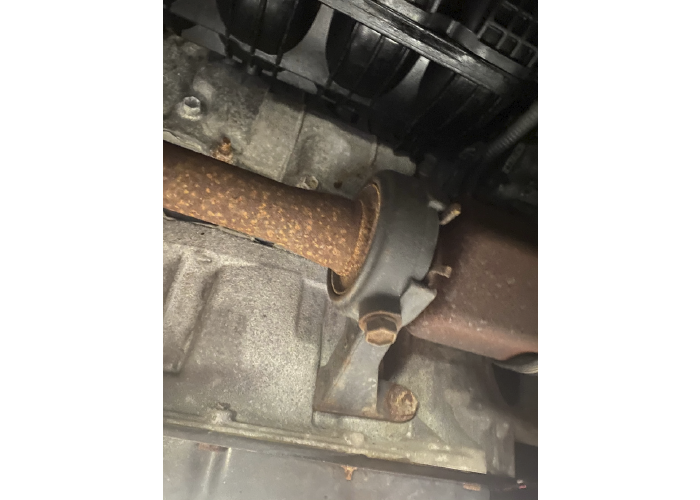
A boot failure is bad news for any CV joint because it dooms the joint to premature failure. A split, cracked, loose or torn boot will throw grease, draining the joint of its vital supply of lubricant. Sooner or later, the joint will run dry, which is not a good thing for metal-to-metal surfaces that must withstand high-pressure loads and constant friction.
A boot that doesn’t seal can also allow outside contaminants such as road splash and dirt to enter the joint and wreak havoc on its precision-machined and polished surfaces. If the boot problem isn’t discovered almost immediately, joint failure will usually follow within a few thousand miles.
FINDING FAULT
BAD BOOTS
If you’re lucky and catch a bad boot before any contamination or damage to the CV joint has occurred, you may be able to save the joint. The first thing you need to do is to check the grease inside for contamination. If it feels gritty, the CV joint will have to be cleaned and inspected before the boot is replaced. If the CV joint has lost its grease and is making noise, you’re too late. The CV joint will have to be replaced.
Here are a number of tips designed to make CV service more efficient and successful.
Tip #1 Prior to installation, make sure to physically match the replacement unit with the original unit. Sometimes replacement units may not appear the same as the original unit but will function properly. Pay close attention to:
A. Overall compressed length
B. Inner and outer joint stub length and spline count
C. Inner and outer seal diameters
Tip #2 Certain vehicles (Ford and Subaru) require special tools for removal and installation of the outer joint in the wheel hub.
Tip #3 Check the transmission fluid for discoloration, a burnt smell or contamination. Also carefully examine the transaxle seal. Replace the fluid and seal if necessary.
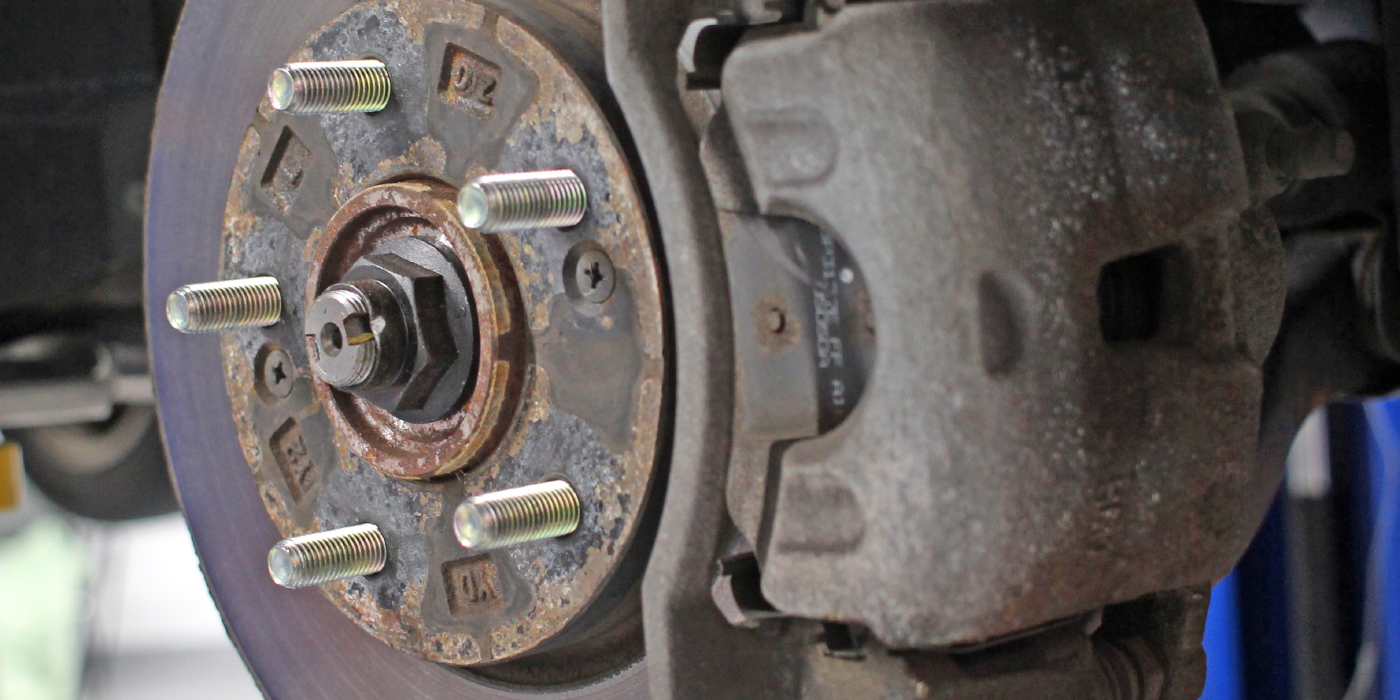
Tip #4 Axles with ABS applications MUST be handled with extreme caution. There is a sensor ring around the outer joint that will cause the ABS system to malfunction if damaged.
Tip #5 Any axle with a circlip on the inner spline should be carefully inspected to ensure no metal pieces or fragments remain in the differential.
Tip #6 If the inner joint of an axle was pulled apart, has a ripped or stretched boot, check the condition of the motor mount, all suspension parts, carriage/motor/ transmission alignment and unibody or frame damage.
Tip #7 After installing a circlip type axle into the transmission, check to ensure the axle is properly seated in the transmission by pulling gently on the inboard housing.
Tip #8 When installing all CV axles, DO NOT let them hang from the differential/transaxle at any time during installation. The added stress can damage the inboard joint, causing the axle to not function properly.
- Note: Most Chrysler applications have a spring loaded inboard joint instead of the snap-ring style to lock into the transmission. Hanging the axle on these applications will cause the inboard joint to come apart inside transmission housing, resulting in axle failure.
- This also applies to Audi, VW and Toyota applications with cross groove style inboard joints that will fall apart if hung from the differential/transaxle.
Tip #9 Always torque the spindle nut to the proper OE specifications. CAUTION: Do not use power tools to torque the spindle nut! You can damage the threads as well as the outer cv joint and will void the warranty!
These service tips are courtesy of TrakMotive.