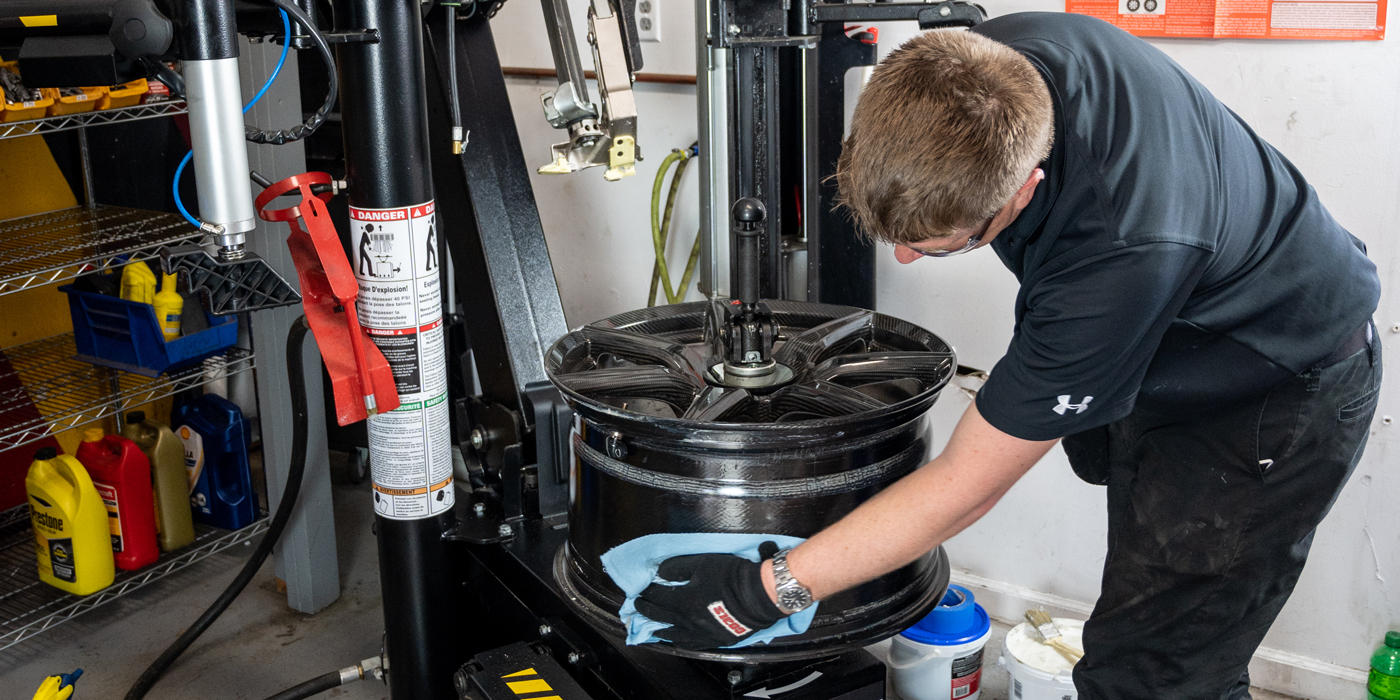
The job is all about the details
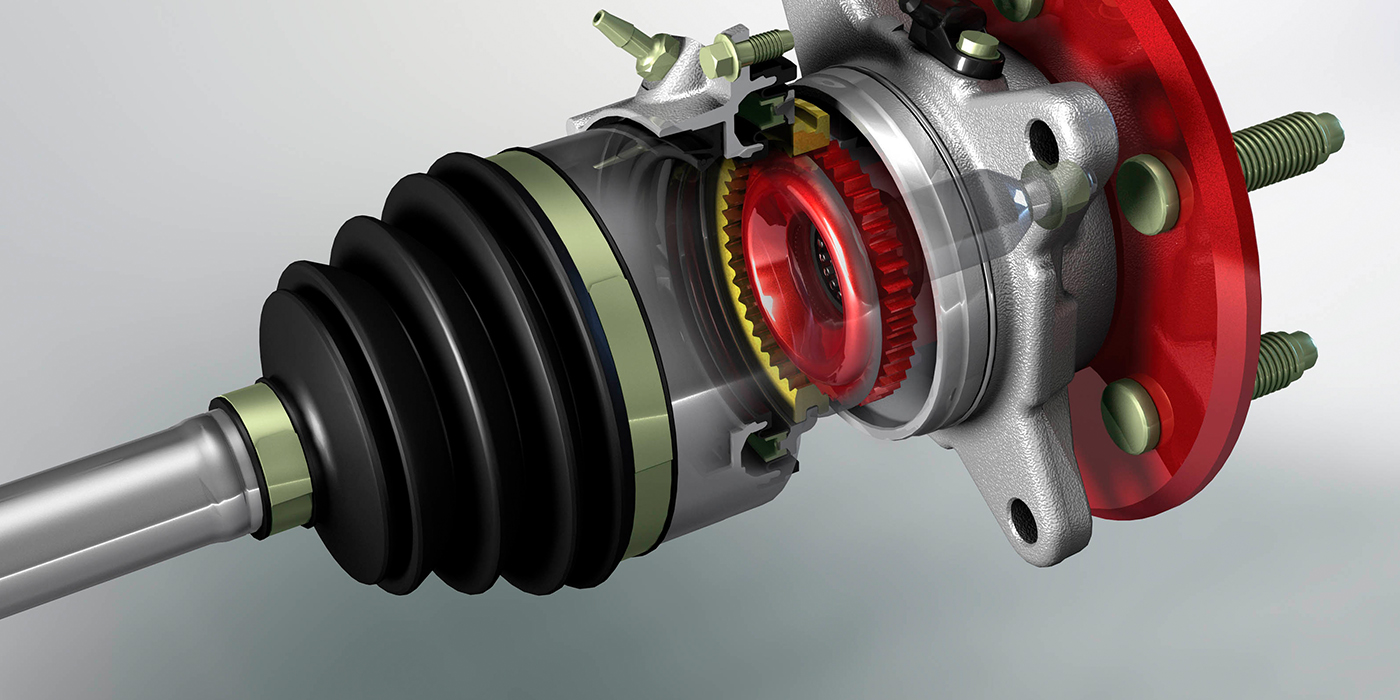
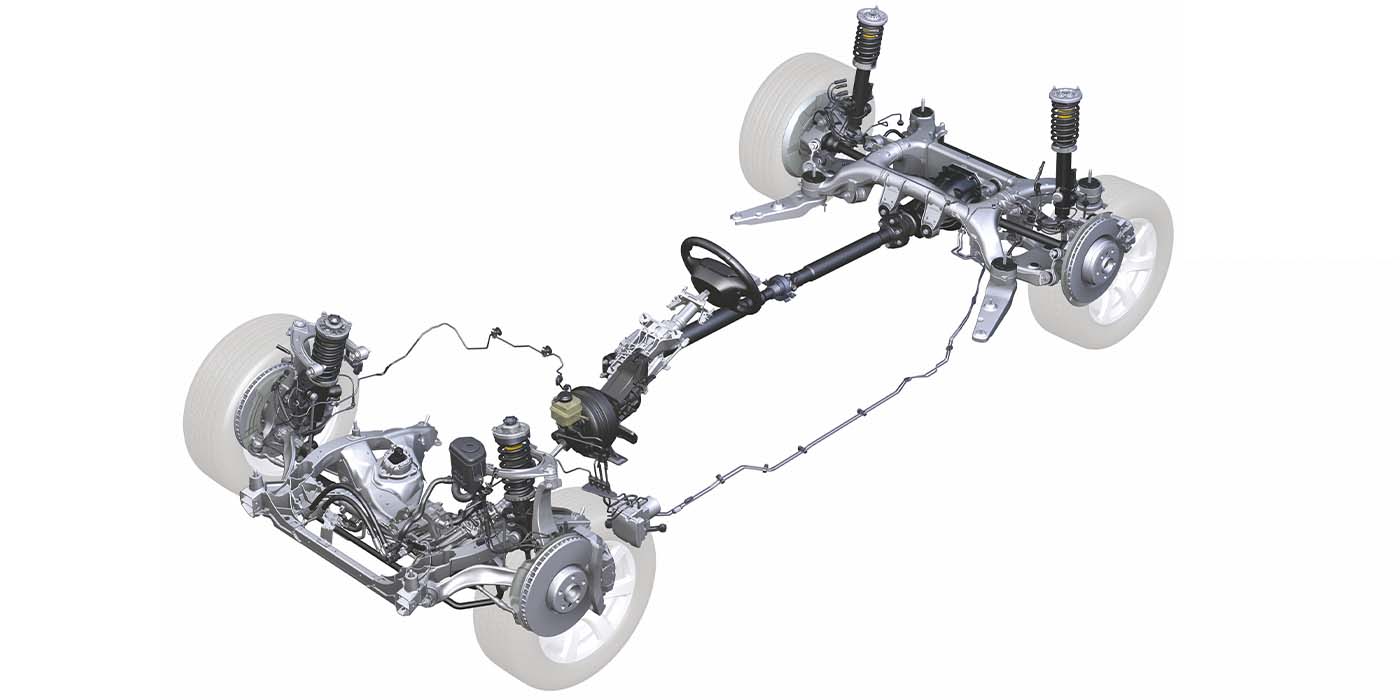
Although some rear-wheel drive (RWD) and all-wheel drive (AWD) vehicles also use CV joints, most are found on FWD cars and minivans. CV joints are used instead of U-joints because they allow the joint to bend at a wider angle without inducing driveline vibrations. When a U-joint operates at an angle of more than a few degrees, it causes the speed of the shaft to vary.
The larger the angle, the greater the cyclic vibrations. Depending on the application, CV joints can handle joint angles of up to 47 to 54 degrees with no such vibrations. Various types of CV joints are used, but most outer joints are a Rzeppa design with six balls that ride in races between the inner and outer joint housing. As the joint bends, the balls always bisect the joint angle, rotating in a plane that is half the joint angle.
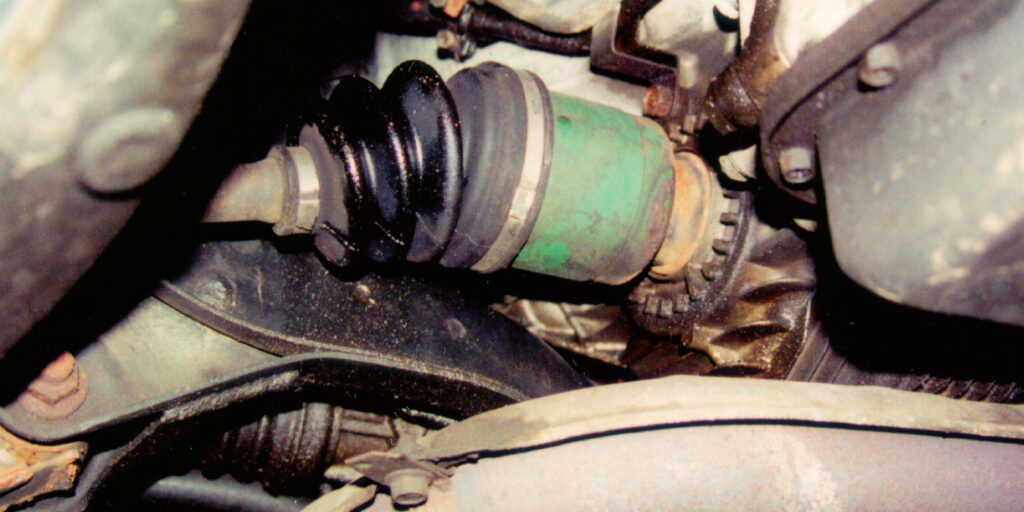
A steel cage holds the balls in position. Over time, the windows in the cage can become worn allowing the balls to rattle and pop when the vehicle is steered to the left or right. This produces a clicking or popping noise that is a classic symptom of a worn CV joint. Wear or damage in the ball grooves or on the polished balls can also produce noise and play in the joint. CV joints are lubricated with special high-temperature CV joint grease, similar to wheel bearing grease.
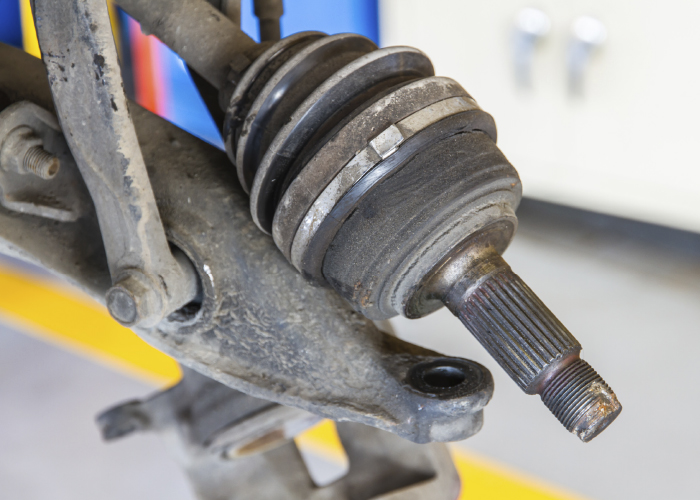
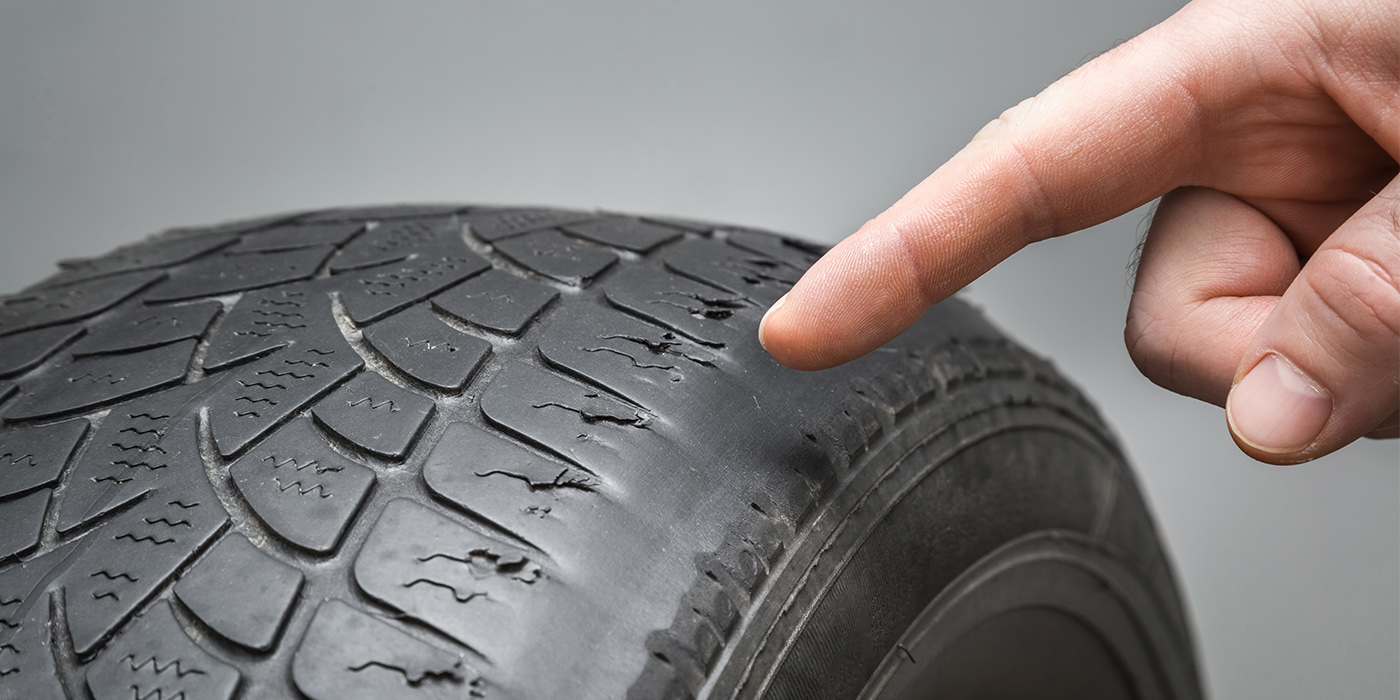
The joints can last a long time, providing the protective rubber or plastic boot that surrounds the joint remains intact and doesn’t leak. The No. 1 cause of premature CV joint failure is usually a torn, cracked or leaking boot. Even a small pinhole or hairline crack will allow grease to be lost from the joint due to the centrifugal force generated by the rotating joint. Loose, broken or missing boot clamps also can allow the boot to leak. Dirt and water also can enter a leaky boot and cause wear and corrosion.
By the time the leaky boot is discovered, many CV joints are badly contaminated or worn and need to be replaced. CV joints and boots can be replaced individually, but most professional technicians and even do-it-yourselfers prefer to replace the whole halfshaft assembly with a remanufactured shaft. Reman shafts are preassembled and ready to install. Some shafts have new CV joints, while others have reground joints with oversized balls.

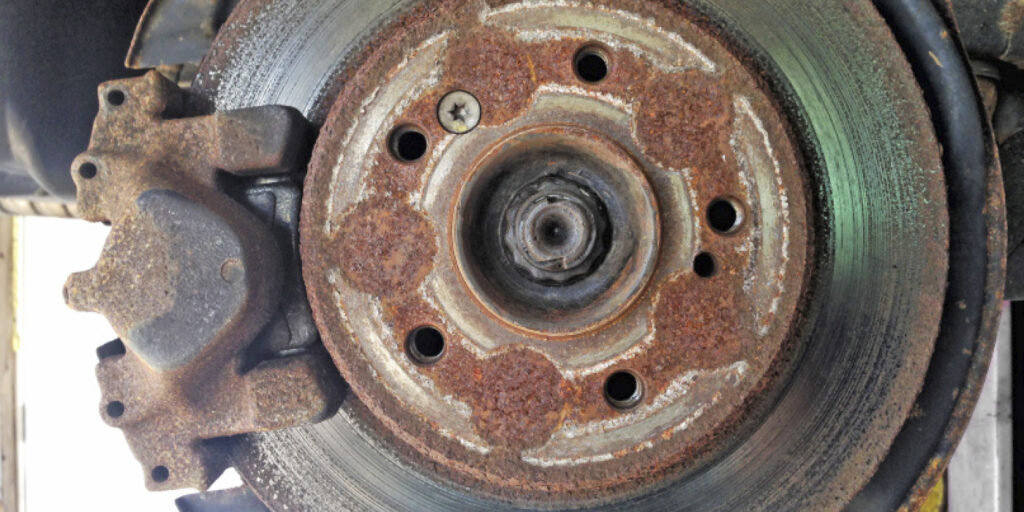
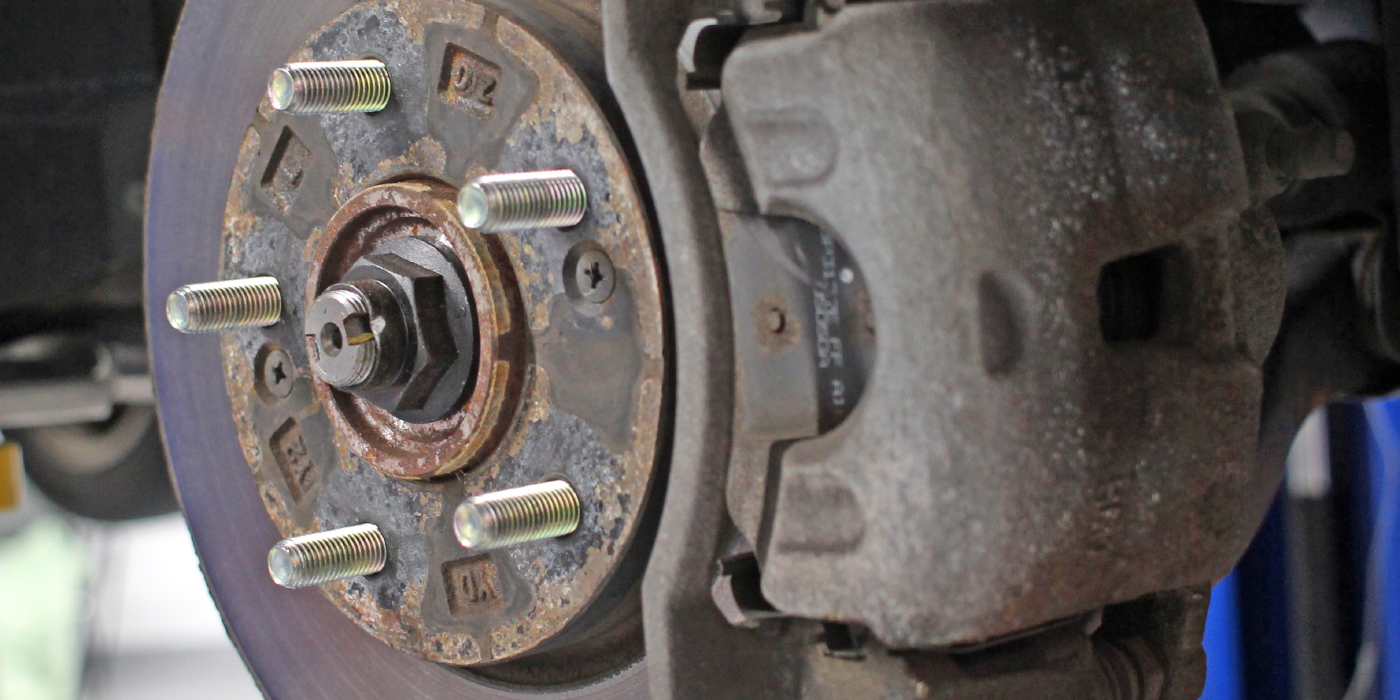
Either way, a reman shaft is a much faster, easier and less messy way of replacing a bad boot or CV joint. There’s also less chance for installer error and comebacks with a preassembled shaft. On a high-mileage vehicle with a bad CV joint or boot, it’s often a good idea to replace both shafts at the same time. Often, the right (passenger side) shaft fails first because right turns are at a sharper angle than left turns, and right turns are more common than left turns. Consequently, the right outer CV joint and boot are the first to go. Special tools that may be needed to replace a shaft include a hub puller to separate the outer CV joint from the steering knuckle and wheel bearing, and/or a hydraulic press for older Asian vehicle applications with press-fit wheel bearings.
Seals
One mistake made by technicians when installing a new axle or driveshaft is not addressing the seals in the transmission, differential or transfer case.
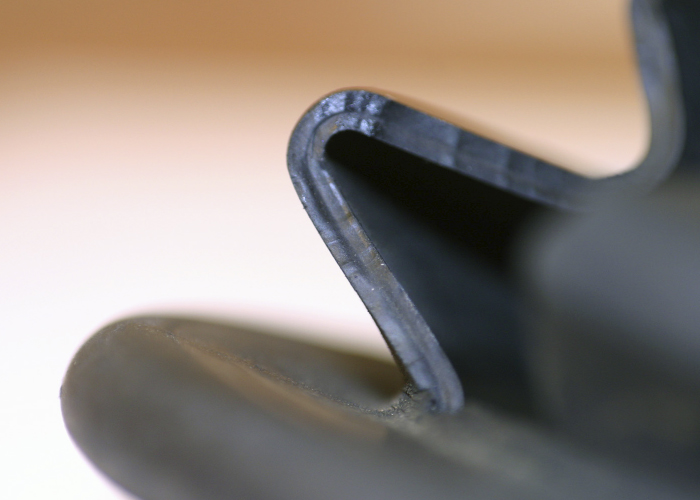
Most seals ride on a shaft and typically have a lip and a spring that hold the lip to the axle. When a seal is installed, take your time installing the axle. Splines can damage the seal and cause leaks.
The area on the shaft where the seal and bearings make contact is the most important. It must be free of any rust and imperfections. Use only a fine-grade emery paper to clean the axle shaft between the flange and the worn area.
If the surface is grooved or damaged, the axle can be repaired with a sleeve on some applications. If not, the axle should be replaced. Make sure the seal is installed in the correct position.
Breathers
Make sure the breathers are not clogged. The breather acts as a PCV valve to keep pressures within a certain range so the seals can work their best as the differential heats and cools. If a breather is clogged, the temperature will increase pressure in the axle. As the transmission cools, negative pressure could build up behind the seal. These changes in pressure will cause the lips of the seals to deform and leak.
It is important to note that any leak on an axle should be taken seriously. Ignoring a leak can be very expensive as it can destroy the bearings, brakes and differential.