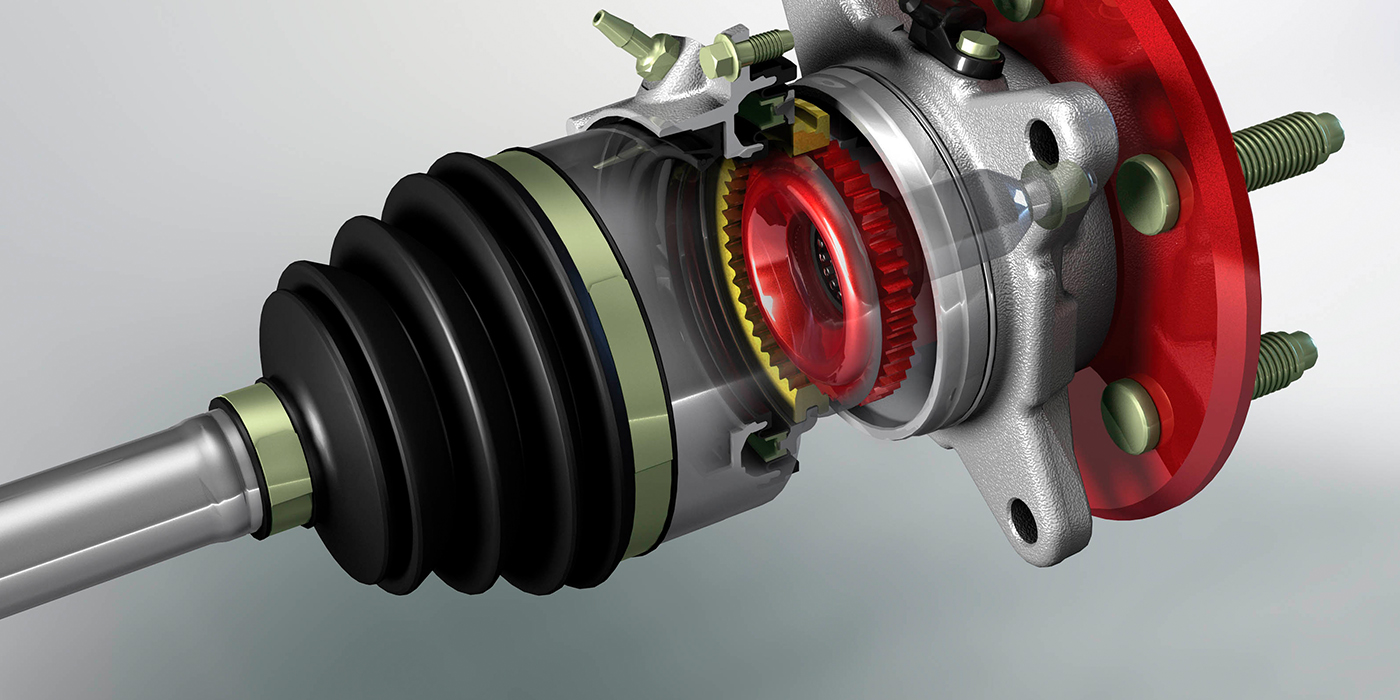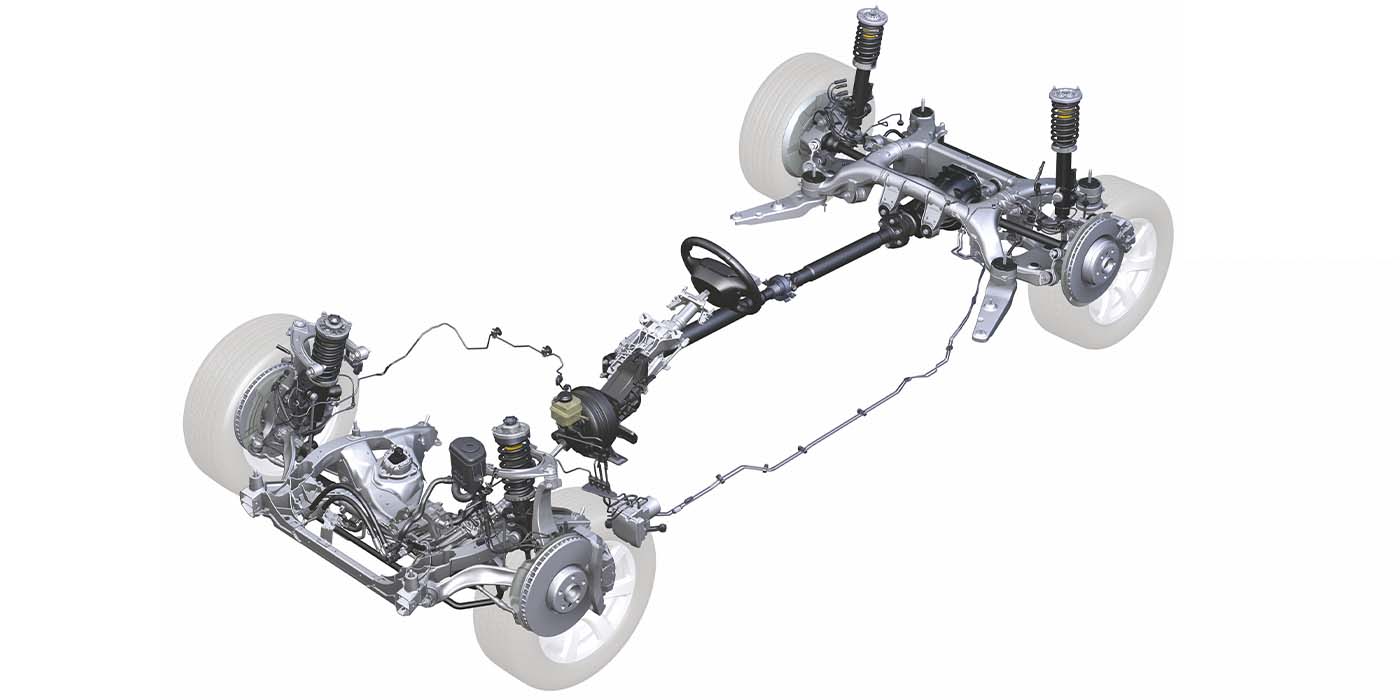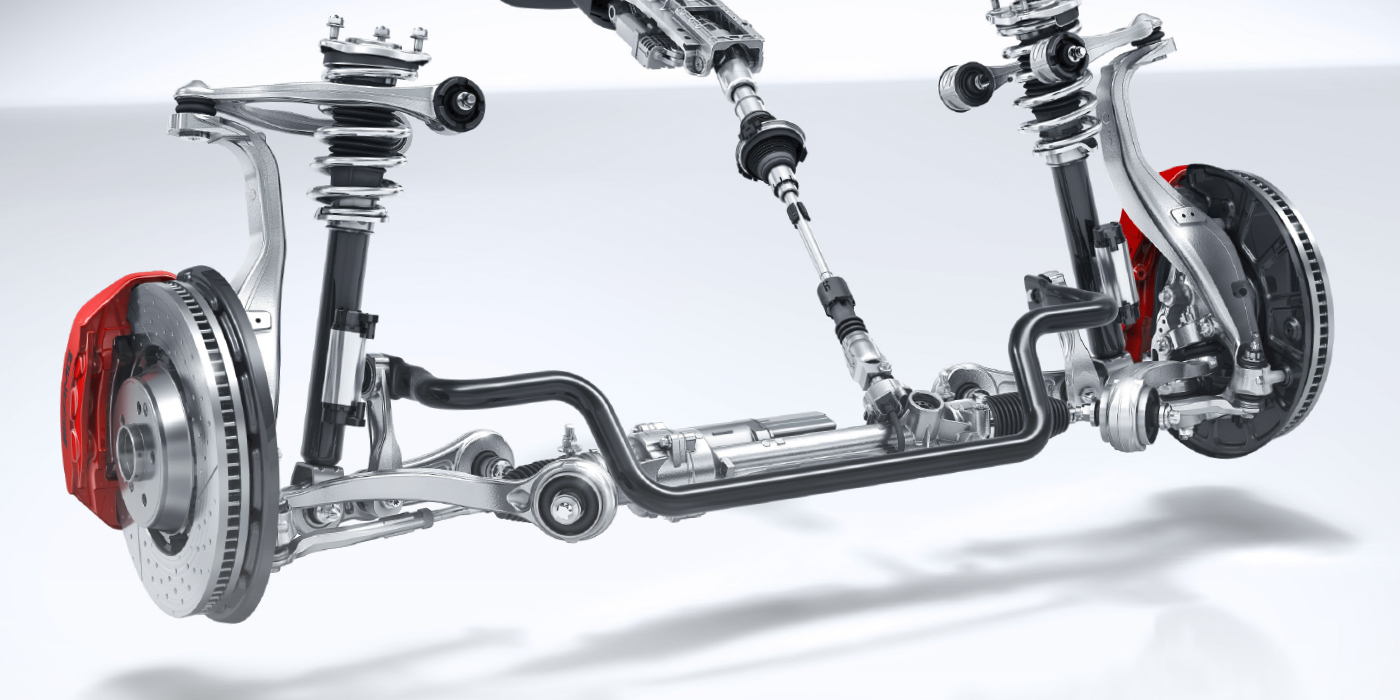
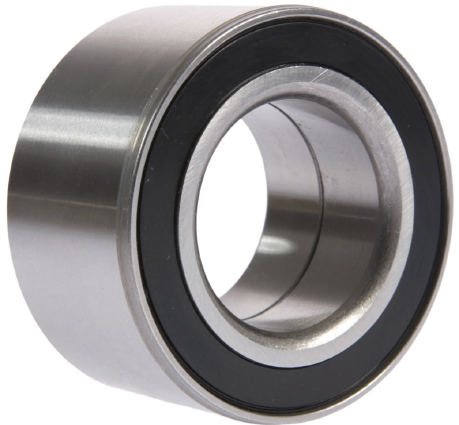
The most challenging wheel bearing to replace is a cartridge or press-fit, otherwise known as a gen 1 wheel bearing. No matter what you call them, gen 1 wheel bearings can be found on domestic and import nameplate vehicles.
A gen 1 bearing uses an interference fit to hold the bearing in the bore. The difference in the bore and the bearing diameters is typically less than 0.001”. Inserting or removing the bearing into the knuckle requires considerable force due to this tight tolerance.
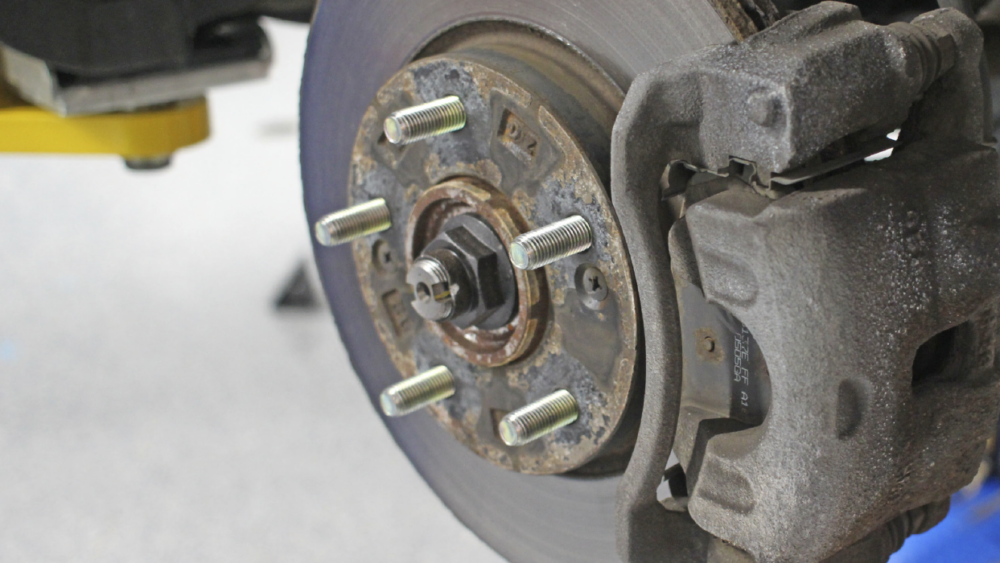
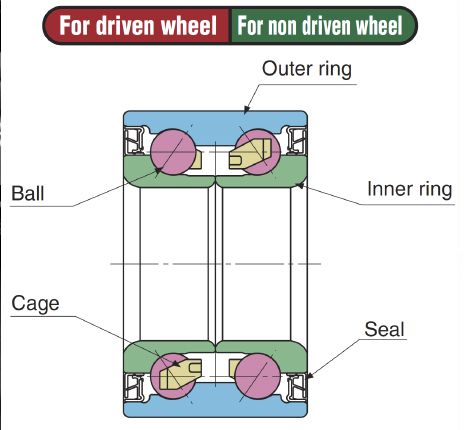
Gen 1 wheel bearings have the same failure symptoms as hub units and bearing sets. Noise and play are the primary signs of failure. But, ABS codes for wheel speed sensors are a common sign the bearing has failed. This is because the encoder ring is embedded in the seal.
When the bearing has been damaged and has play, the seal that is also an encoder ring can be damaged. The seal can be dislodged from its grooves in the inner and outer races. This can allow the grease to leak out and cause wear to the bearing. When the seal is damaged or dislodged, it changes the air gap between itself and the sensor and causes wheel speed sensor codes for erratic or loss of signal.
REMOVAL
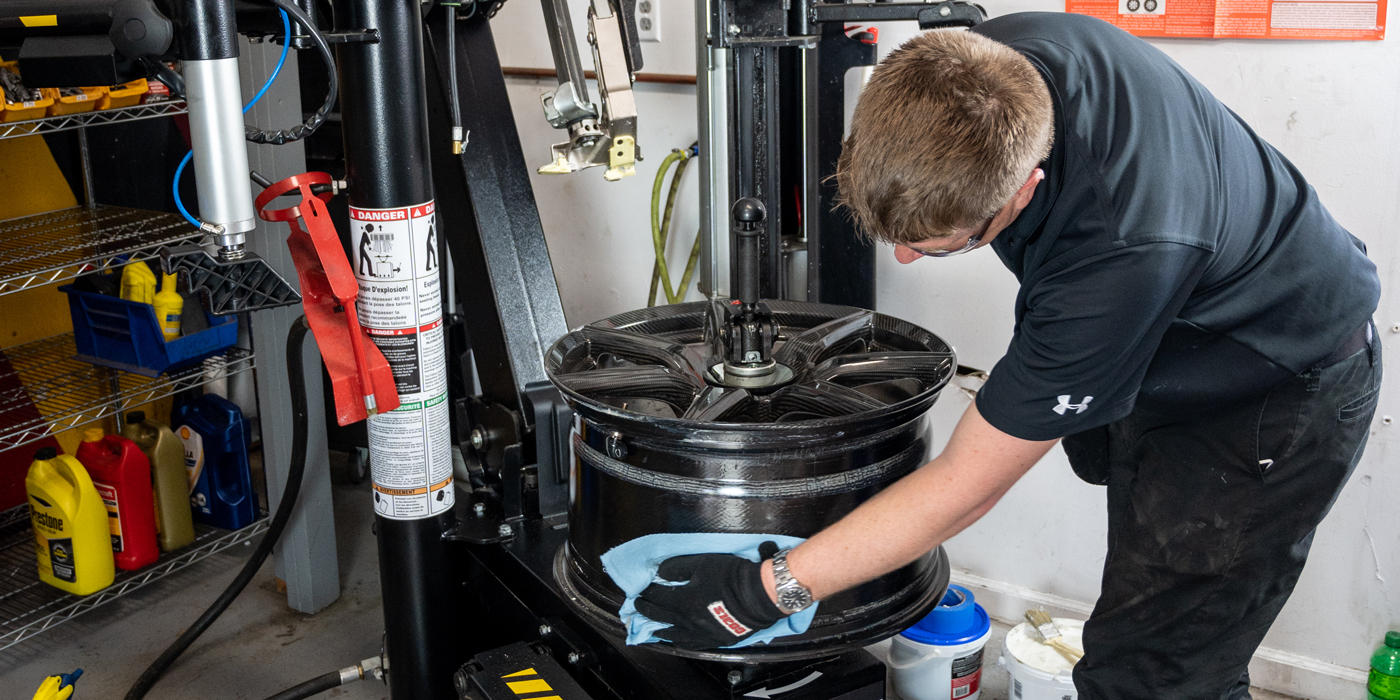
Removing a gen 1 or cartridge-style wheel bearing is not an easy task. Pressing the bearing requires significant disassembly and force with an on-the-vehicle bearing puller or hydraulic press.
A hydraulic press or bearing puller both have advantages and disadvantages. A hydraulic press requires that the knuckle is removed from the vehicle. This can increase the amount of labor and even require an alignment after the wheel bearing is replaced. With a puller, the knuckle can stay on the vehicle. But, on some knuckles, it can be impossible to find a suitable adapter to mate with the surfaces of the knuckle. Use your best judgment and the service information.
There are several methods to remove the inner race from the flange. A puller can do the least damage if you can get the fingers behind the race. Other methods involve a chisel or even a cut-off wheel. The most important rule is not to damage the surfaces of the flange that contact the inner race.
INSPECTION
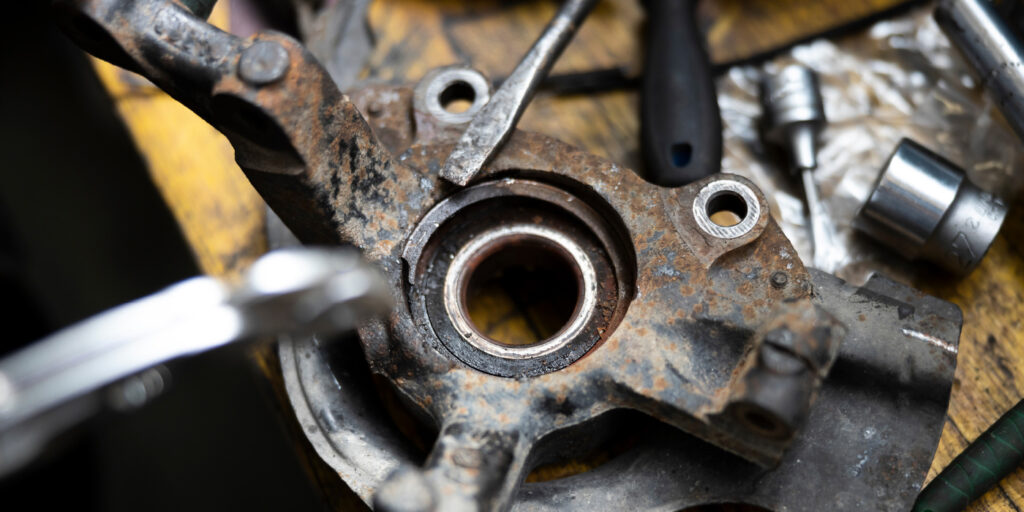
Once the old bearing has been removed, take the time to clean and inspect the bore and the surfaces of the CV joint and flange that make contact with the inner races of the bearing. Any debris or imperfections can prevent the bearing from seating properly and prevent the pre-load from being accurate.
Check the bore for roundness using a snap bore gauge. The gauge should rotate in the bore with light resistance. While it is rare the bore could be distorted or the knuckle could be cracked, it can happen. Any distortion in the bore can cause a new bearing to fail prematurely.
Inspect the flange for any damage or extreme corrosion. Replacement flanges are available. A new flange can also help to correct some lateral runout issues.
INSTALLATION
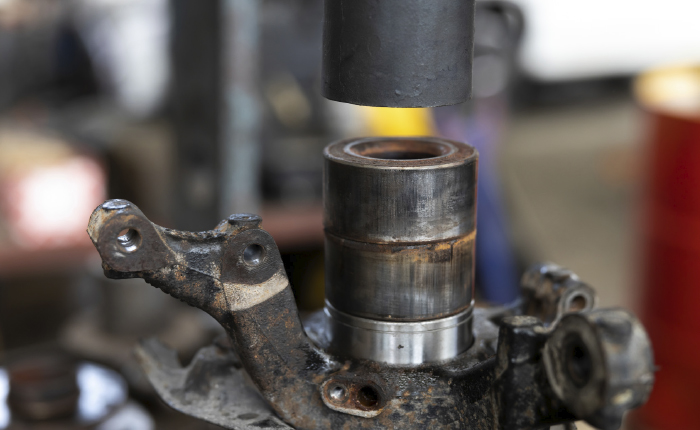
When pressing in the new bearing, ensure the tools or adapter do not contact any of the seals. You should press only on the inner or outer race of the bearing. If the adapter comes in contact with the seals, the bearing should not be used.
Make sure the seal with the encoder ring faces inward to point at the wheel speed sensor. You can detect the encoder ring using a paper clip that will be attracted to magnets. Remember, you only get one chance to get it right.
You can use a light coating of oil on the bearing and in the bore to make installation easier. When pressing the bearing into the bore, make sure it is not cocked or misaligned. If you have to apply a lot of force, stop and check your setup.
Pressing the flange into the inner race can be nerve-racking. First, it needs to go in straight without damaging the seal. Second, it is difficult to determine how far the flange needs to be pressed into the inner race. A top tip is to measure the distance between the flange and knuckle before disassembly. For most vehicles, tightening the axle nut will set the final depth of the flange.
There are many homemade hot or cold procedures for installing the bearing or flange. Some involve sticking the flange or bearing in the freezer. Other remedies involve dry ice or liquid nitrogen, which can cause frostbite. Some techniques involve heating the knuckle.
Do freezing techniques work? In theory, it can make the bearing or flange easier to install. But, in practice, the time and effort to freeze a flange or bearing can exceed the effort required to install the bearing using the correct tools.