Affected Models:
Tucson (2010-); Santa Fe (2010-12); Sonata (2011-); Elantra (2013-); Accent (2012-); Azera (2012- ); and Veloster (2013-).
Condition:
An improperly adjusted or improperly operating inhibitor switch (range switch) may result in a vehicle that will not start or crank on an intermittent basis. In addition, the following codes may be present.
P0705: Range switch sensor circuit;
P0707: Range switch – open circuit;
P0706: Range switch range/performance; and
P0708: Range switch – short circuit or multiple inputs
Service Procedure:
1. Turn the ignition key to the ON position or push the Start/Stop Button two times.
2. Using the factory or enhanced scan tool, check for the DTCs listed above. Record the DTCs and description, then delete the DTCs.
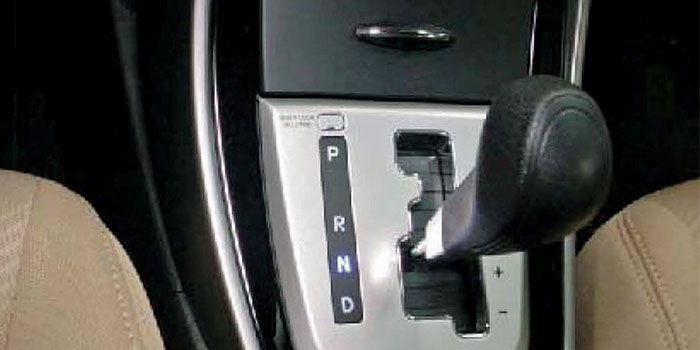
3. Select the live data parameter for the “Shift Lever Switch.” Move the shift lever through all gears and monitor the sensor data on the scan tool (see Photo 1).
4. If the Shift Lever Switch:
• Shows the correct shift lever position, the wiring currently has no open/short circuits. Go to Step 6.
• Does not show the correct shift lever position, go to Step 5.
5. Visually check the wiring harness between the PCM and inhibitor switch for a damaged wire or open circuit/short circuit to ground. Check for a damaged pin or pin that’s not fully inserted into the connector.
• If damage exists, repair or replace the control wiring and test-drive the vehicle to confirm the repair.
• If no damage or open/short circuit is found, go to Step 6.
6. Place the shift lever to the “N” position. Turn the ignition switch to the OFF position.
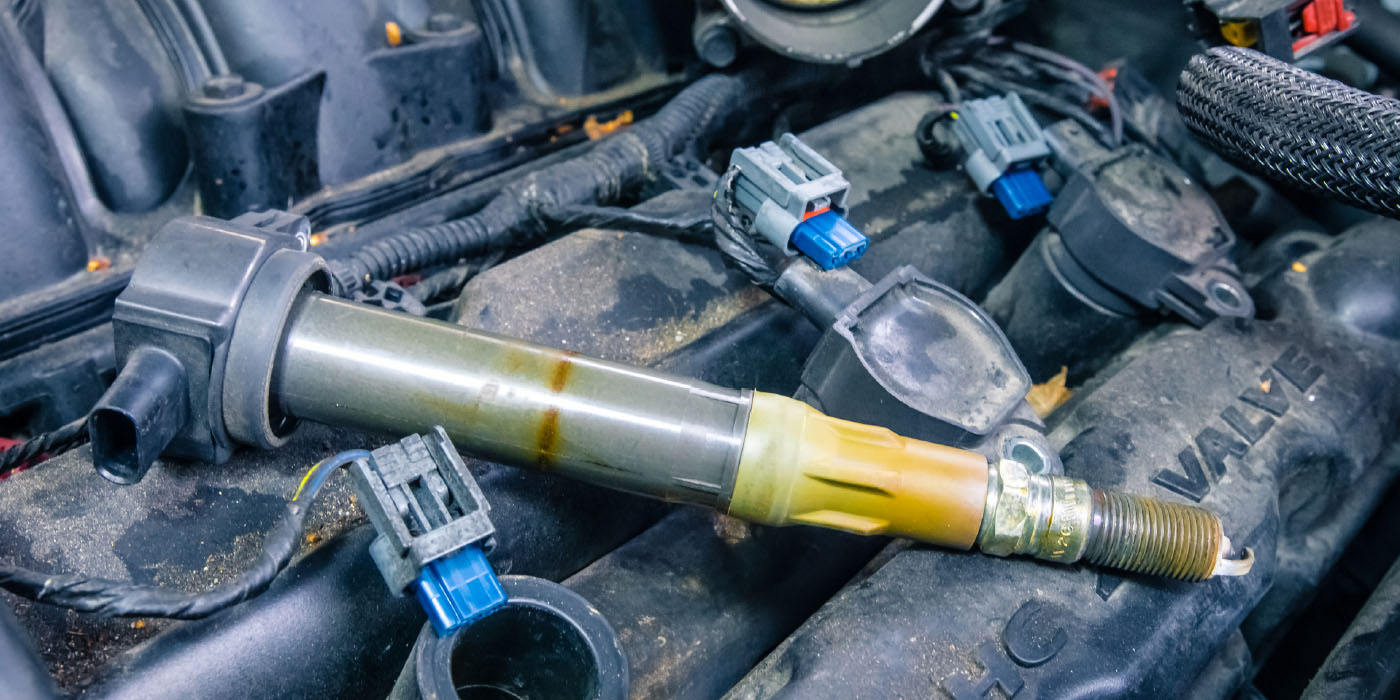
7. Remove the air duct and air cleaner, if needed, to access the inhibitor switch.
8. Remove the battery, if needed, to access the inhibitor switch.
9. If the battery was removed in Step 8:
• Remove the two bolts to the air cleaner.
• Remove the four bolts to the battery tray and remove the battery tray.
(Tightening Torque): 7-9 lb.-ft. (1.0-1.2kgf.m). Move the battery tray aside to gain access to the inhibitor switch.
10. Disconnect the inhibitor switch connector. Remove the shift cable mounting nut. Remove the nut and washer, and then remove the manual control lever.
11. Remove the two mounting bolts and remove the inhibitor switch assembly. Install the new inhibitor switch assembly to the transaxle and tighten the mounting bolts to 7-9 lb.-ft. (1.0-1.2kgf.m).
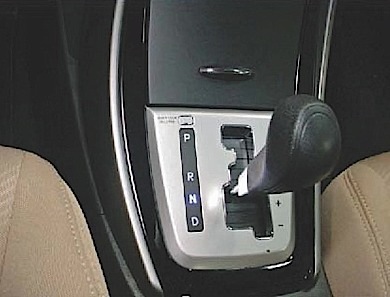
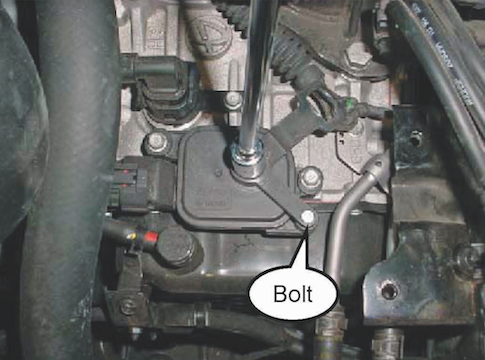
12. Install the manual control lever, washer and nut to the new inhibitor switch, and tighten the nut to 13-18 lb.-ft. (1.8-2.5 kgf.m)
Caution: Insert a 5 mm bolt or screwdriver in the alignment hole before tightening the nut (see Photo 2).
13. Install the shift cable-mounting nut and tighten the mounting nut to 6-9 lb.-ft. (0.8-1.2 kgf.m). Remove the bolt or screwdriver from the alignment hole.
14. Reinstall all the removed parts in reverse order of removal.
15. Clear the codes and test-drive the vehicle for two drive cycles (two key-on to key-off driving cycles). If the DTCs do not recur, return the vehicle to the customer.
Note: If the condition recurs, tighten the ground bolts for the rear combination lights. If the bolt was not loose, go to the next step. If the DTC recurs, repair or replace the control wiring between the PCM and inhibitor switch. If the DTCs recur, replace the PCM/TCM.
16. Clear DTCs per instructions of TSB 12-BE-005-2, if applicable.
Courtesy of MotoLogic.