Mercedes-Benz builds some of the most advanced and luxurious vehicles on the road. They’ve built a reputation on this, and they’ve been doing it for a very long time. But when it comes to servicing these vehicles, things aren’t always so complicated. You don’t need space-age technology or tools to perform basic service work – you simply need to arm yourself with a bit of knowledge, work methodically, and reference the OEM service information.
Let’s focus on aligning Mercedes-Benz vehicles. We’ll cover some tips and tricks that should help you to work on just about any Mercedes-Benz from the past few decades.
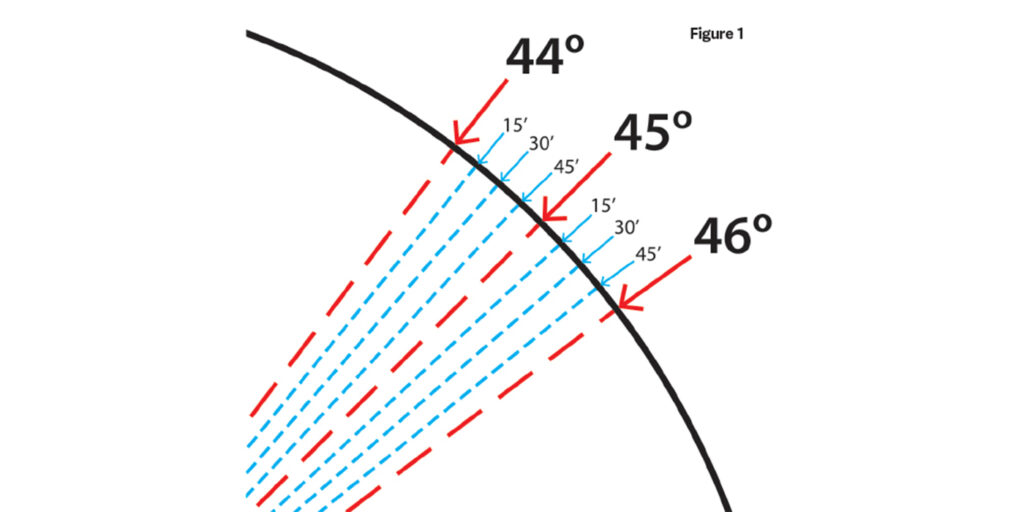
Degrees VS Minutes
We’re going to assume that you’re comfortable with alignment angles (caster, camber, toe). However, when you’re looking at the service information, you may come across angles which are measured in minutes. Not all techs are familiar with this type of measurement, so let’s review it quickly.
If you were to take a circle and divide it into 360 pieces, each slice would represent one degree (°). Each degree can be divided into minutes for increased accuracy. There are 60 minutes on a clock, and 60 minutes (‘) in one degree (Figure 1). Each minute can be further divided into 60 seconds (“), but we don’t need to go that deep for alignment angles.

So, if you see an alignment spec which is listed as 1° 15’, that translates to 1.25°. Minutes can be rounded up or down to the closest 0.25° measurement, so 1° 25’ would translate to 1.5°.
Pre-Alignment Prep
You’ll need to complete a number of steps BEFORE you start the alignment. These steps will vary depending on the model, but we’ll try to cover the basics. Start by removing all cargo from the vehicle; this includes suitcases, golf bags, and so on. Confirm that the spare tire is present (if equipped), and set the tire pressure in all tires to factory specification (adjusted as needed for the current ambient temperature). Mercedes may also instruct you to fill the fuel tank halfway.
If the vehicle is equipped with Airmatic or Active Body Control suspension, you’ll need to ensure that the ride height is set properly, and not in the raised or lowered position. This can be achieved with a scan tool that is capable of bi-directional control. It’s very important that you check the OEM service information for your specific model; this list may not cover everything for all models.
Another important step, but one which is easily forgotten, is to disable the “easy entry and exit” feature in the vehicle. This feature is what causes the seat to slide back and the steering column to pivot upward when the driver is getting in or out of the vehicle. We know that we’ll need to install a steering wheel lock between the wheel and the seat, and a brake pedal depressor between the seat and the brake pedal. If you forget to disable the easy entry and exit feature, the seat and the steering column could move when you don’t want it to, and this could cause some real trouble!
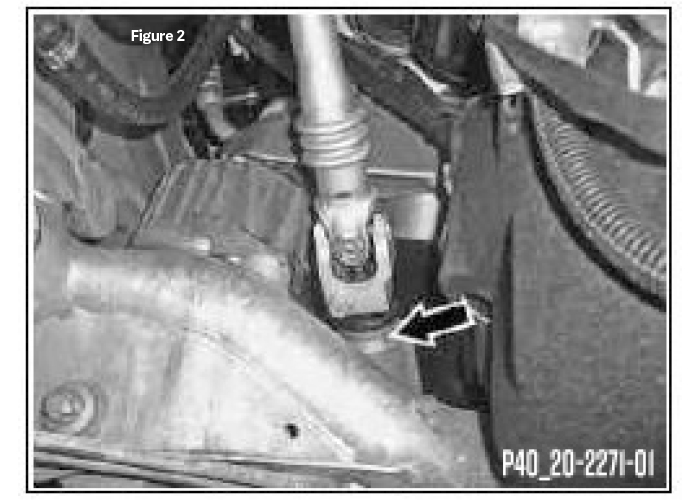
Once you’ve centered the steering wheel and locked it in place, go underneath the vehicle and look for the center position mark on the steering rack. The steering rack is centered when the marking on the cap matches the marking on the housing (Figure 2).
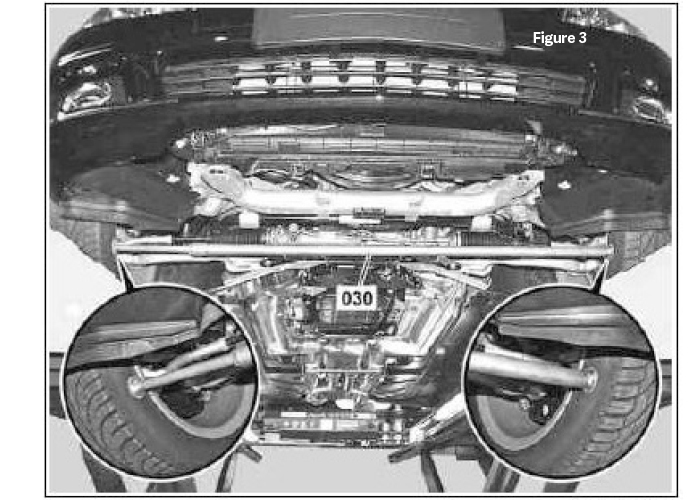
Many Mercedes-Benz models require a wheel spreader to be installed inside of the front wheels, on the front of the tire in relation to the direction of travel (Figure 3). This spreader applies outward pressure against the tires to simulate the forces that will be present during vehicle acceleration. This is a really important step which should not be overlooked.
Alignment Tips & Tricks
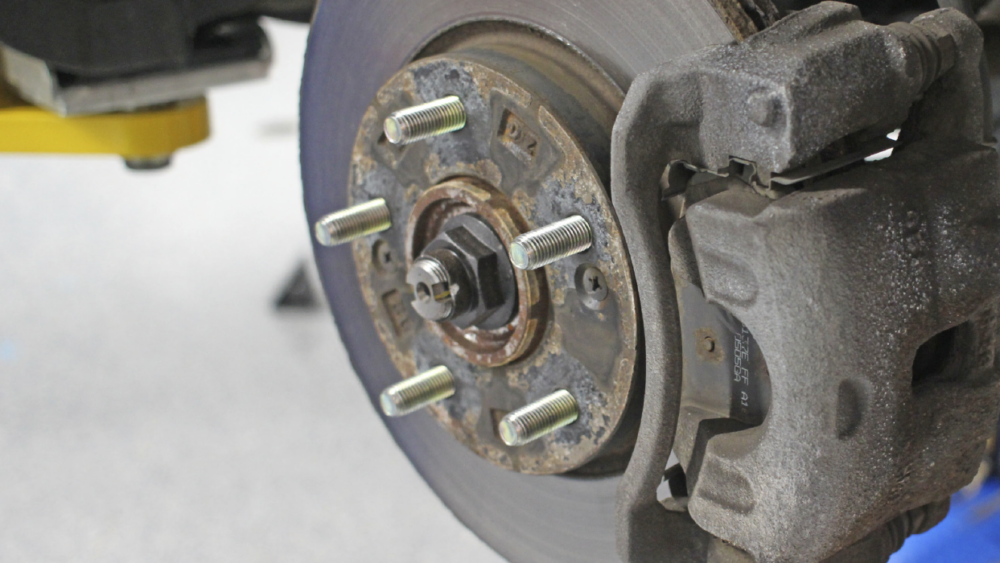
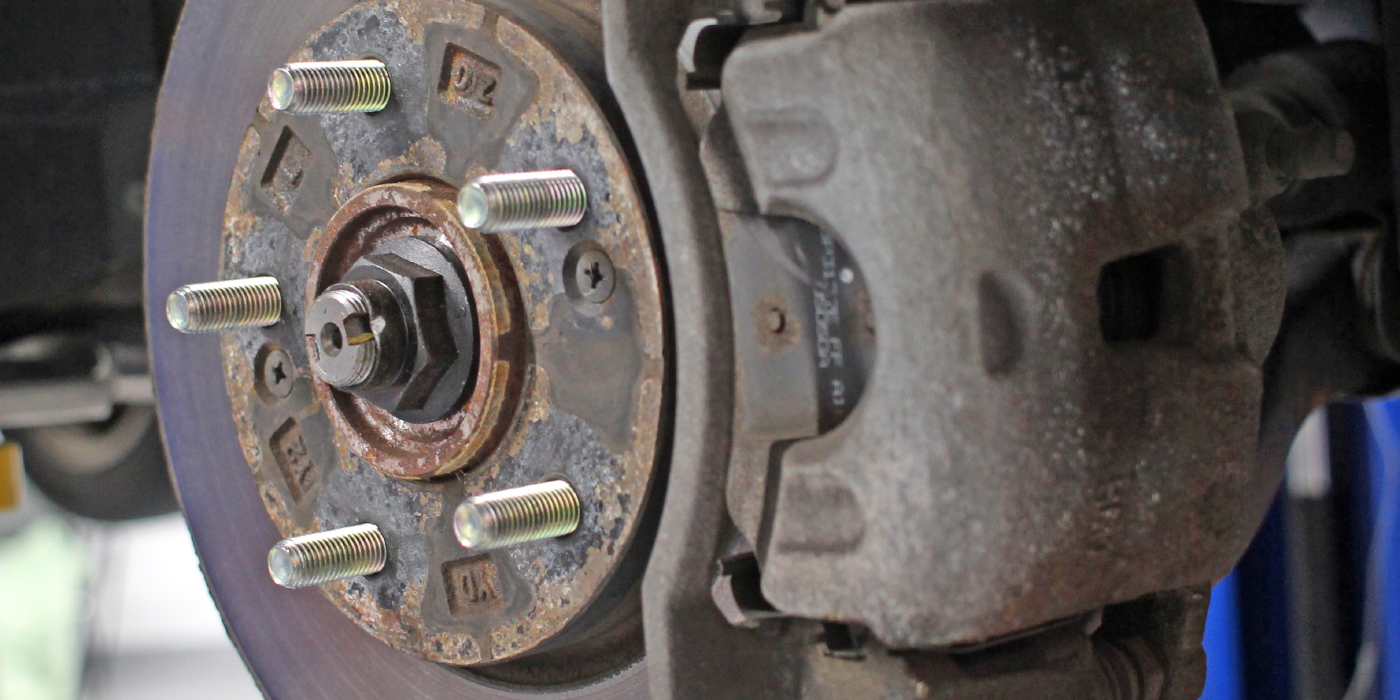
The rest of the process is relatively straight-forward, but there are a few things you should know before you begin. Many Mercedes-Benz models prior to Model Year (MY) 2013 will have a very unique adjustment method for front camber and caster (Figure 4). The bolt which secures the suspension arm to the chassis features a unique slotted design that is commonly known as “bat wings.” Why “bat wings”? Because they look like the bat signal when looking at them with the nut removed. The adjustment bolt is slotted, and can adjust the camber or caster by 0.3° (- or +).
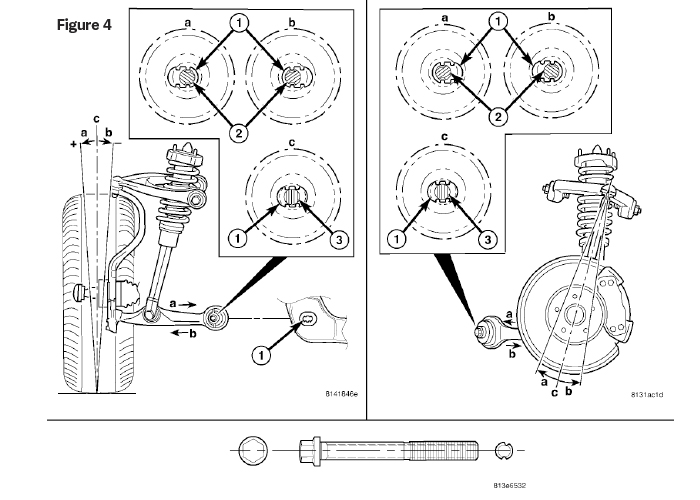
Due to the design of the bolts in this type of suspension setup, it is extremely important that you COUNTERHOLD the bolt head and ROTATE the nut. If you try to turn the bolt, you’ll end up shearing off the teeth inside the bore. This would mean that the bushing, or the entire suspension arm, would need to be replaced. I saw this exact scenario in my career. The tech tried to tighten down the bolt after realizing the mistake, but it worked itself loose after a few weeks. The customer then came into our shop saying that the entire vehicle was shaking violently over 40 mph, and there was a clear THUD whenever the brake pedal was applied. Sure enough, the caster bolt had been turned, and the teeth inside the bore were broken away. We replaced the bushing, performed another alignment and all was well again.
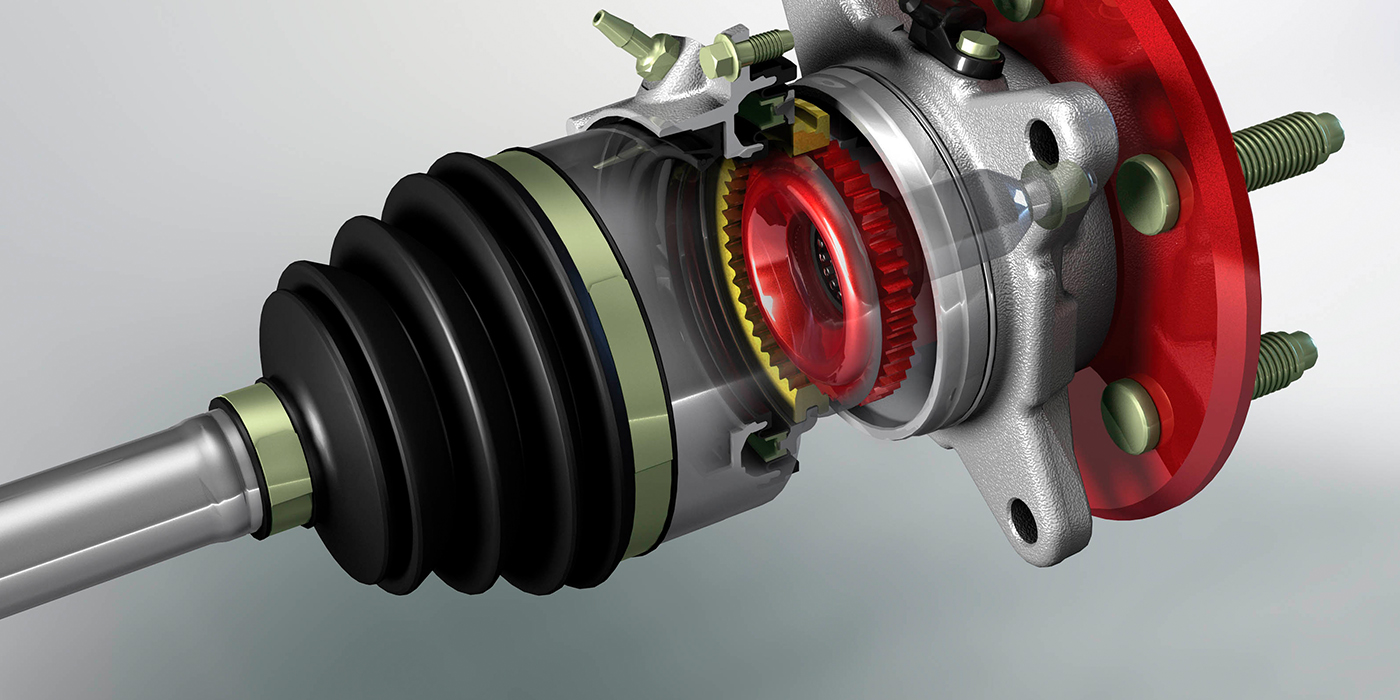
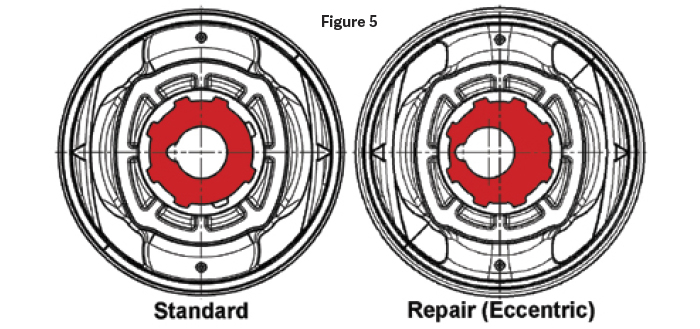
Starting around MY2013, Mercedes-Benz shifted over to offset bushings in its suspension arms for camber and caster adjustment (Figure 5). These function just like the slotted bolts, but they’re not nearly as easy to work with. If the vehicle is out of spec, you’ll need to remove the suspension arm, press out the old bushing and press in the new offset one. There’s a lot more labor time involved in this method, so it’s critical that you double and triple check your math, and make sure that you install the bushing in the correct orientation to get the end result you’re looking for.
Once the vehicle is aligned to specification, don’t forget your post-alignment steps. Perform a road test to check for a pull, or crooked steeering wheel. Reactivate the easy entry and exit feature, and load up any cargo or equipment you may have removed from the vehicle.