 Some painters are so stumped by three-stage paints and pearls that they dread them and end up painting the entire side of a car for just one panel. I’ve actually seen it happen!
The secret to success is to add white or red or whatever color your three-stage is and add 7% solid basecoat to your first pearl coat.
It still looks like a pearl coat, but you can actually blend it like a regular basecoat. You have to tweak things here and there, but that comes with experience.
Starting Out
Photo 1 shows my first step with a Subaru Forester that I’m blending with a three-stage pearl white. We had taken the hood off this car during a repair a month prior, so when the car came back after another crash, I knew the hood would match. 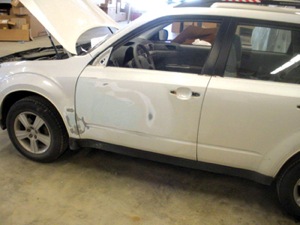
I start by using an old piece of 500 grit to sand through the clearcoat and pearl coat and down to the base white that’s actually on this car. You could also just work on where the base is featheredged by the dent you’re repairing.
As we all know, there are several base white options to choose from.
But with three-stage pearls, you can’t determine which white base to choose from – it’s all a guessing game.
In this instance, there are three to choose from: a lighter one, a darker one and one that’s more yellow. I always go for the lighter-than-variance one.
After I sand down to the factory white base, I use 1,000-grit and polish the area. Now you have the exact factory white base in front of you so there’s no need to guess. 
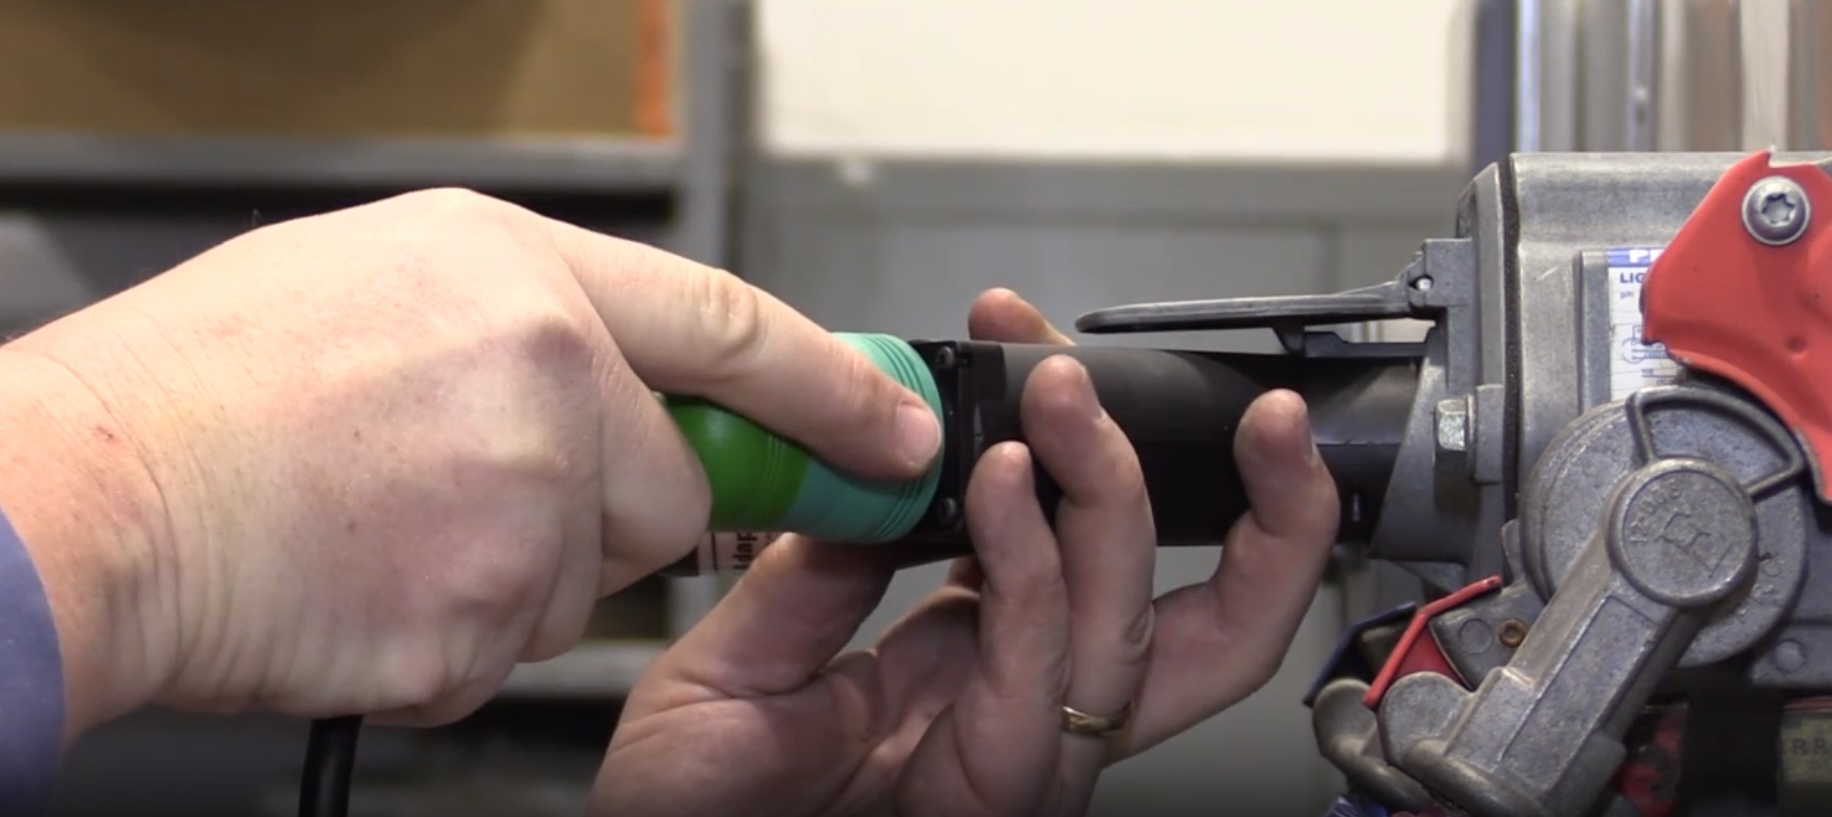
Then, I tint my light base using my own “progressive dot” method.
(Note: To view Tom’s Progressive Dot Method technique, visit: http://bit.ly/YtUl0W)
It started out too dark, so I kept adding white to lighten it up and let the dots dry until – bingo! – I got one that matches. Now I have the best match possible for the white base on the three-stage pearl white.
In Photo 2, you can see I’m going to blend my white sealer, white base and pearl clearcoat in the small area of the front fender. There’s not much room, but it can be done.
First, prep the entire job and tape off. After you spray on your adhesion promoter over the areas to be blended and it’s dry, tape off the rear door.
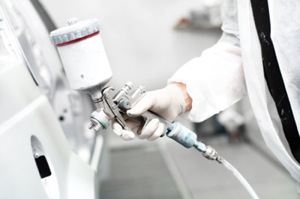
Now spray the driver’s door and front fender with white sealer, keeping it down where the gray primer is (Photo 3). Feather it out on the edges, keeping as far away from the hood as possible. 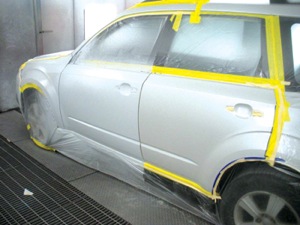
The Secret
Now here’s the real blending secret for all three-stage paints: mix up your pearl coat, then pour off half into another cup. Take your base white and pour 7% of it into one of the two pearl cups.
Now you have a semi-opaque white base with pearl in it. You should be able to then take off the paper from the door and spray two coats right over the white base area and allow the overspray to go onto the door and a little past the white base on the fender (Photo 3).
Be patient. If the door doesn’t start blending in after three coats, you’ll need to add some more white base to your pearl. This is where practice makes perfect.
Keep blending into the door and fender, going further and further by small, three-inch increments, keeping in mind that three coats equals nine inches of blend.
This is how you create your blend: by adding white to your pearl base. And you still have the other half of your true pearl to spray. 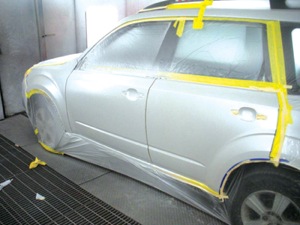
When your blend looks good, switch to the pearl base. Start by fogging it, each coat going past the pearl-tinted-with-white base. If you don’t have a good blend with the white-tinted pearl base, it won’t work.
The transition has to be seamless. I usually put on three to five coats of the final pearl coat, blending out further each time. There shouldn’t be a halo effect. After your blend looks good, paint on the clearcoat and you’re good to go.
Tom Ferry is the head painter at Ketchikan Autobody and Glass in Ketchikan, Alaska. He can be reached at [email protected].