To keep a high-performance engine sealed up tight, the most critical component is the cylinder head gasket. The explosive force of the engine’s cylinders under high boost conditions can wreak havoc. In fact, the cylinder head will literally try to lift from the cylinder block due to the combustion pressures.
Obviously, gasket manufacturers and head bolt manufacturers have worked hard to help alleviate these kinds of issues by bettering their products. However, many high-performance engine builders have turned to another solution to help better seal their engines. We’re talking about hoops and receiver grooves.
When looking to seal up a high-horsepower engine, most folks will be well off using a quality MLS gasket. However, when you’re going to top 1,500 horsepower, and certainly if you plan to go beyond 2,000 horsepower, machining your cylinder heads and block for hoops is a great option to ensure the best seal in conjunction with your gasket.
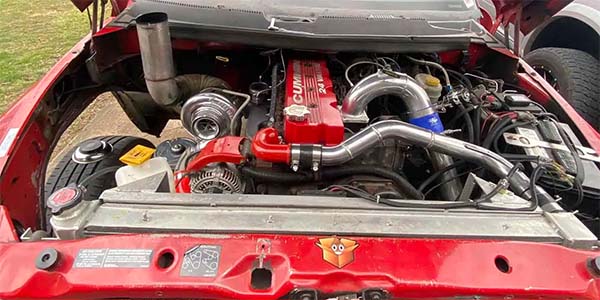
Steve Morris of Steve Morris Engines is an engine builder who consistently creates engine combinations capable of cranking out in excess of 2,000 horsepower. As such, he is quite familiar with the process to machine hoops into heads and blocks and was kind enough to share his insight.
Steve walked us through how today’s hoops work, why they’re better than old-school wire rings, what they actually do, how he installs them, and ultimately why it matters and makes a difference when it comes to performance.
The Old-School Way
When looking to o-ring your block and heads, traditionally, you’d have someone use a hand tool or a boring bar to machine a square groove in the deck surface of the block. From there, they would take a piece of wire (.041˝-.051˝ round) and tap that into the groove, which would stick up .010˝. This wire would then emboss into the head gasket.
“A lot of people think you can just put that wire ring in there and that’s going to do all the sealing,” Morris says. “It doesn’t. What you then need to do is make a receiver groove in the cylinder head, so that the wire will push up through the gasket and into that receiver groove.”
However, Steve is quick to point out several issues with this old-school method. Namely, using a piece of wire cut to the length of the circular bore. This leaves a split in the ring and gap where pressure can escape.
“Some of the problems with just using a piece of wire are that it has a split in it, since it isn’t a continuous piece of wire, and it has areas where it’s not filling the entire groove properly because it’s round,” Morris says. “That’s the old-school way of doing it – machining a groove in the block, put a wire in it and machine a receiver groove in the cylinder head, then make sure it all matches up.”
Of course, the most crucial aspect of this process is making sure the grooves in the block match up perfectly with the grooves in the heads to create a tight seal. That said, Morris does it a different way, and one that he says is even better at sealing high-horsepower engines than using the old-school, wire ring method.
SMX Hoops
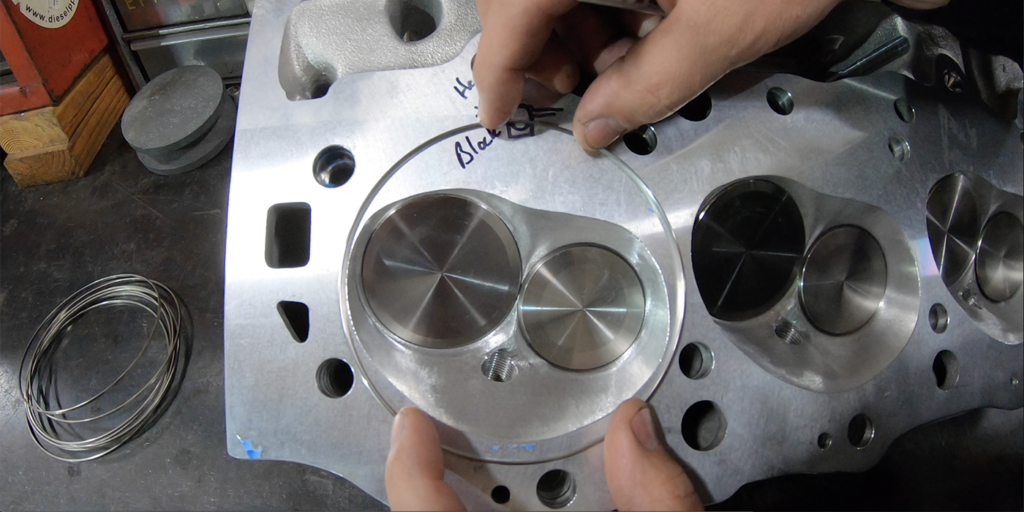
To demonstrate his SMX hoop process, Steve was building a big block Chevy with 4.840˝ bore spacing. There are a couple differences between Steve’s hoop process and the old-school wire ring method. The first difference is in the hoop or ring itself.
“The way we do our SMX hoops is we use a hoop that is one piece of stainless-steel tubing,” he says. “The hoop is square on one edge and radiused on the other and is .050˝ wide and .085˝ tall. The hoop itself is a much better solution than a piece of wire because it is one solid piece, it’s taller and there’s no split that would allow for a leak in the seal.”
Aside from the obvious differences in the hoop itself, Steve also makes an audible when it comes to the machining process. Traditionally, the deeper groove that houses the ring or hoop goes into the block, while the receiver groove goes in the cylinder head. Steve flips that around.
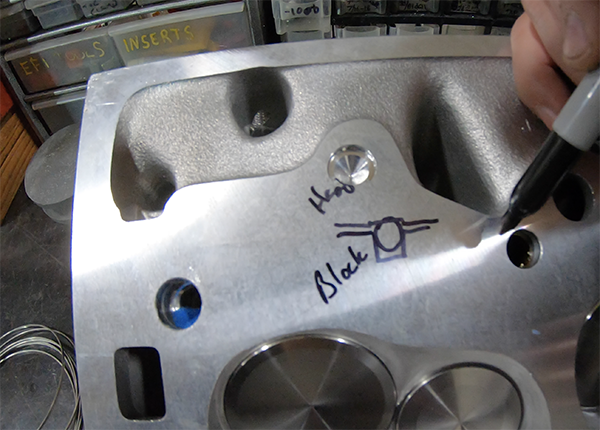
“We machine these hoops into the cylinder head,” he says. “I could put them in the block, which is sometimes a more permanent fix. However, I put the hoops into the cylinder head because if it ever blows or there was ever a problem, it’s much easier to fix the cylinder head than it is to fix the block. We do it backwards from the traditional way – we put the receiver groove in the block.”
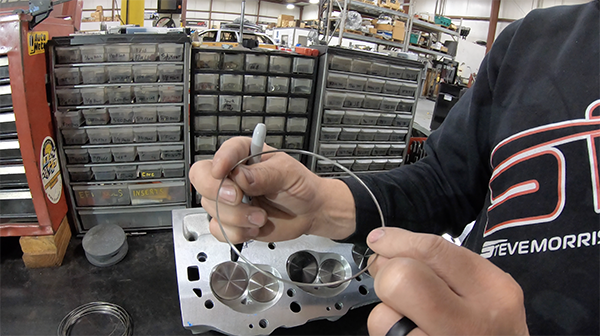
In order to machine all these grooves, you’ll want to have a CNC machine. It’s very hard to do this process without one, however, it can be done. To line up the grooves properly, you’ll use the dowel pin location as reference on the cylinder heads and the block, so everything lines up.
“The CNC is capable of cutting a perfectly round, flat and true groove for the hoop to go into,” Morris says. “As the CNC circle interpolates each groove, it will then move over 4.840˝ for each bore position based off of the dowel pin location.”
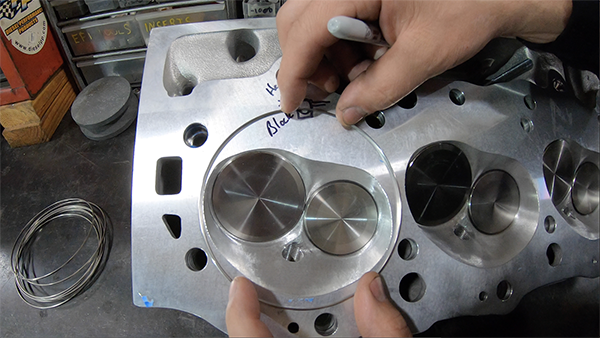
To machine the heads properly to accept the hoop, you machine a square groove for the .085˝-tall hoop between .065˝-.070˝ deep.
“Because the hoop is square on one side, it goes right into the groove and fills in the entire area,” he says. “This leaves the protrusion of the rounded side of the hoop sticking out between .015˝-.020˝, depending on how I want to set it up. Generally, I set it up so the hoop protrudes .015˝.”
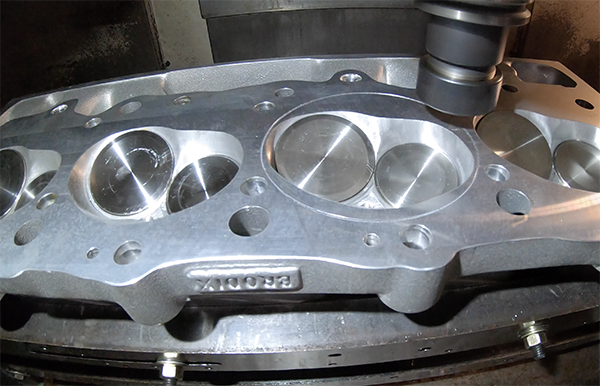
Once the cylinder heads are machined with the square groove, you’ll need to machine the block for the receiver groove. Remember, in this set up, the hoop is protruding into the head gasket and into the receiver groove in the block versus being flat on flat like any other regular gasket or MLS gasket.
“On the block, we machine a slightly wider receiver groove, about .060˝ wide, so it allows for the hoop and the head gasket to fill in between,” he says. “That’s why this method is much better than the traditional way of doing it because you get better protrusion of the hoop and you won’t have any splits or leaks.”
Using a wire ring, the protrusion is .010˝ at most versus the .015˝-.020˝ you can get with a stainless-steel hoop.
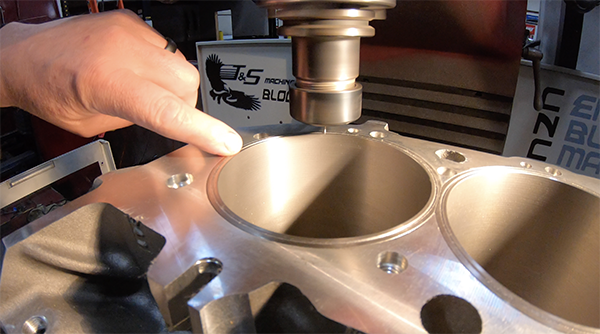
Steve’s engine, in this specific example, has sleeves in the block which protrude .003˝. The receiver groove is being machined .015˝ deep and .060˝ wide – just slightly wider than the .050˝-wide hoop.
“We’re cutting the receiver grooves on a CNC machine so that every groove is exactly right with 4.840˝ bore spacing on the big block Chevy engine,” he says. “That spacing also allows for a gap between your cylinder bores and each hoop. You don’t want to have the hoops butted up against one another. You want some space between them, so it has more clamping area for the gasket material.”
A Better Seal
The hoop offers better sealing against exhaust gases because rather than the pressure trying to escape from a flat-on-flat surface, the hoop creates a lock of sorts between the head and the block to better seal the engine. However, while this is a superior way to seal a high-horsepower engine, it isn’t a cheap way.
“The process of machining grooves and putting hoops into an engine is expensive,” Morris admits. “Each hoop, which is stainless steel tubing, costs $35. For a V8, you’re looking at nearly $300 just in hoops, plus the time put into machining the grooves properly on both the cylinder heads and the block in order to do the job right. It’s quite an entailed process, but this is what they do for Top Fuel and Pro Mod drag racing and it’s what we do.
“This is the best way of sealing your engine for builds that will be around 2,000 horsepower and above. Typically, I don’t use an MLS head gasket for builds over 1,500 horsepower. I know a lot of people do, and they can achieve even more horsepower than that, but I prefer to go with the better route that I know is the best that we can do. Why not do the best you can do?”
This article courtesy of Engine Builder.