10. Writing An Estimate
To give the customer an apples-to-apples comparison, you may opt to write your estimate in two sections. The loaded strut option, if available, will be very straightforward and require less installation time. For the second section, give the customer a breakdown of the cost for each component required for a complete repair, explaining that each of these pieces is already included in the cost of the loaded assembly. When purchased individually, these components tend to add up quickly and often exceed the price of the pre-assembled unit. Finally, itemize the difference in labor costs, pointing out the additional time required to “rebuild” the strut, which is above and beyond the time already required for removal and reinstallation.
9. Ride Height Check
If you look at the OE ride height measurement procedures in the service information, it might be overwhelming and confusing. Measuring Z-points and D-points could take a long time to measure. But, think about what you are measuring and why. If you are inspecting a vehicle, first look at it with your eyes. Look at the rake of the suspension and the stance of the body side to side. If you are under the car on a drive-on lift, look for suspension pick-up points on the body or frame and measure the distance with a tape measure or ruler.
For problems related to the ride height in the front compared to the rear, you might want to look at the caster first. If the rear springs have failed, the caster will be more positive on both sides than the specifications. If the front springs are weak, the vehicle will have more negative caster. Some alignment systems have targets that can be attached to the wheel wells and work with the wheel targets to compare the ride height of the corners.
If these basic measurements reveal a problem with the ride height, perform the OE procedure to measure the ride heights. These procedures include tolerances that will help you come to a definitive answer if the vehicle needs new springs or other items.
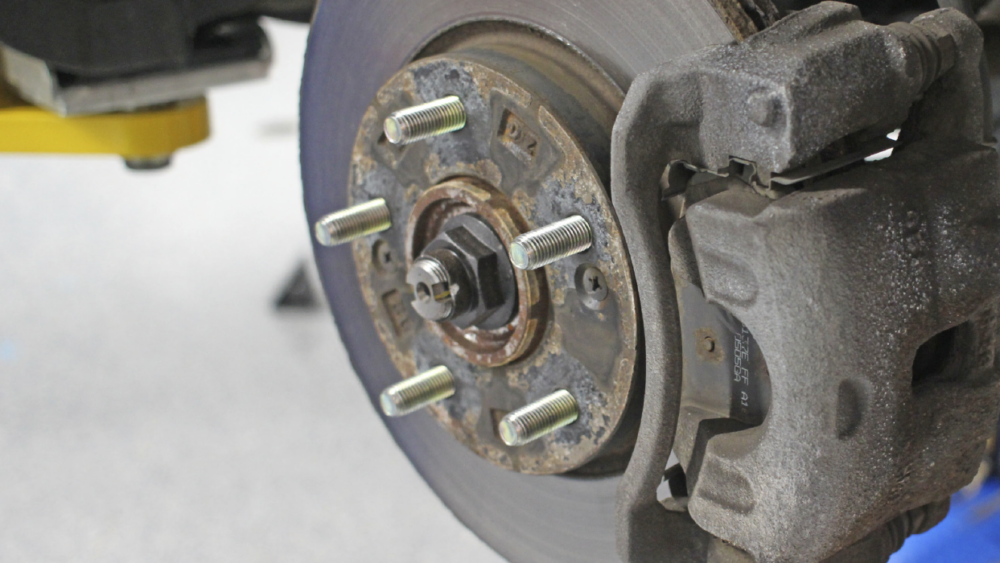
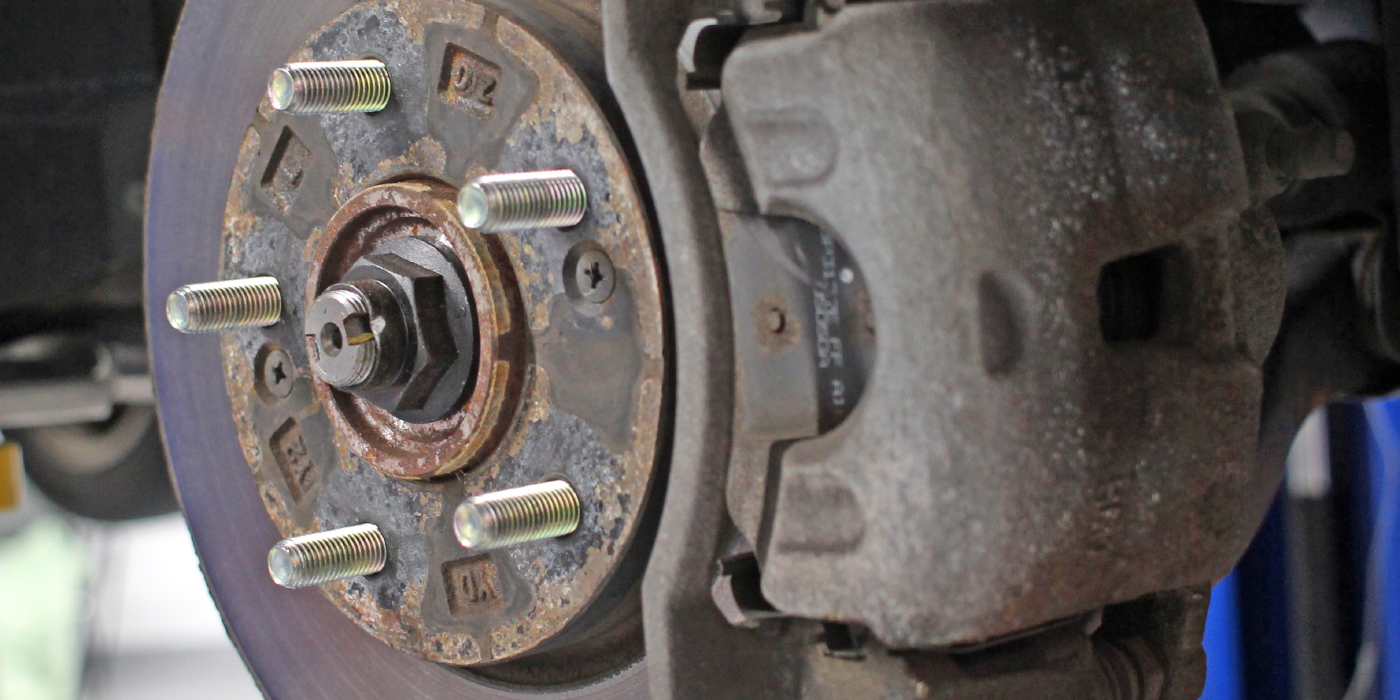
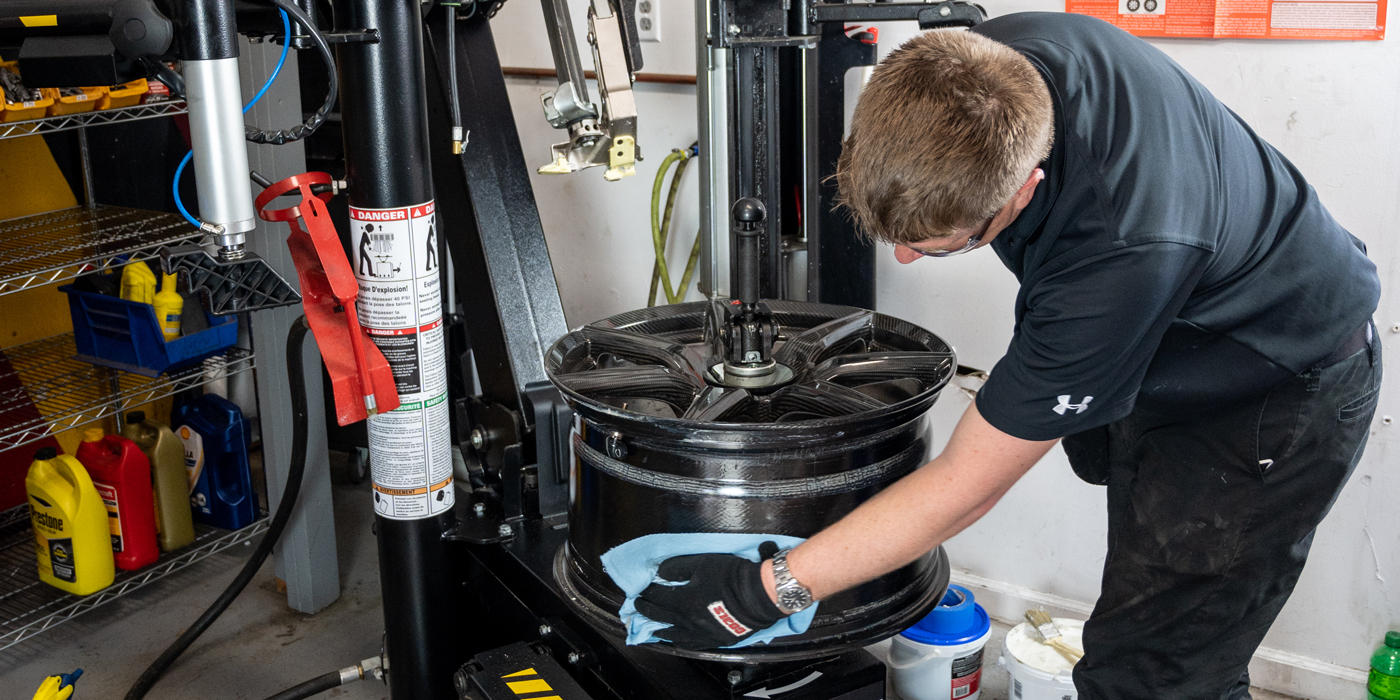
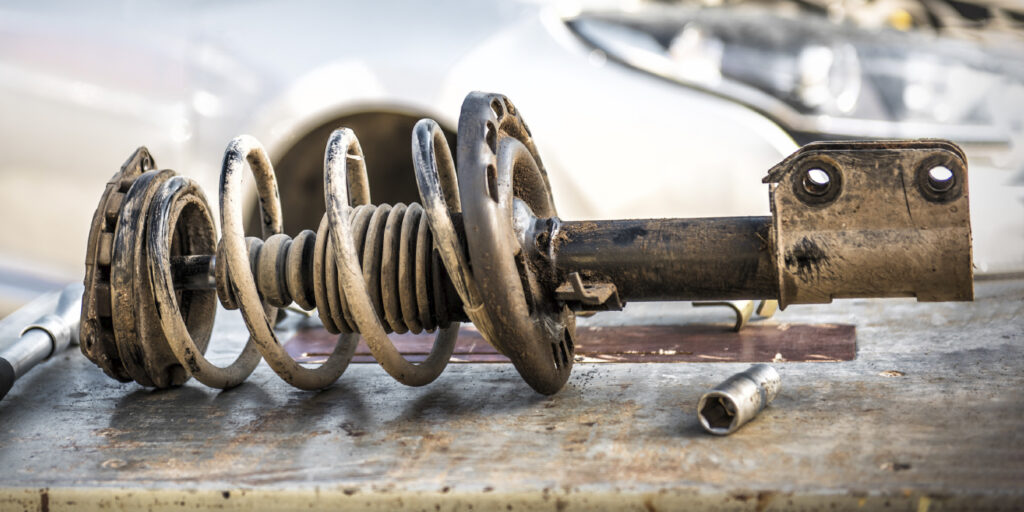
8. Left and Right Struts
Are there right and left springs, struts and upper mounts? Yes. OEMs may create side specific components for some applications. Springs are wound in a specific direction to achieve the control and handling characteristics as designed by the manufacturer. On some vehicles, the springs can be different side-to-side to account for weight issues like a transverse transaxle. Also, some units have mounting tabs for the brake lines and sway bar on specific sides. Don’t guess with part numbers, make sure you get the correct part numbers for the job.
7. Don’t Get Uptight
To make installing the strut easier and avoid damage to the shaft, leave the upper strut mount nuts slightly loose until the full weight of the vehicle can be put on the strut. The loose nuts will give you a little extra play to attach the lower bolts. When the weight of the vehicle compresses the suspension, the upper mount can settle and avoid binding. You should then torque the bolts to the OEM specifications. Take the vehicle for a test drive to make sure the control and handling meet the customers expectations, then re-torque the bolts to ensure they are still tightened to the OEM specifications.
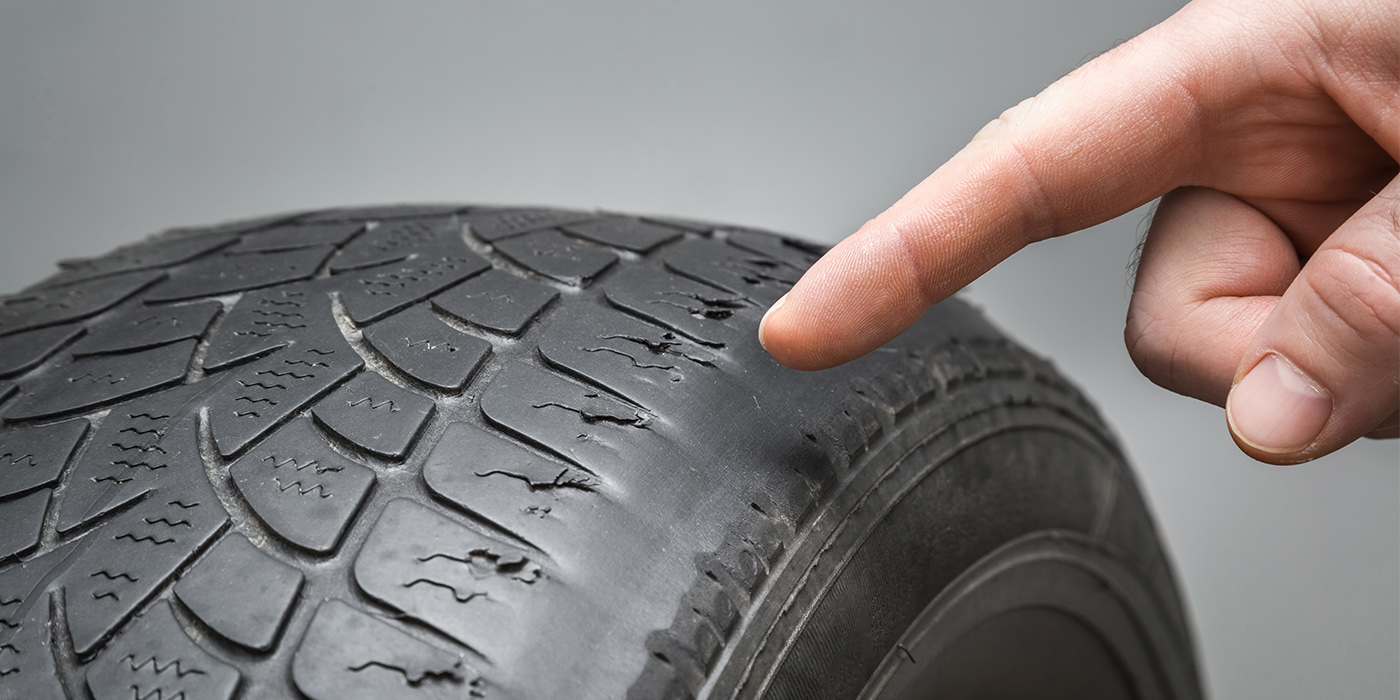
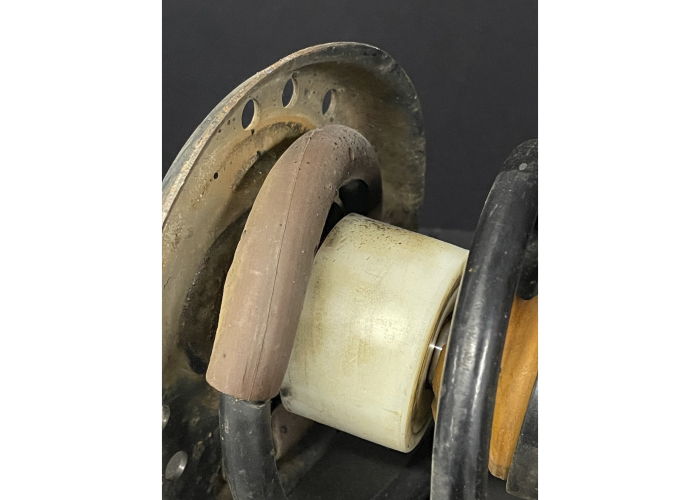
6. Replace the Bump Stop
Bump stops that fit on the rod of a strut should always be transferred from the old assembly or replaced with new parts. This is cheap insurance against damaging the new unit if it bottoms out. Even if the old strut doesn’t have one, check the parts catalog for a replacement. Offen the boot, bumper and upper strut mount are availiable as a kit.
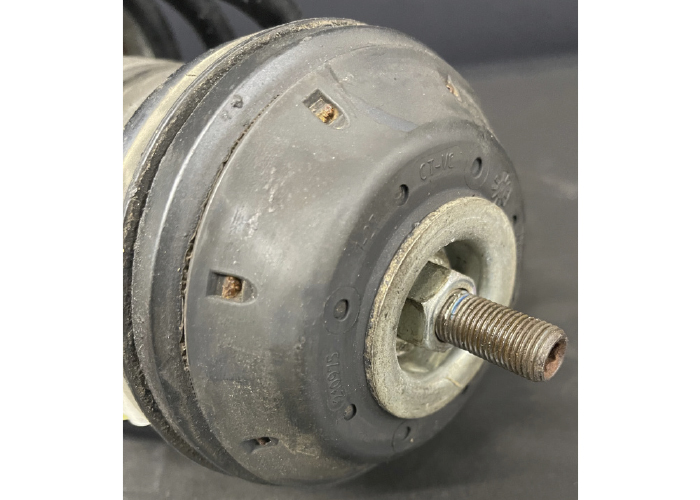
5. Ugga Dugga and Upper Strut Nuts
It might seem easier to use an impact to tighten the upper strut nut, but you can cause damage to the rod, valving and upper strut mount. By spinning the rod in the strut, you can damage the valving and piston seals. Also, the turning and excessive clamping force can damage the rubber coatings on the upper strut mount. This damage can cause a noise complaint.
You should also NEVER use vice grips to hold the shaft during installation. This can cause a rough, sharp spot on the shaft that can easily tear the upper seal causing a fluid leak. In fact, the most common reason for a shock to be returned is that it is leaking, and the leak is almost always caused by a shaft that was damaged during installation.
4. New Strut Won’t Fit
When replacing a shock or strut, check the orientation of the upper strut mount parts. Often the upper mount and the perch for the spring will be out of alignment. The alignment of the parts will make the installation of the assembly onto the vehicle nearly impossible. Some manufacturers include arrows that indicate the position of the components and how they should line up on the units and body. Some units will only go one way onto the body. If you do run into a situation where you can’t mount a unit, try rotating the upper mount and spring until they align.
3. Alignment
Most vehicles have a limited range of adjustment from the factory, so it’s always a good idea to perform an alignment check after the new parts are installed. When ordering parts or building the estimate, it’s wise to always replace the upper strut mounts, which will help with the post-installation alignment. Installing a set of adjustable cam bolts or upper strut mounts will make completing the alignment easier.
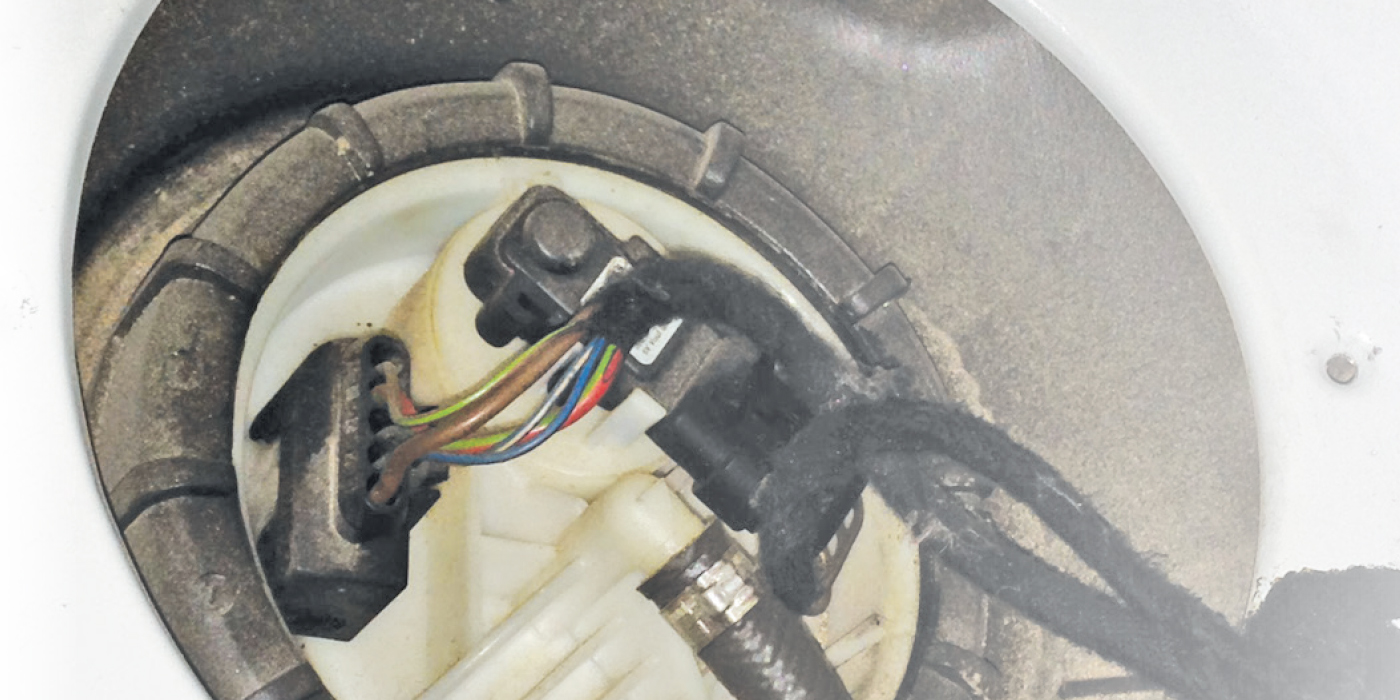
2. Active Strut Wake Up Diagnostics
Most active suspension systems will perform a circuit check when the system wakes up. The system will send 5- to 12-volts to the actuators and ride height sensors. The system is also looking at the resistance in the circuit, and the amount of voltage dropped. If the system detects an open, short or voltage outside of the specifications, it will set a code. Next, the control module will fully open and close the valves in the struts. If the system does not detect any irregularities, the system will go into an active mode.
Looking for these self-diagnostic signals can be performed using a meter. You may have to use a bypass harness or back probe the connector. If the system detects any problems, the system will go into a passive mode.
1. Priming Struts
If you pull a strut out of the box and then stroke the unit, you may notice that the unit requires a lot less force to compress or extend at the top of the stroke. This is normal for some new units. This can occur when twin tube shocks and struts lie on their sides during shipping and storage. Over time, the oil and gas inside can move between chambers while the product lies on its side. When the oil and gas are mixed in the working section, the damping effect may be irregular.
Priming the unit removes the gas from the working chamber and moves it back into the reservoir. This is a normal operation that occurs once these twin tube shocks and struts are installed in their proper upright position in the vehicle.
Most struts are self-priming, so manual priming is not necessary. If you have concerns with a unit with inconsistent dampening, stroke the strut a few times while the strut is vertical.