There is a lot that goes into making an “invisible repair” from the refinish side. Here are some procedures to get you off to a good start.
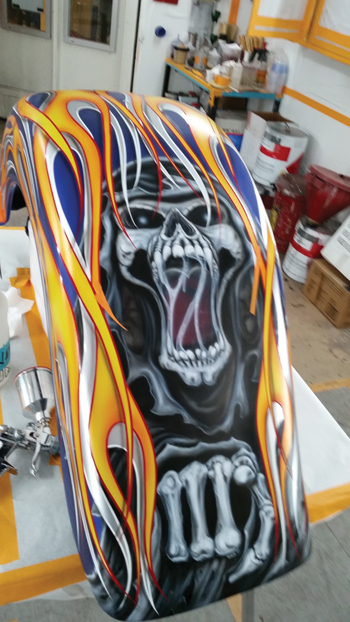
We all love custom paint work, and it’s typically the custom painter who’s recognized as more talented than the regular painter. Artistically speaking, there’s no question about it. No one can dispute or discount the enormous investment of time and practice a custom painter logs.
When the artist creates an original masterpiece, we take it in as art, whether it’s realism, impressionism or abstract. We know it’s art, and we concede it’s art. Some art we like, some art we do not, but undeniably, it is art. With regard to the style, particularly impressionism or abstract, it only needs to represent an image in which our brain then fills in the gaps – connecting the dots, so to speak. That’s why a four-fingered hand on a cartoon character works; our brain takes the representative image and makes sense of it.
The production painter, on the other hand, is tasked with “photo-realism,” which must be more than a representation of an image (the vehicle). It must be the image as it had been prior to the accident. The repair must be “invisible,” but the fact is, to the trained eye, it rarely is. However, there’s a huge difference between a “good and proper” repair and a “poor and sloppy” one. So for purposes of clarity, we will use the term invisible repair interchangeably with good and proper.
INVISIBLE REPAIR
The phrase invisible repair has been around for decades and has typically referenced color match. I’m here to suggest – no, proclaim – that it takes a lot more than color to render a repair invisible.
While color is probably the easiest component visually to recognize, it is not the only consideration. Furthermore, by the time we’re putting color on the repair, all the other upstream operations must also have been invisible, or else the best color match available will fall short of being an invisible repair.
THE ESTIMATE
It’s probably best if we start with a list of the operations that ultimately affect the outcome. We call this list “the estimate.”
Industry guru Mike Anderson states (correctly, I believe) that a supplement to an estimate is a “comeback” to the estimator. Arguably, the best way to whittle the comeback rate down is to practice 100% teardown in an effort to discover every single part that will need to be ordered. Identify and itemize all blend and R&R considerations up front as well. This isn’t an article on blueprinting the job, but I want to emphasize the importance of an accurate estimate when pursuing an invisible repair. The short list of operations we’ll consider can and should be a part of the original estimate, for it is all predictable.
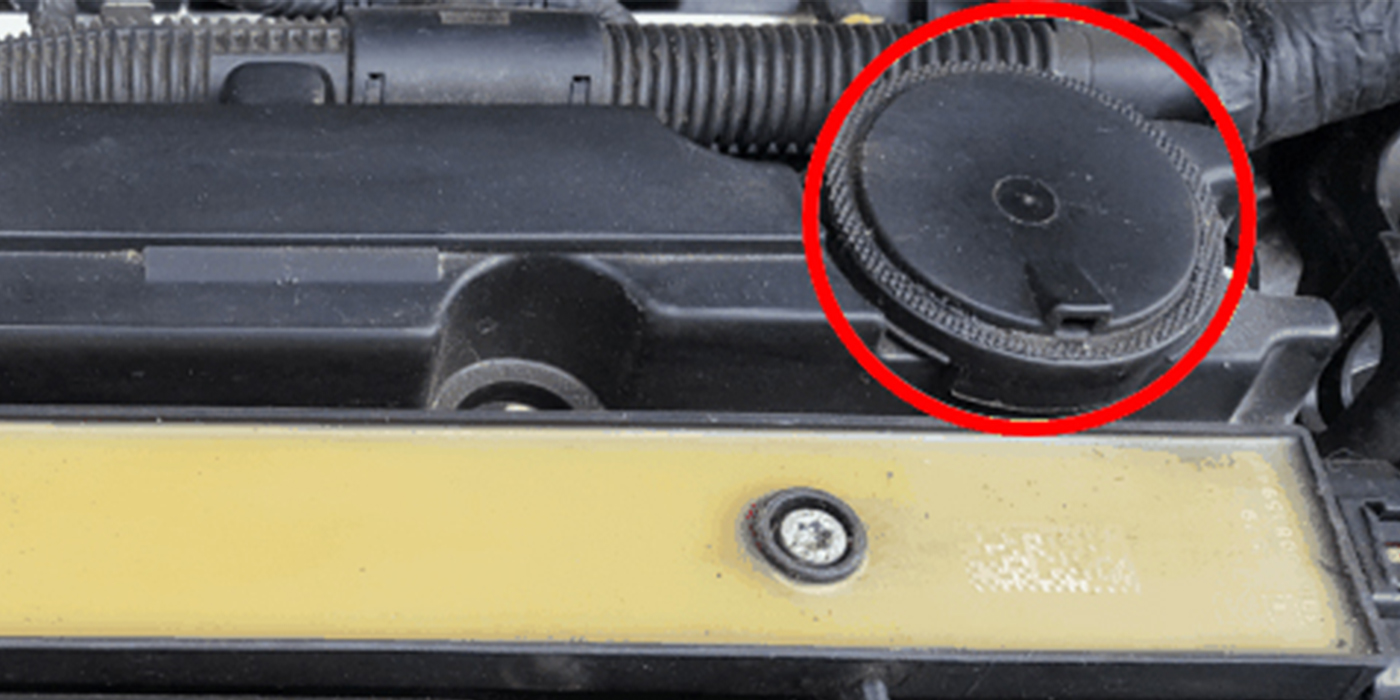
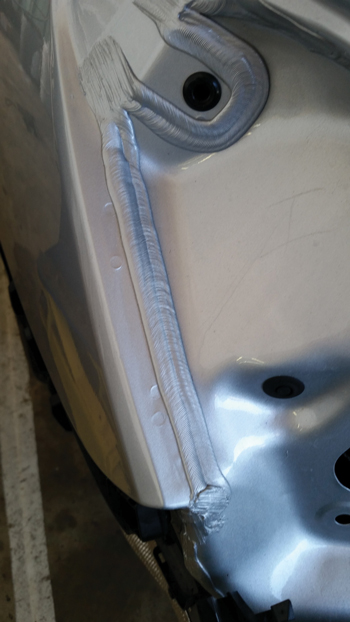
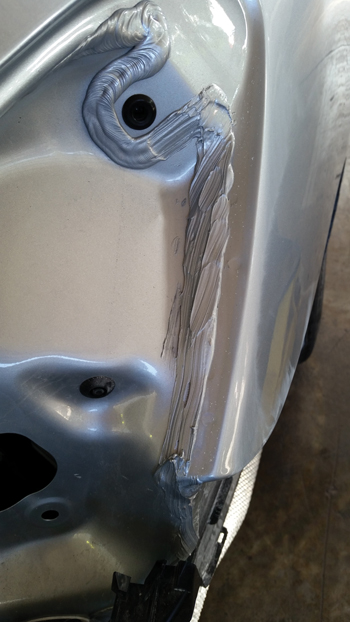
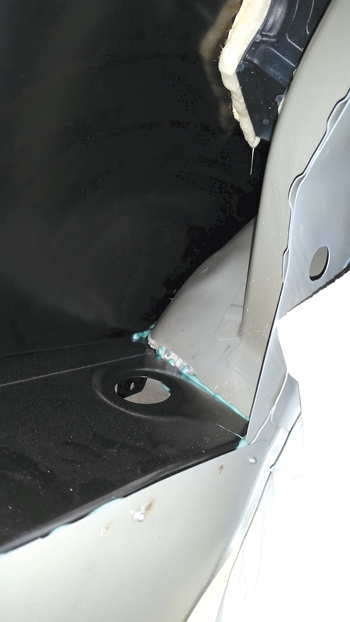
Seam seal (aka “drip check”) is a lot more complex than it was in the past. It’s also typically a body technician function. Worth noting is that all the big manufacturers of seam sealer have developed tools, techniques and videos already to help a body man get that OEM look. This, of course, is what’s required for the invisible repair. If the seam sealer appears as if it was barfed into place, the repair will never look invisible.
PRE-LOSS CONDITION
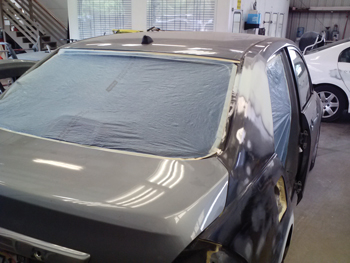
Now that the vehicle has been repaired and seam sealed and is in the paint shop, we should consider again what we’re after.
For example, say the rear body panel and right quarter panel have been replaced. We want some inner structure color such as the green e-coat that was there when it came from the factory – on the inside of the new quarter. We just welded on a black replacement part, so if we didn’t color it appropriately in the body shop prior to welding it, then we need to do it now. Rather than mixing a color off the toner bank, I suggest an aerosol can alternative. For those who insist on using the bank of toners rather than an aerosol, I submit for your consideration the following:
- Basecoat should not be left “open”; it’s designed to be cleared.
- Basecoat is not designed to be applied directly to an e-coat; best practices dictate that you would apply a sealer first.
- Basecoat cannot be applied directly to metal; you still need an etch primer.
- Basecoat is applied with a spray gun, which means additional cost and time in the cleanup.
- Aerosol e-coat can be applied by the body tech.
- Using an aerosol is faster and consumes less material.
Note: There’s more than one manufacturer of aerosols, and many of them are DTM (direct to metal), which saves time and product by eliminating the need for a separate etch primer any time bare metal is encountered.
Say the rear body panel was replaced, and adjacent panels such as the floor and lower quarter panel were likely damaged by either the accident itself or weld-burn. Either way, a blending of the appropriate-colored DTM inner structure color onto those panels, followed by a light dusting of the exterior color, will usually make those replaced/repaired parts look as though they’re factory. Isn’t pre-loss condition the goal?
GETTING PAID
As far as getting paid, a second color on the panel demands recognition as a separate operation that you should get paid for, inside as well as outside. On the estimate, it should be listed as “inner-structure color.” In my experience, inner-structure color alone is typically good for 0.5 of an hour.
Let’s do a little hypothetical math. Say a painter paints three cars a day, 15 a week. Let’s say half of them have a part that should be inner-structure colored. Seven-and-a-half cars, rounded up to eight a week, multiplied by 0.5 equals four hours. Four hours multiplied by 52 weeks equals 208 hours a year, multiplied by $18 (as a flat-rate example), for a total of $3,744 more at the end of the year. If you’re one of the painters making $50,000 a year (as the BodyShop Business Industry Profile statistics indicate), then you just got a 7% raise for making the repair look OEM. No extra work; you’re already painting both sides of that rear body panel anyway. Use an inner-structure colored DTM alternative on the inside, photo document it and get paid for it. To the shop it looks like this: 208 hours x $50 labor rate (arbitrary rate) = $10,400 annually x 3 painters (arbitrary number) = $31,200.
CHIP GUARD
Another area that can give away that the vehicle has been repaired is chip guard, aka gravel guard. It’s odd that chip guard is both easier and more difficult today to pull off an OEM appearance. More difficult in that, at the OEM level, there are many more different thicknesses and textures than yesteryear; easier in that we have more options available to apply it with than just an old shutz gun. But it does take practice and a honing of some new techniques, as well as the determination to find a way to get the result you’re after.
If the painter doesn’t care about the appearance, he may simply throw some texture on with a rattle can and say, “I chip guarded it.” If you do care how it looks, you find a way. Then, you photo document the process to support the estimate and pick up at least another 0.5, perhaps more if there are multiple panels. If we consider the math from the earlier example and add to it another 0.5 extrapolated out, then we’re approaching a 15% raise in pay between those two operations. What can that mean to the shop? Do the math. Perhaps that new chip guard/undercoating spray gun/applicator is well worth the purchase.
Incidentally, I see more than a few painters using a 2K primer, applied with low pressure, to get a textured, “chip guard” appearance. There are a couple of problems with this technique: first, the film build of the primer winds up exceeding paint manufacturer recommendations. Second, primer isn’t flexible, but rather brittle, which defeats the purpose of chip guard, necessitating a flex additive and thereby adding to the cost.
When lacquer was king, we had to buff everything. The enamels and particularly the urethanes have changed that, yet some painters and shops insist on buffing everything. I can’t figure the “why” of it. I mean, I understand we’re going to “nib and polish.” That’s to be expected, at least some of the time. But to flat sand a panel as if it were a custom paint job? It’s another dead giveaway that it has been repaired. A common rookie mistake, in my observation, is an attempt to make everything look like glass. That’s not how it rolled out of the factory, so if you want an invisible repair, it shouldn’t roll out of your shop looking like that either.
The excess tag/flashing on plastic bumpers, particularly aftermarket bumpers, often needs to be trimmed prior to prepping and painting otherwise the finished product will be so visibly hideous, it may result in a redo. A sharp new razor blade and a steady hand will assist here.
In regards to masking and precision masking, it goes without saying that if we leave the clues of overspray behind, the greatest application of paint will still leave us with a visible repair.
With the exception of “fixing” overspray, not one of these operations needed for an invisible repair can be performed after painting. It might prove prudent to quality control the work at each leg of the journey to ensure a smooth process. Smooth is fast and accurate, and there’s nothing more profitable than accuracy.
SUMMARY
This is far from an exhaustive list, but it’s enough to get started on, and my experience is that when the painter starts pursuing a higher level of quality, those around him do as well.
Of course, we do need an awareness and understanding of color, but it’s only one of many components which make up an invisible repair.