When it comes to shocks and struts, there are plenty of options from budget-friendly, to OE-spec, and anything in between. But there’s another segment of the aftermarket; the performance side. Sure, not every customer is going to be interested in upgraded or adjustable shocks and struts. Most customers are perfectly happy just buying the least expensive option and driving down the road. But, there are customers out there who want to improve or change the way their vehicle drives or handles.
When working with this type of customer, you can offer them a tremendous value. Your knowledge and skills are exactly what they need in order to make their vision a reality. On the flip side, you and your operation can benefit from a different revenue source. Specialty work like performance modifications and tuning can bring in a higher labor rate, and can be profitable with some planning and practice. We’re going to take a closer look at adjustable shocks and struts, what they do, and how one should go about adjusting them for the best possible results.
Why Upgrade Shocks & struts?
There are many reasons why a customer might be interested in upgrading their shocks and struts. Some customers simply want to make their vehicle feel a bit sportier. They want it to handle better when driving down curvy roads. They might want to race the vehicle during a track day or autocross event. Truck and SUV owners may look to make the vehicle more stable when hauling heavy loads or towing a trailer.
There is one reason why a customer SHOULD upgrade their shocks and struts, but they might not know it yet. If they’ve swapped out their wheels and/or tires for larger, heavier units, their stock struts won’t be valved correctly to handle the additional unsprung weight. Automakers put a lot of effort into the valving inside their shocks and struts to give the best balance of stability, traction and ride comfort. They calculate the necessary valving based on how the vehicle is equipped from the factory, including the size and weight of the wheel and tire package. So, you can see how swapping out their stock 17-inch wheels for 20-inch wheels could throw a metaphorical wrench into things.
Compression VS. Rebound
Before we can talk about adjusting shocks and struts, we first need to talk about compression and rebound. Shocks and struts move up and down as the vehicle encounters bumps in the road. Compression refers to when the shaft is being pushed into the shock body. Rebound refers to when the shaft is returning to full extension. When the shaft moves in or out of the shock body, the piston moves inside the chamber, and this dampens the movement of the suspension.
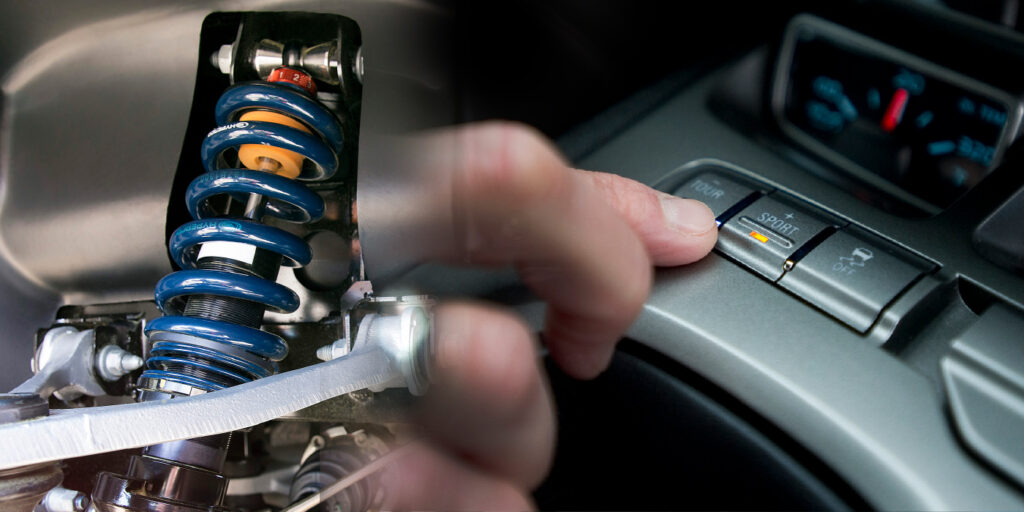
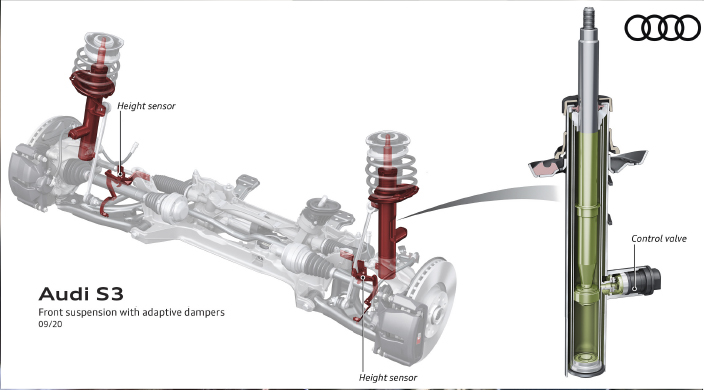
Adjustable shocks and struts will typically have one or more adjustment knobs on the body. If there is only one adjuster, it will control compression and rebound simultaneously. Two adjusters will likely mean that you can adjust compression and rebound separately. Additional adjustment could include high- and low-speed adjustment for compression and rebound. This is usually reserved for race applications as it’s rather overkill for street cars. And, as you can imagine, the more adjustments a shock or strut has, the larger its price tag will be.
Adjustment Strategy
Let’s get down to business. Installing adjustable shocks and struts is largely the same as installing an OE-spec unit. The difference comes in the adjustment once the install is complete. It’s important to have a clear plan before you start this process.
You’ll want to pick out a test route near your shop with a nice mix of smooth roads, bumps, curves, etc. I would suggest sticking to roads with moderate speed limits; there’s no sense in taking the vehicle up to highway speeds before you’re confident in the adjustments.
A good strategy for the adjustment process would be to leave the damping settings on their softest setting, then firming them up slowly after each road test.
Now, it is worth mentioning that this method may not be a good idea for vehicles with aggressive wheel and tire fitment. This means large wheels and tires, lowered vehicles, or any type of setup where the tires could make contact with the fenders during compression. Use your best judgment based on the vehicle and your customer. If necessary, you could start with the adjustment knobs set all the way to firm, then work your way back down from there.
Keep the radio off and keep a close ear out for any squeaking or rubbing while you’re road testing the vehicle. If you hear the suspension bottoming out over small bumps, or chattering loudly, it’s too soft. If you don’t feel confident that you know exactly what the customer is looking for in terms of feel, bring them along on the road test.
Keep a note pad with you throughout the adjustment process. The adjustable knobs tend to have a lot of adjustment “clicks.” Sixteen, 24 or even 36 clicks wouldn’t be unheard of, especially on a premium product. The problem is that it can be really easy to lose track of which click you’re on, and you can’t tell what click you’re on just by looking at it. You want to be sure that all of the settings are consistent for the best possible results. So, use a note pad to keep track of each shock or strut, and keep it updated as you’re making your adjustments. It’s also a good idea to tune only one axle at a time, by which I mean the front or rear of the vehicle.
Setting an adjustable shock or strut to the firmest settings will not make it the best-handling vehicle of all time. The settings should be adjusted based on the desired handling characteristics. Also, it’s very likely that the front and rear damping settings will be different, and that’s to be expected.
Double-Adjustable Shocks & Struts
For double-adjustable shocks and struts, start with the rebound and compression settings all the way to soft (or whatever setting you feel comfortable with). Road-test the vehicle, adjust the rebound knob up a few clicks, then road-test again. Doing this in rapid succession will allow you to compare the ride quality and performance back-to-back, and should help you to find a balance between ride comfort and performance.
If you start out soft (under-damped), the tires may make a lot of noise because they’re bouncing up and down over bumps. Then, as the damping is increased that noise will smooth out and go away. That’s one way to know that you’re approaching “the sweet spot.” If rebound is too stiff, the tire won’t drop down into a dip in the road, but will sort of skip over it instead. This limits traction because the tire is breaking contact with the road surface, and it can feel rather harsh.
Single-Adjustable Shocks & Struts
If the shock or strut has only one adjustment knob, that means that it will adjust compression and rebound simultaneously. The process for single adjustment is largely the same. Start with the adjustment at or around full soft. Road-test the vehicle, turn the knob a few clicks firmer, and road-test again.
Other Related Upgrades
It’s important to note that shocks and struts are just one piece of a much larger ride-control puzzle. With the right combination of components, your customer can make their vehicle handle in a completely different way than before. So, what are some other related components which you could offer to your customers?
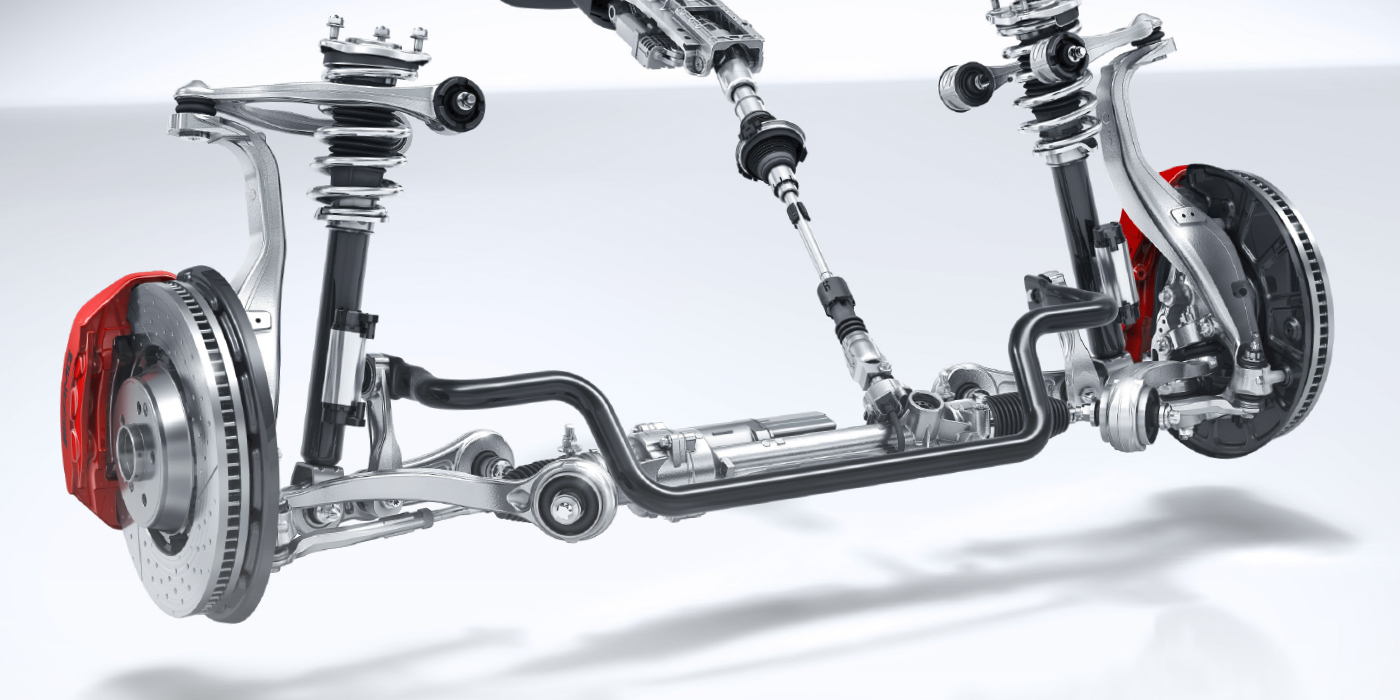
Sway bars, or anti-roll bars, are an often overlooked suspension component. Personally, I think that upgrading sway bars could be the single best bang-for-your-buck modification out there. Performance bars have almost no downsides, but they drastically reduce the amount of body roll during turns.
For those who are looking to change the ride height of their vehicle, coilovers and lowering springs are available for almost any application. Coilovers usually offer a wide range of ride height adjustments, whereas lowering springs will lower a vehicle by a set amount. Installing one of these upgrades can improve the center of gravity and reduce body roll, but they can throw off the suspension geometry and roll center. It’s important to know the possible downsides before making a modification like this.

