Some of the toughest challenges we face as import specialist techs are noise complaints. And, in order to make an accurate assessment, we take the time to ask our customers questions like: Is the noise present when the car’s stationary or moving? Does it change around corners or under different load considerations? Is it a growl, squeak, groan or rattle?
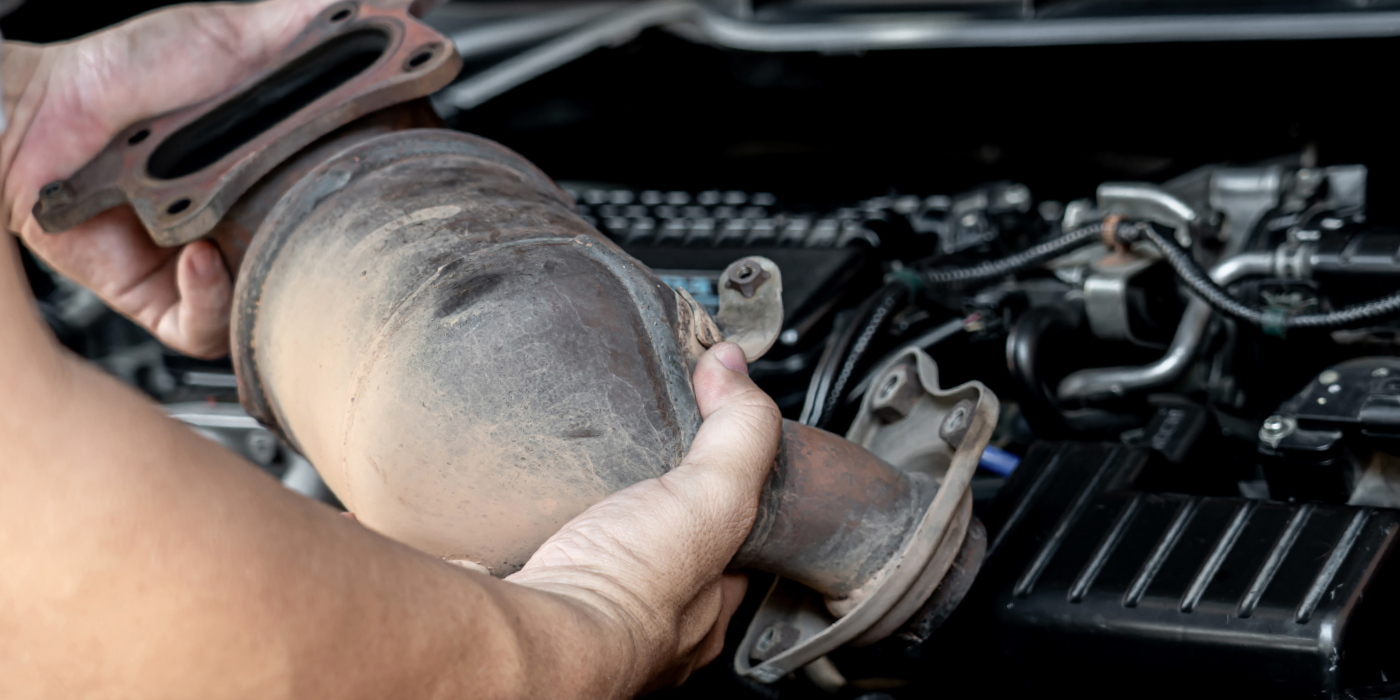
While wheel bearing noise is also one of the toughest problems for the customer to describe, it’s not unusual for it to come on so gradually that the customer may not even notice it until you mention it after an unrelated road test. Many times, the customer complaint will send you down the wrong path if you let it. We’ve heard complaints from exhaust leaks, to tire balance, to “it just doesn’t sound right,” that have ended up being bad wheel bearings.
When faced with any noise complaint, take the time to test-drive the car with the customer, if that’s possible.
When the vehicle is up in the air and you confirm the wheel bearing problem, be sure to look at the whole job and include peripheral items in the estimate. On many models, it will be necessary to disconnect sway bar links. Does it look like they will come apart and go back together? It might make more sense to replace them. If the CV boot is torn, this is the best time to take care of it.
IMPORTANT FIRST STEPS
During your test-drive, make note of the sound as the load changes around corners; it will give you an idea of which bearing has failed (the noise will usually increase with load). If there’s no change, it’s an indication there may be another problem disguising itself as a wheel bearing.
Anything that can feed a vibration into the chassis could be the problem, from worn engine mounts to mis-routed A/C lines or, in the case of SUVs, don’t discount the rear differential and driveshaft as a source. If any doubt exists, our final step of the diagnostic process includes putting the vehicle on the lift and pinpointing the problem with a stethoscope.
Be careful with the protective boots on the ball joints and tie rod ends, as well as with the threads. You also have to be careful with the ABS sensors. If they’re stuck in the housing, it may be a better strategy to leave them in place and unplug them from the harness – and be careful with them as you work on the bench. I like to tell techs to think about putting the job back together as they’re taking it apart.
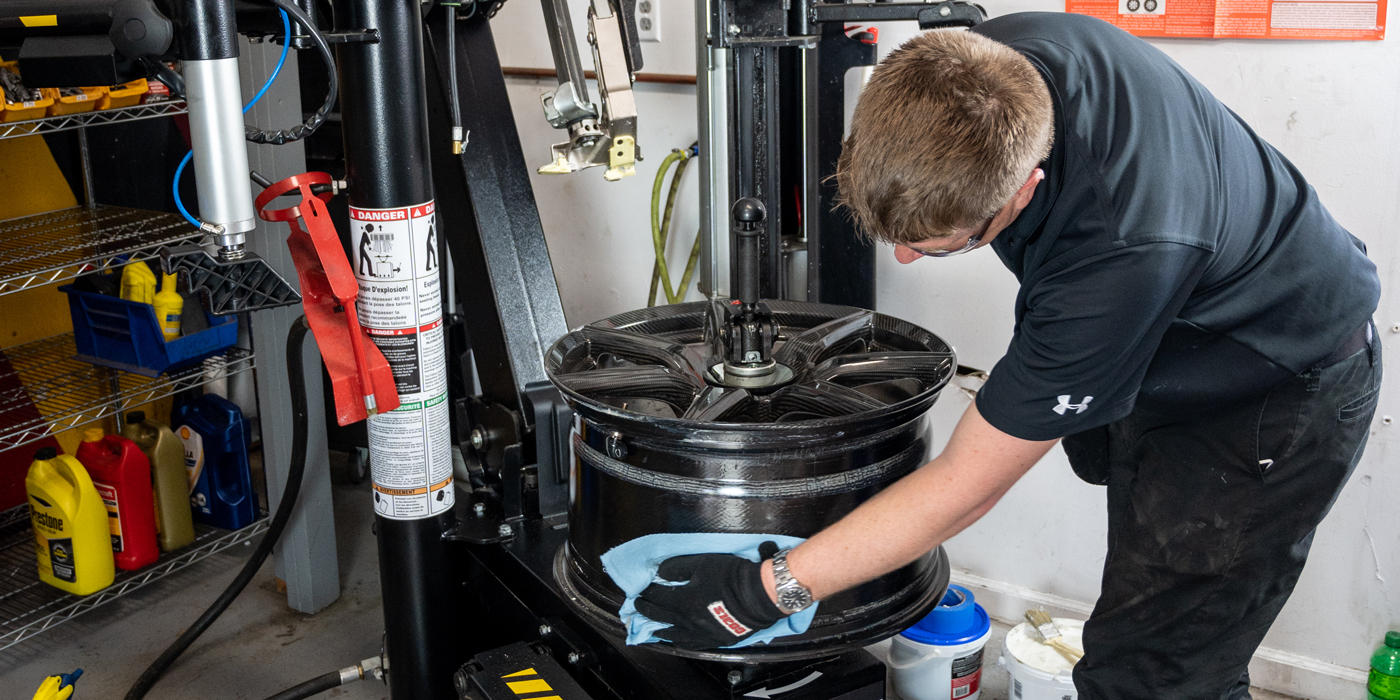
Removal
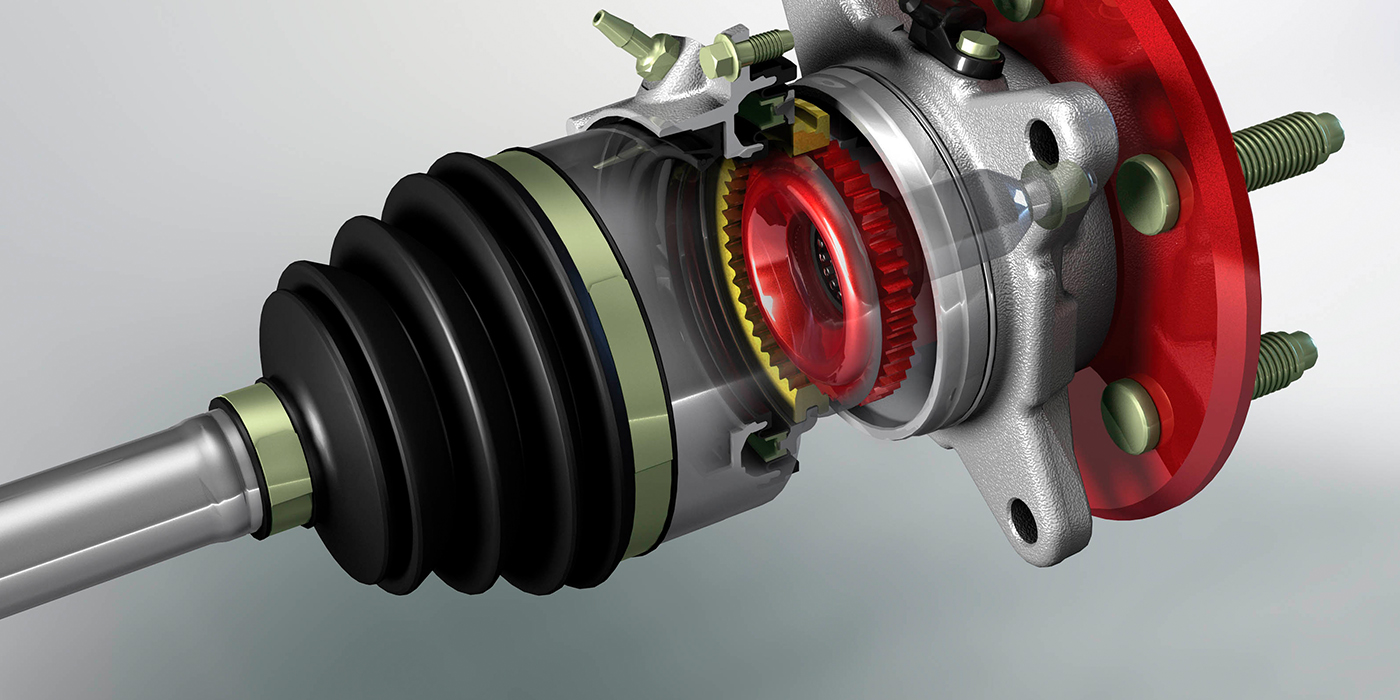
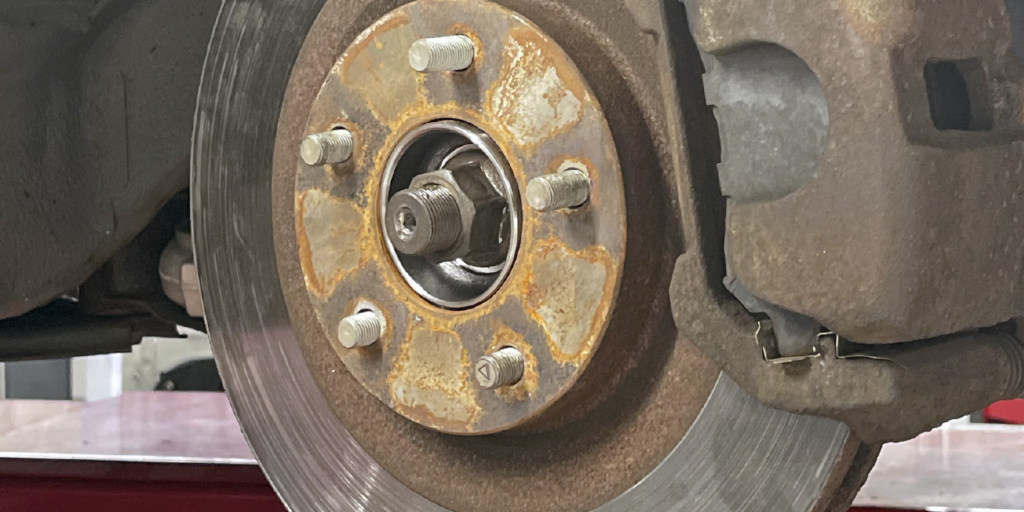
Always remove the wheel speed sensor first. The head of the wheel speed sensor can be damaged when the CV axle is pushed from the knuckle, or a missed hammer blow can take it out.
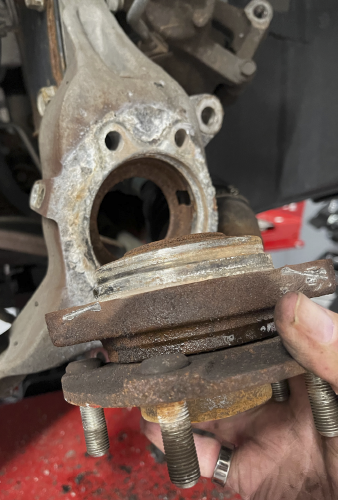
When replacing bearing hub assemblies fitted into aluminum knuckles, try heating the knuckle. In most cases, the aluminum will expand enough to expedite removal of the hub assembly. But, sometimes an air hammer is the best tool. The key is to turn the hub unit in the bore to break up the corrosion.
On most front-wheel-drive vehicles, you will have to separate the ball joint or unbolt a control arm to push out the drive axle. Also, on some platforms it might require removing the sway bar link.
Installation
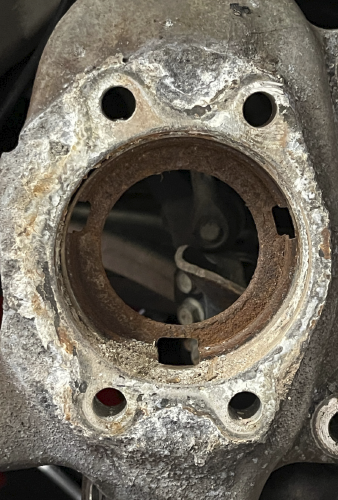
The first step is cleaning the knuckle and bore for the bearing. If you want to pay it forward, coat the surfaces of the hub unit that make contact knuckle to make the next replacement a little easier.
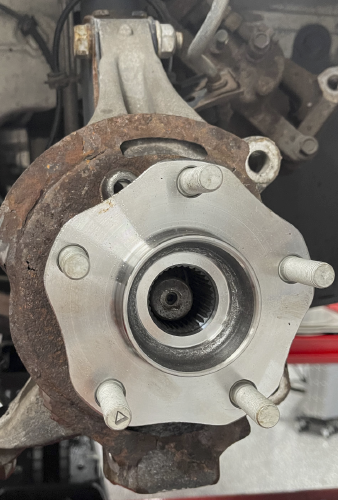
Some bearings can be installed 180 degrees off – however, the dust shield at the back of the hub unit will prevent insertion of the wheel speed sensor if done so.
While it may appear to be easier to use an impact wrench, it is not recommended. OEM and bearing manufacturers always recommend using a torque wrench for installation. During removal, an impact wrench can damage the axle nut threads and shock the CV joints. It can also create a false sense of security when adjusting a nut or bolt, which may be under or over torqued. This can leave a hub assembly susceptible to failure. Also, in almost all cases, use a new axle nut. Some axle nuts are designed to be used only once, and cannot be adjusted.
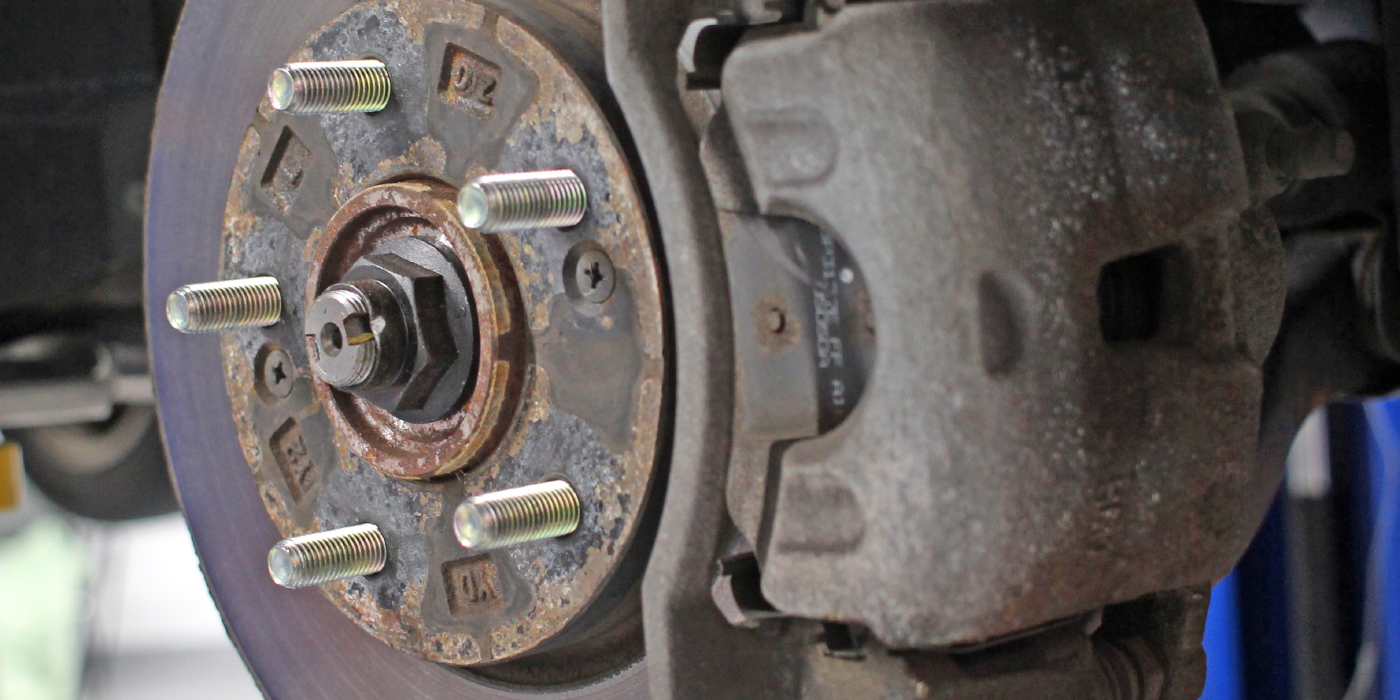
Many hub units for FWD applications come with a new hub nut. Use it. And be sure to torque it to specifications with a torque wrench — never an impact wrench.
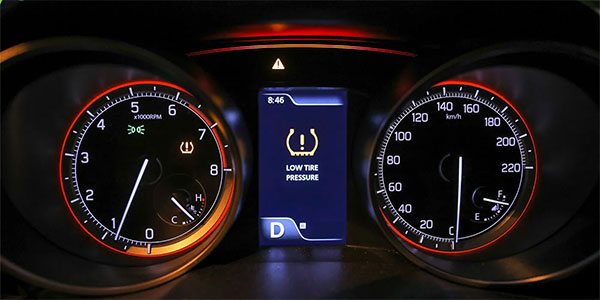
After repairs have been made, you should always confirm the problem has been fixed by clearing any ABS codes and doing a short test drive to make sure the ABS light does not come on and there is no bearing noise.