How many times have you seen a hand-painted sign in a shop window that advertised a menu-priced brake pad replacement for “$XX.95 per axle.” Of course, a menu-priced brake replacement would be good if a simple brake pad replacement would cure all of the root causes of a brake performance complaint.
Unfortunately, menu-priced brake pad replacements are a customer comeback in the making because the customer often leaves with the same squeaking, grinding, pulsation, grabbing or pulling complaints that brought him to the shop in the first place.
For all of the above reasons, it’s always been my practice to use a simple, but effective, brake inspection procedure that takes most of the surprises out of the brake repair process. Let’s begin with the customer interview.
The Customer Interview
Because a modern braking system can be very expensive to repair, it’s doubly important to correctly identify customer concerns. Case in point, North American drivers are usually concerned with squealing and grinding noises. At the one extreme, a squealing complaint might indicate that the wear indicators are just beginning to contact the rotor. At the other extreme, a grinding-noise complaint might indicate that the brakes are operating in a metal-to-metal condition or that a wheel bearing has completely failed.
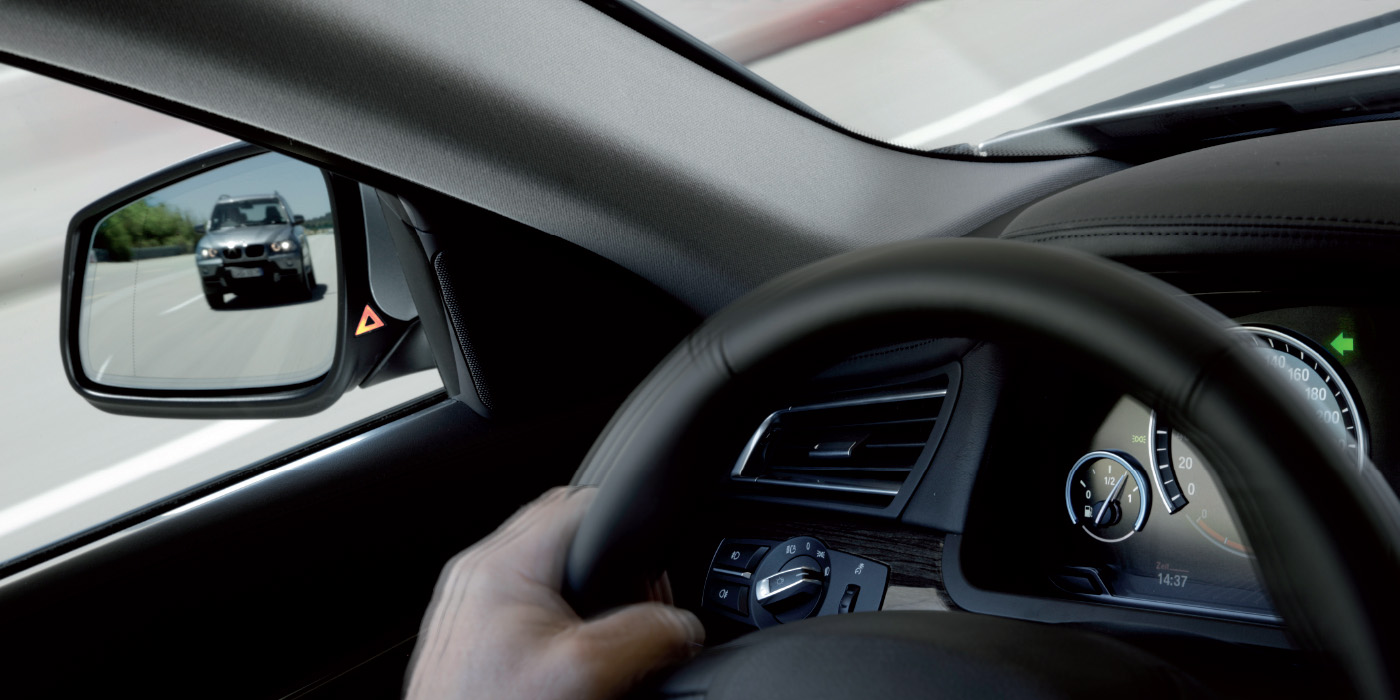
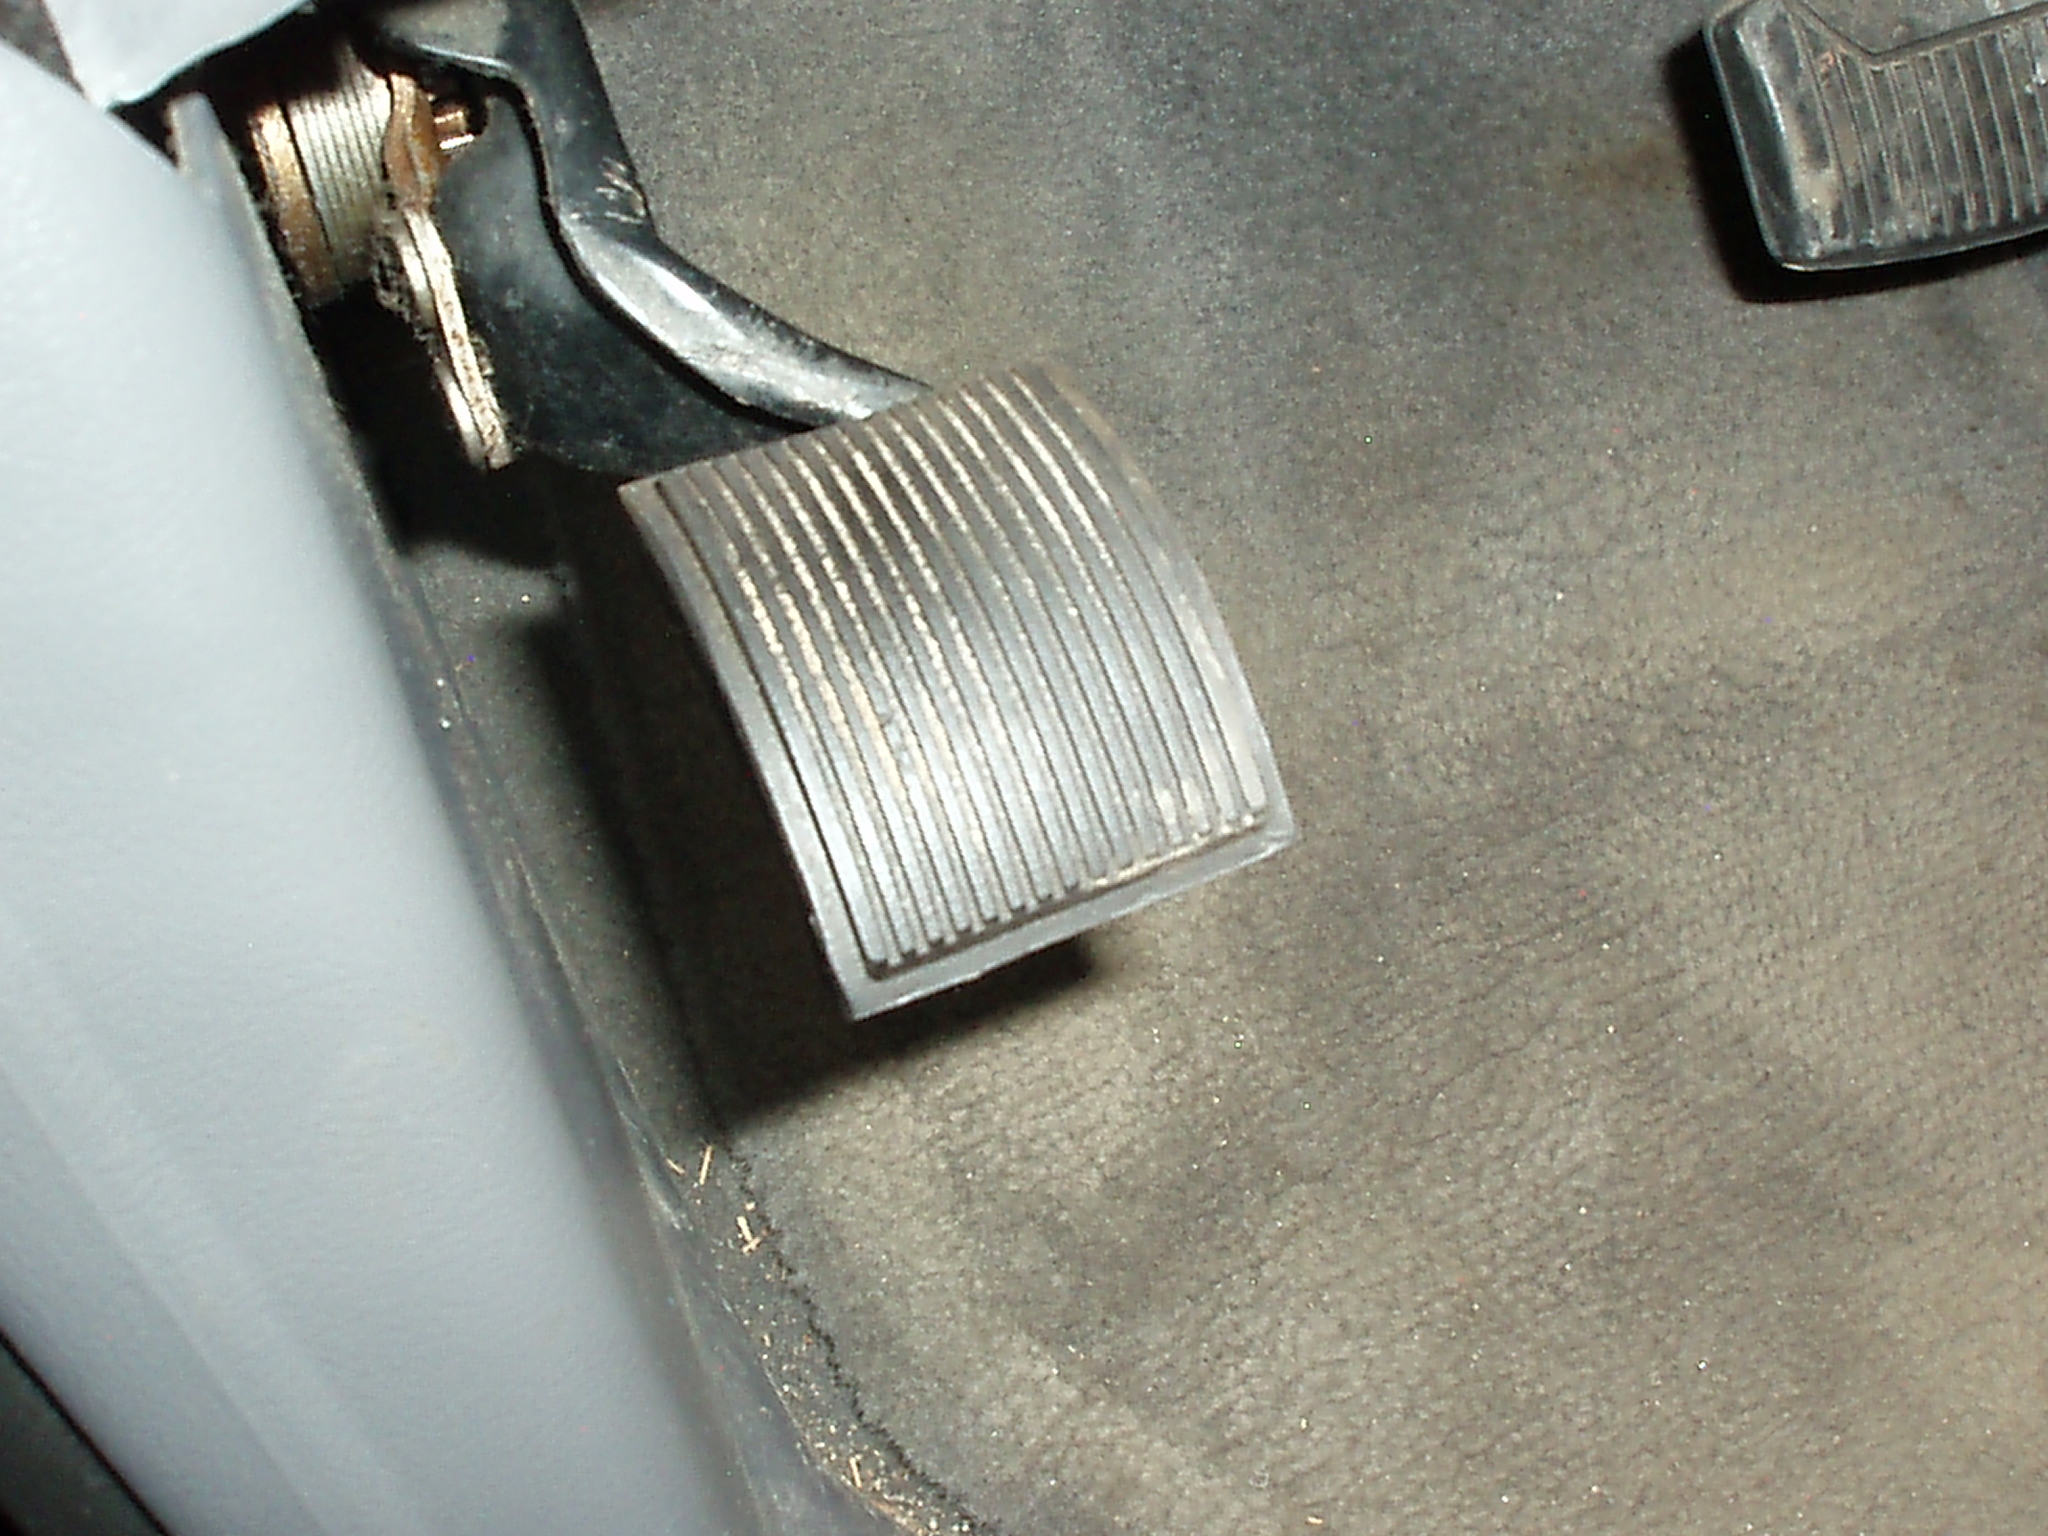
We also must “think out of the box” because an intermittent chattering-noise complaint might be caused by a premature activation of the anti-lock braking system (ABS). Over-sized tires might cause a lack of pedal response or braking power complaint, or driving many miles on dirt roads might cause a brake-squeal complaint. See Photo 1.
The Visual Inspection
Since racing up to a red traffic light at 40 mph isn’t a good way to diagnose bad brakes, it’s better to spend a few minutes doing a preliminary inspection of the vehicle. For example, make sure that all four tires are of the same recommended size, circumference and inflation. Check the tire pressure monitoring system (TPMS) warning light for an indication of a failed pressure sensor.
As a rule of thumb, tire circumferences should be within a ½-inch of each other as measured with a flexible measuring tape. The tread patterns should also be identical to ensure equal corner-to-corner road adhesion. Due to increased leverage on the brake assembly, trucks and SUVs equipped with large-diameter tires will usually suffer a loss of braking power.
A badly worn tire on the front might indicate a wheel alignment problem that could be the root cause of a brake-pulling complaint. Tires that aren’t centered in the wheel wells usually indicate a bent control arm or broken leaf spring center bolt. Last, check the spoke alloy wheels for severe dusting. If the wheel is covered with black or rusty brake dust, semi-metallic brake pads might have been substituted for the OE ceramic pads. If metallic particles are present on the wheel, metal-to-metal contact is taking place.
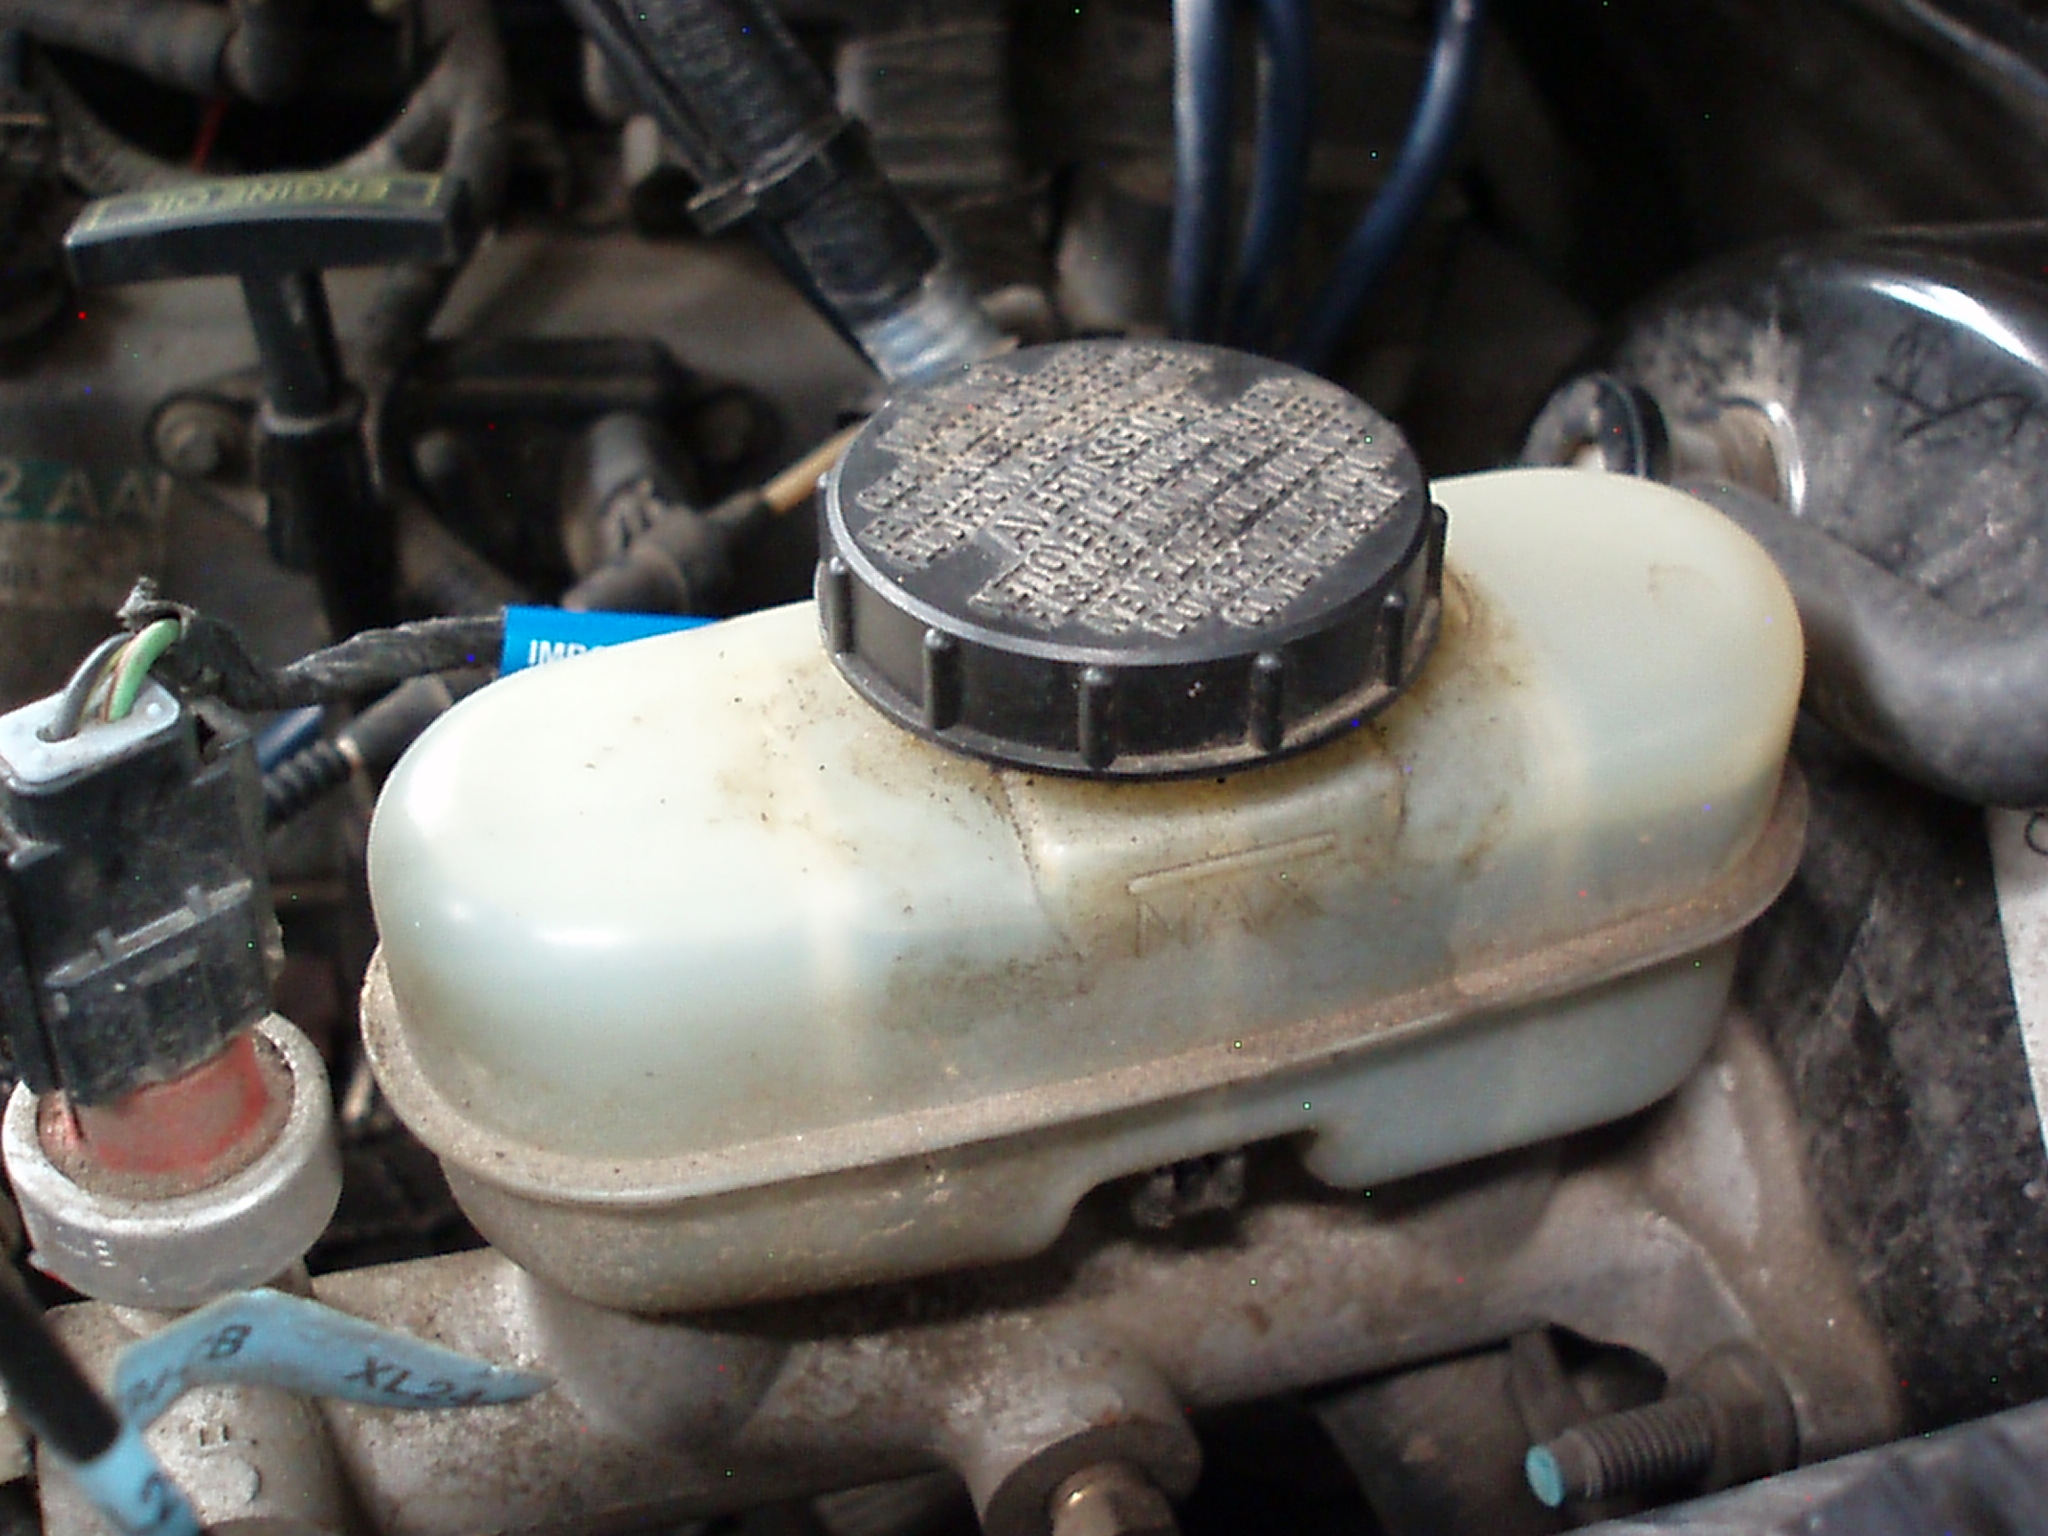
Before driving the vehicle, raise the hood to check the brake-fluid level in the master cylinder reservoir. DOT 3 brake fluid normally ages to a dark-tan color and has the viscosity of salad oil. Examine the fluid closely to see if it’s contaminated with motor oil or power steering fluid. Moisture or oil contamination will thicken or emulsify the brake fluid. A low fluid level can indicate extreme disc brake pad wear or fluid leakage. Brake fluid residue emanating from the rear of the master cylinder down the front of the vacuum booster indicates a leaking rear master cylinder seal. See Photo 2.
The Parking Lot Road Test
I recommend connecting a professional scan tool before starting the engine. As the ignition is turned on, see if the orange ABS and red brake warning lights illuminate for a bulb check. If the ABS and brake warning lights remain on, the brake-fluid level might be low or the fluid level sensor might be disconnected. A red brake warning light indicates that the parking brake is engaged. If the orange ABS warning remains on after the engine starts, check the ABS module for DTCs.
If ABS codes exist, a separate diagnostic fee should be included to diagnose their cause. After capturing the trouble codes in the scan tool memory, pull up the data lines indicating wheel speed sensor activity. In many cases, a default value of perhaps 3 mph will be indicated at all four wheels. Wheel speeds should increase evenly as the vehicle accelerates. Your scan tool might also come in handy for adjusting the electric parking brake, if so equipped.
Before starting the engine, maintain light pressure on the brake pedal. If the pedal slowly sinks, it’s very likely that the master cylinder is worn. Then, apply heavy pressure on the brake pedal. If the pedal sinks, a hydraulic leak is present that makes the vehicle unsafe to drive.
Next, check the pedal height and free play. Some vehicles are designed with low pedal height and, if this is the case, note the pedal height for future reference. In any case, apply the parking brake to see if the pedal height increases. If it does, the rear drum brakes or parking brake shoes are out of adjustment. If the pedal feels spongy, the hydraulic system probably contains air. To fully release the brakes and brake light switches, the brake pedal free play should be at least ½-inch.
With your foot on the brake pedal, observe the brake pedal activity as the engine is started. Vacuum-boosted brakes should pull the pedal down as the engine starts. Hydraulically boosted brakes should bump the brake pedal up as the engine starts.
Begin your road test by creeping from a stop to see if the brakes fully release. If the brakes don’t release after a firm application of the brake pedal, the vacuum booster pushrod or the brake-light switch might be poorly adjusted. With the vehicle rolling about 5 mph, lift your hands away from the steering wheel and gently apply the brakes. If a steering wheel pull exists, see if releasing the brake pedal cures the pulling condition. If it exists, the pull is in the front brakes. If it doesn’t exist, the pull is in the tires or wheel alignment.
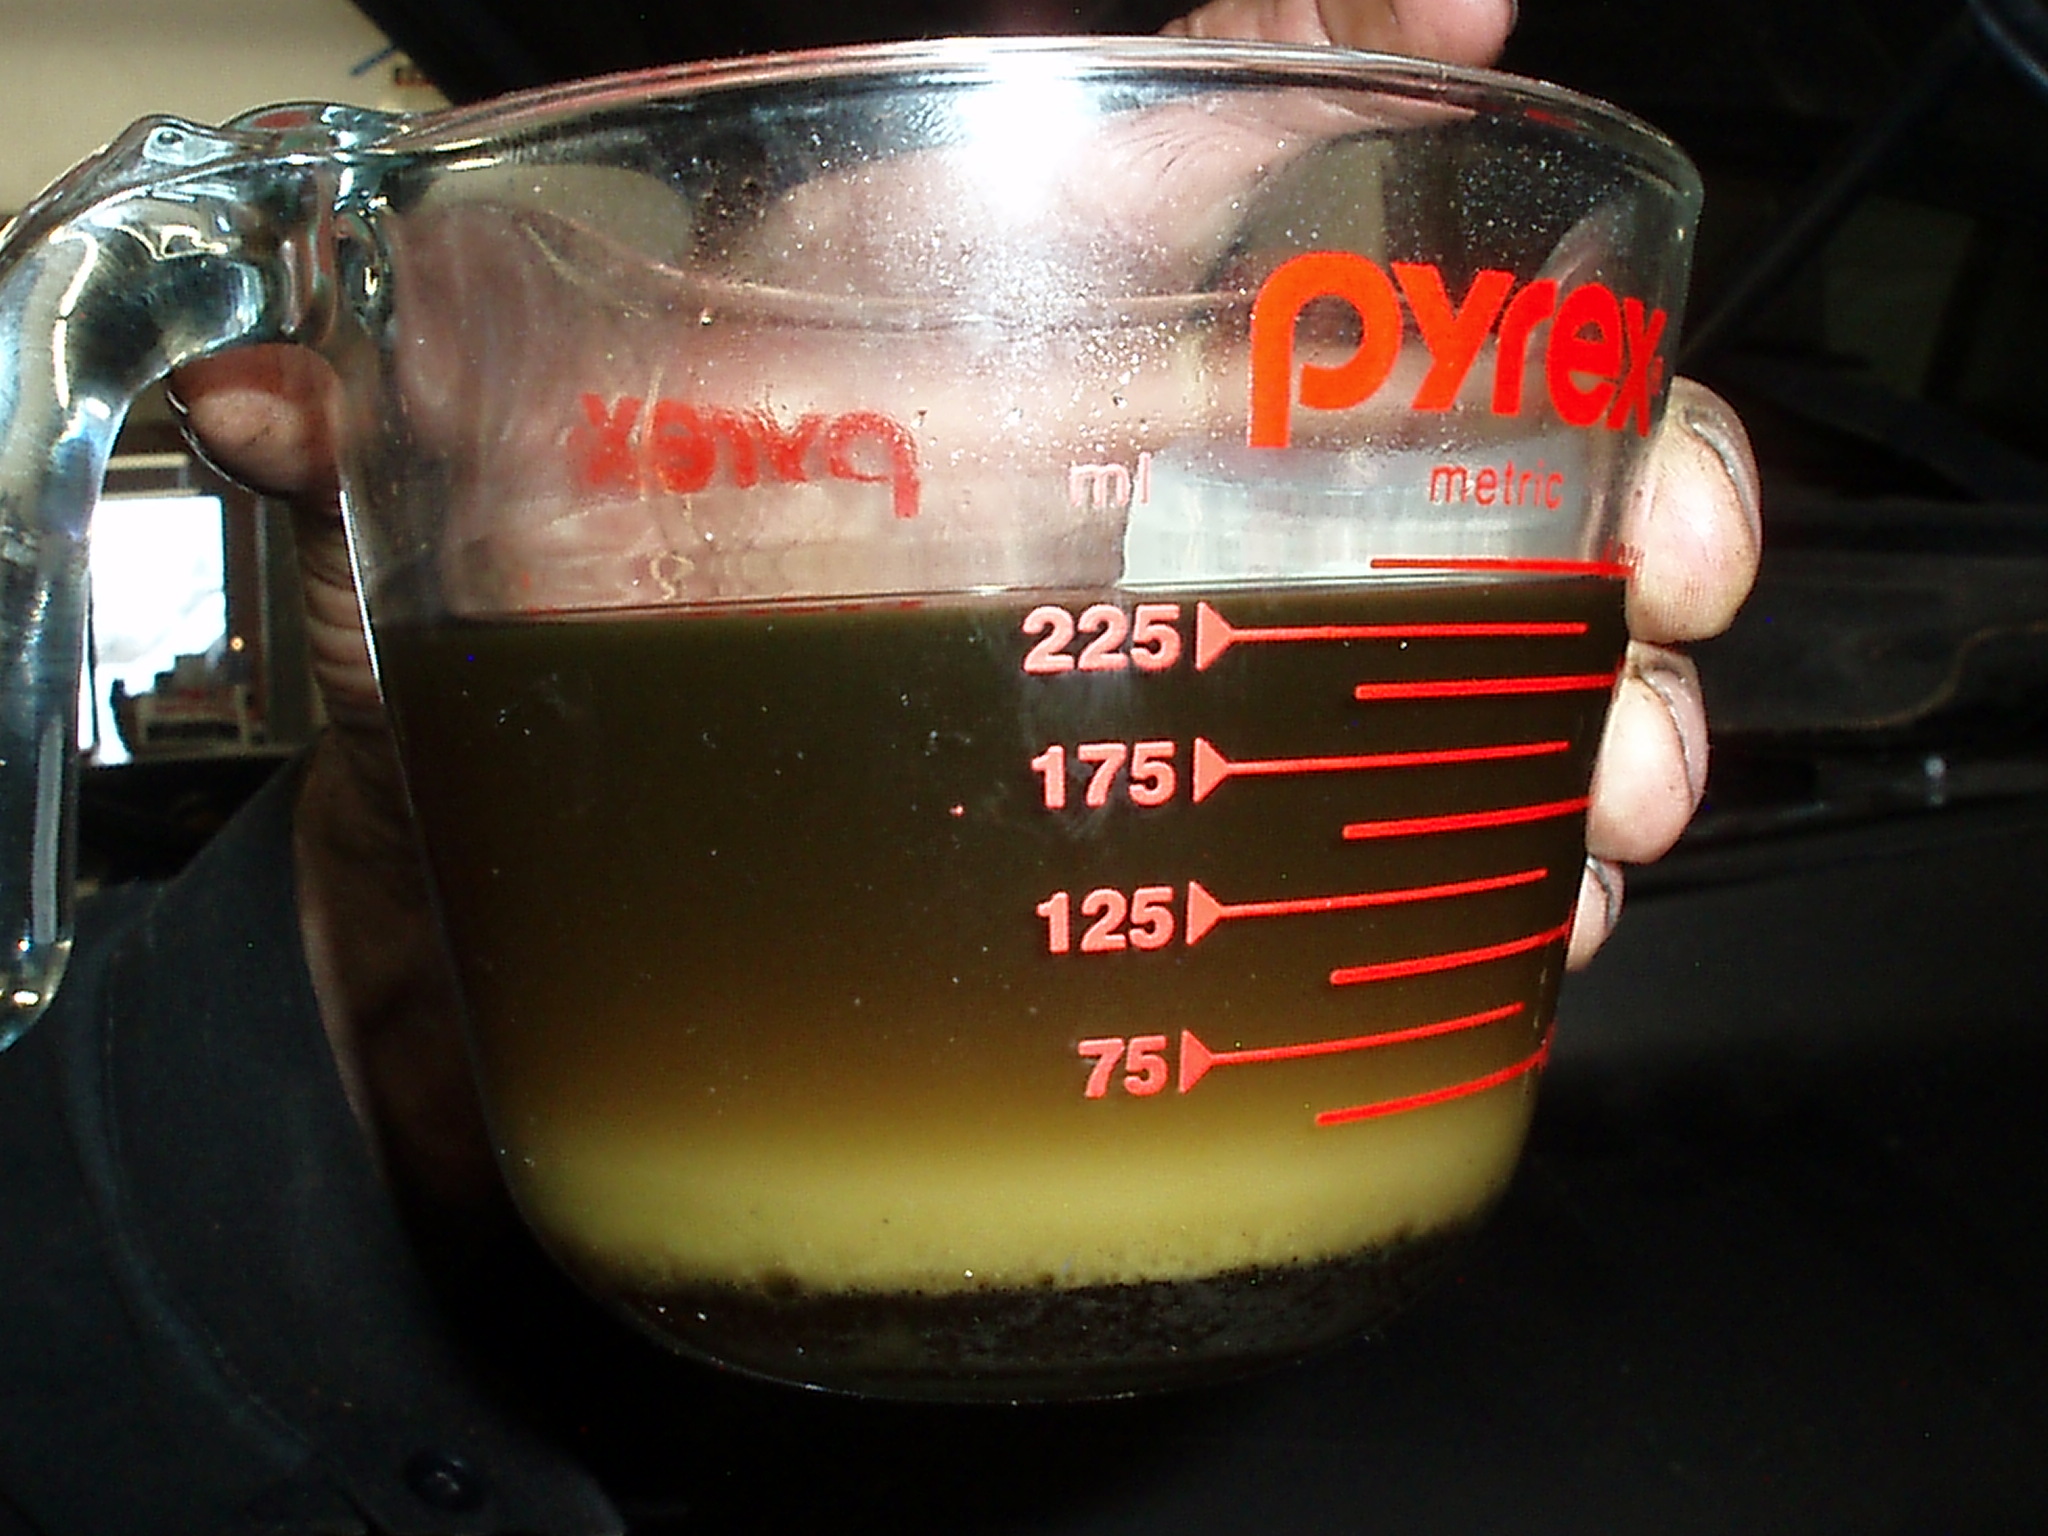
If a rear drum brake locks up during a light braking test, we can safely assume that the offending brake has a leaking wheel cylinder or axle seal. If the vehicle passes the parking lot test, it’s ready for you to take it for a spin around the block to check for pedal pulsation, noise and other operational complaints. See Photo 3.
The Lift Inspection
Before removing the wheels, inspect the steel brake lines for corrosion and a close proximity to the exhaust manifolds, pipes and mufflers. In some cases, a modified exhaust can cause a hot-operation pedal response complaint by overheating the brake fluid in the line.
While you’re at it, check the steering and front suspension systems for worn joints and collision damage. Inspect the wheel bearings for looseness and check each wheel to make sure it rotates freely. If a wheel doesn’t rotate freely, the brake caliper piston is sticking or the caliper guide pins are seized.
With the wheels removed, inspect the brake hoses for hardening and cracking, and the calipers for fluid leakage. If possible, measure rotor thickness. If a brake rotor is approaching discard level, recommend replacements in axle pairs.
Similarly, if a caliper piston is leaking or sticking, recommend caliper replacements in axle pairs. Last, install the recommended brake friction.
In general, semi-metallic friction is used in heavy-duty towing or hauling applications. Ceramic friction is most often used in passenger car applications because it is dust-free and has excellent noise and stopping power characteristics. Remember that all brake friction manufacturers are meeting recent EPA regulations by eliminating copper from their brake pads, so it’s important to follow the friction manufacturer’s recommendations for your application. In relation to cost, the price of premium brake friction is but a small percentage of the overall repair. So, don’t risk the safety and reliability of a brake repair to save a few dollars on inexpensive brake pads.
Courtesy ImportCar.