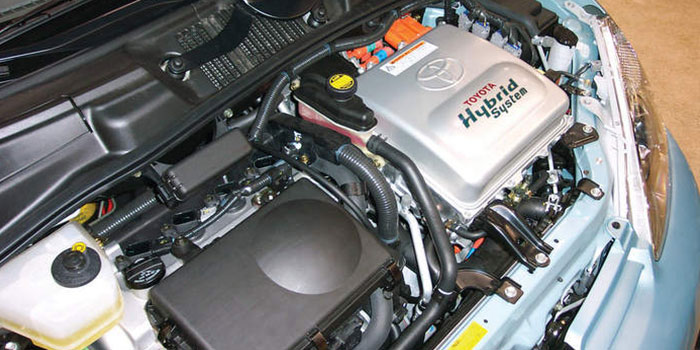
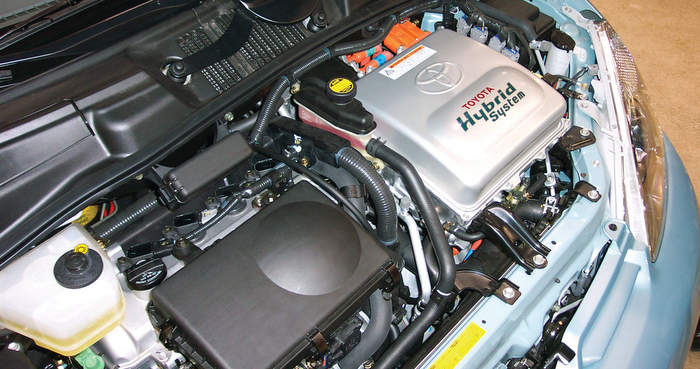
Making its debut in 1997, Toyota’s Synergy Drive has been used in the Prius, Camry and offered on almost all Lexus models since 2006. Below are some of the basic rules of the road and some fixes that may come in handy when performing a brake job on these Toyota hybrids.
Low Pedal Problems
Low pedal does not mean low brake pads. The system is not a full-time, brake-by-wire system. When the driver is pushing on the brake pedal, it might not be producing hydraulic braking force because the system is measuring the stroke and pressure generated at the brake pedal and translating that into braking force created by a generator. This is done with a “stroke simulator.” If there is a low brake pedal or the customer complains that the pedal doesn’t feel the same, diagnose the problem before replacing the pads or rotors.
Powering Down
Even if the engine is off and the car is not moving, there is still hydraulic pressure in the lines on some Toyota hybrids. On all models, the system will have pressure for two minutes after the vehicle is powered off. In those two minutes, the vehicle is doing some housekeeping and putting modules to sleep.
The vehicle enters powered off mode when the keys are removed and the doors are shut. To disarm the system, you must wait two minutes and pull the relays for the ABS and stability control system. A scan tool can be used to depressurize or zero the accumulator and the entire system.
 Pads
Pads
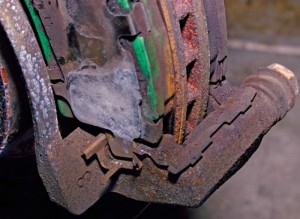
Toyota hybrids often get to 70,000 or 100,000 miles with the original set of pads because regenerative braking creates a majority of the braking force. But, in some rust belt states, the hardware rubber seals/boots and calipers may fail before the pads wear to the minimum specifications.
Pad delamination due to rust jacking on the backing plates can occur if a high-quality pad is not used. Why? The majority of the time, the pads never reach conventional operating temperatures, which can cause corrosion to occur between the backing plate and friction material because the pads never dried out.
Since it’s impossible to perform a conventional break-in/bedding procedure on the test drive, make sure the manufacturer promises excellent performance right out of the box. Also, applying a non-direction finish with a ball hone will help the new pads evenly deposit a layer of friction material to the new rotor.
Rotors & Codes
There is nothing special about servicing the rotors on this vehicle, but if you are planning to use an on-the-car brake lathe, make sure the system is off for two minutes with the doors closed. Most on-the-car brake lathes operate below the speed threshold of the generator’s ability to generate voltage.
Rotors that have excessive runout or thickness variation can cause hydraulic pulsations in the brake circuit. These irregularities can cause the pressure sensor to trigger trouble codes C1341 thru C1344 that indicate a hydraulic circuit malfunction.
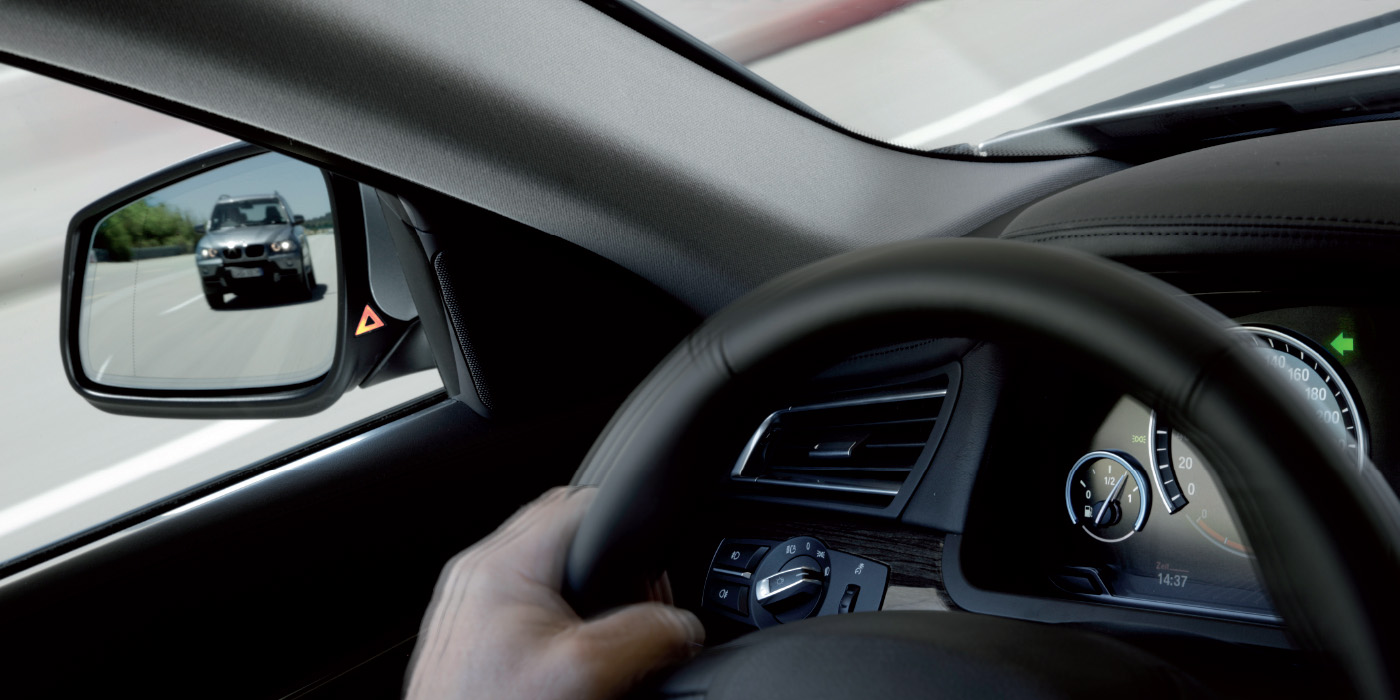
When working on vehicles with advanced ABS and stability control systems, it’s a good practice to remove the keys from the vehicle and place in a different room, like at the front counter, until you know how the system operates.
ABS Light On After Pad Replacement
If the ABS light did come on during the test drive, disconnecting the battery is not the way to clear the codes. Yes, it will clear some codes, but you will have to recalibrate the steering position sensor, and other items, like the automatic power windows, will stop functioning.
During the test drive, the pressure sensors at the wheel detected an abnormal reading when the hydraulic system was first engaged. The system may have detected low pressure when extra fluid was required to bring the piston into contact with the rotor, or residual pressure from you pushing the piston back. DTCs may be stored if brake fluid leaks, a wheel cylinder vibrates due to uneven wear of the brake disc rotor, or foreign matter entering the solenoid valve.
Toyota has issued a Technical Service Bulletin (BR012-06) on the topic. It states: “When replacing the brake pads on an ECB (Electronically Controlled Brake) system-equipped vehicle, retracting the caliper’s piston and installing new brake pads may cause trouble codes to set the next time the brake pedal is depressed.”
If any of the following four trouble codes are set, all the codes need to be cleared and another test drive completed to verify the code has been cleared:
• C1341 Front Hydraulic System RH Malfunction
• C1342 Front Hydraulic System LH Malfunction
• C1343 Rear Hydraulic System RH Malfunction
• C1344 Rear Hydraulic System LH Malfunction
If you don’t have a scan tool, it is possible to clear the codes with Special Service Tool (SST) 09843-18040 (basically a fancy jumper wire).
(a) Using SST, connect terminals TC and CG of the DLC3.
(b) Turn the power switch ON (READY).
(c) Clear the DTCs stored in the ECU by depressing the brake pedal eight times or more within five seconds.
(d) Check that the warning light indicates a normal system code.
(e) Remove SST.
Note: DTCs cannot be cleared by removing the cable from the negative battery terminal or the ECU-IG fuse.
Brake Actuator Noise
This comes from TSB BR002-07 that covers 2004–‘07 Prius models. Some of these vehicles may exhibit a squeak-type noise when pressing or releasing the brake pedal. This noise may only be audible when the vehicle is in “READY” mode and the vehicle is not moving. Brake system performance is not affected by this noise. Use the following procedure to address this concern.
1. Confirm noise condition by pressing/releasing the brake pedal.
2. Bleed the brake system with a scan tool and the correct repair procedure. If the noise is no longer present when pressing/releasing the brake pedal, the repair is complete. If the noise is still present, go to step 3.
3. If the noise is still present, replace the Brake Actuator Assembly. Refer to your source of repair information for the correct procedure.
4. Road test for proper operation.
Article courtesy Brake & Front End.