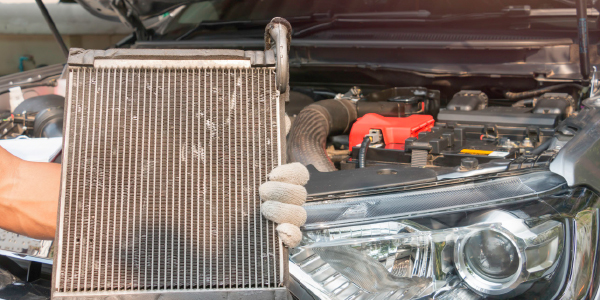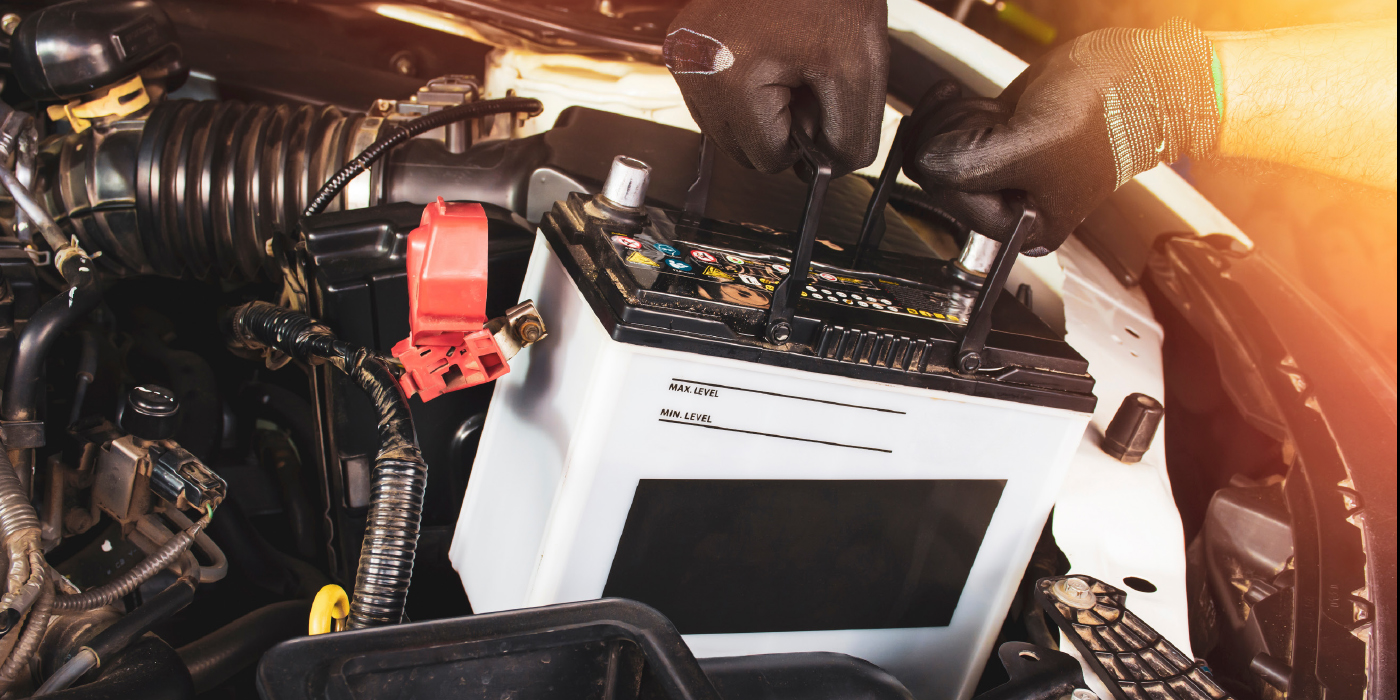
An oil change is probably one of the least expensive services your shop offers, but it can result in one of the most costly comebacks if a mistake is made. Cartridge oil filters make potential mistakes more likely because they require more knowledge and tools to properly change the oil than a canister filter.
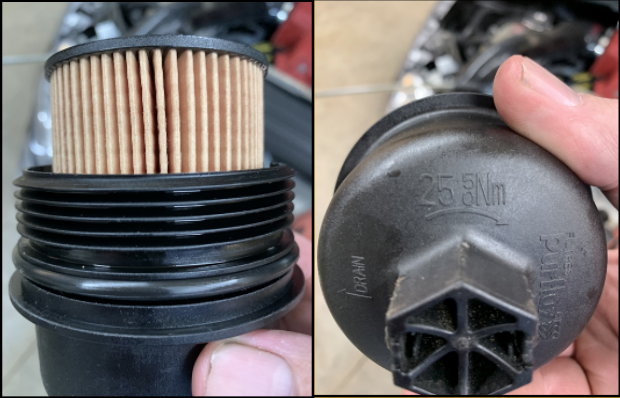
1. Cleanliness is critical: After the old cartridge filter is removed, clean the cap and housing. This is about the only way you are going to be able to spot cracks and damaged threads.
2. Roll the O-rings: Do not pull, pry or stretch the new O-rings during installation. Lightly lubricate the O-ring and roll it in over the threads to the correct position on the housing.
3. Use the correct tool to remove the housing: Just because a housing has wrench flats doesn’t mean you can use a conventional wrench, socket or even pliers to remove it. Tool suppliers have a wide selection of cartridge oil filter tools that will pay for themselves by preventing such a problem.
4. Be gentle when removing the O-rings: Never use a tool method to cut the O-rings off the housing — doing so may accidentally damage the threads or sealing surface. Even the smallest scratch or gouge can cause a leak.
5. Lay out the old and new O-rings: Some new applications may require up to four new O-rings and some filter kits have multiple O-rings in the package to fit different applications. When the new filter is unboxed, use the old O-rings as a basis of comparison when looking at the new O-rings.
6. Apply oil to the O-rings: Always apply clean engine oil to the new O-rings and the O-ring grooves in the housing cap. This helps to create a better seal because the O-rings will not bunch up or twist when the housing is installed.
7. Drain the oil after the filter has been removed: Most cartridge oil filters that are on top of the engine engage an anti-drainback valve. When the filter is removed, the oil in the housing drains into the pan. This oil is typically the dirtiest in the engine. It needs to be drained from the engine. Also, the excess oil can cause the engine to be overfilled when new oil is poured into the engine. So leave the drain plug out until the oil filter is removed.
8. Look up the specifications and service information: Don’t guess the torque specs; look them up.
9. Replace the housing if you are in doubt: If you see any damage that could cause a leak or failure, recommend a new housing.
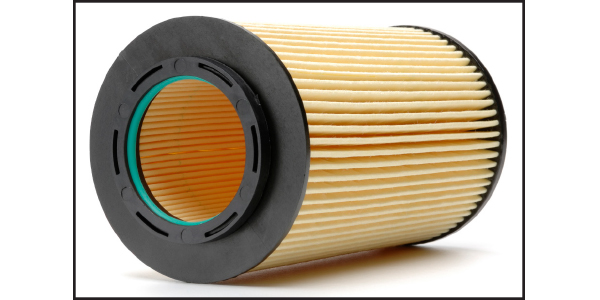
10. Inspect the filter: The old filter can tell you a lot about the engine. Inspect the pleats for damage like tears and deformation. This could be a sign that the filter was not installed properly during the last service. It can also indicate that the filter was clogged and restricted oil flow. Also, look at the end caps of the filter for separation of the sealing surface.
Article courtesy Underhood Service.