ADAS diagnostics and calibrations can scare some technicians. The thought of aligning a cone of millimeter radar waves or adjusting a camera’s field of view can be terrifying.
On a theory and operational level, ADAS systems are one of the most complicated systems on a vehicle that requires the sensors and outputs to work as one. However, on a “nuts and bolts” level, it is no more complicated than performing an alignment or adjusting a headlight’s beam pattern.
What is the worst thing that can happen? Yes, there is the possibility that you could misalign the sensor, which may cause the automatic braking system or lane-keeping to not function during a collision. But, the worst thing that will happen is you will be caught in a loop where you start the calibration and are stopped by error messages or compromised components.
What Skills Do You Need?
The main skill you need is to be able to read and follow commands on a scan tool. If you are the kind of technician who hits the “next” or “okay” button without reading the dialog in a pop-up window, you will not do well when performing an ADAS calibration.
Following all steps before hitting the next button is critical. Small details like tire inflation, fuel level or battery condition can all abort a calibration or cause codes.
You must be able to not only read service information, but also comprehend the meaning. If you skip the theory and operation section and dive into the procedures, you could be missing the point of calibration. Knowing the “why” is just as important as the “how.”
The best example of a mistake is aligning sensors and systems that might not need calibration. Many vehicles will have four or five ADAS sensors with their own calibration procedures. Knowing what will need to be calibrated and why can save you performing calibration that was not necessary.

Inspection
Another essential tool you need for ADAS service is your eyeballs. Visual inspection before you start any ADAS procedure can help you to avoid problems during the setup calibration. Any signs of damage need to be documented and corrected.
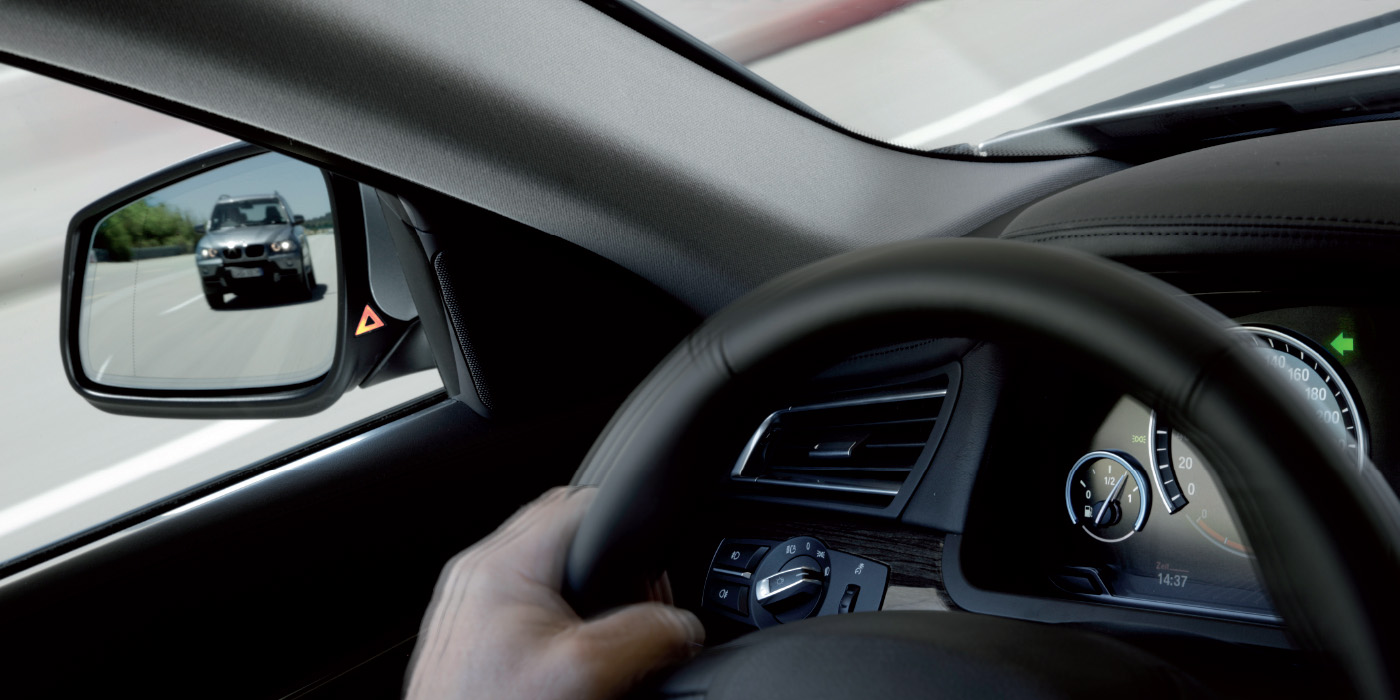
Radar sensors are hidden behind a grille or bumper cover. Damage can occur that will alter the aim of the sensor, such as when the underside of the bumper or spoiler strikes the road or parking block. These types of impacts might not leave witness marks in the area of the sensor, but the movement of the bumper cover could displace the sensor.
Radar sensors are mounted to the front of the vehicle like headlights. Often, they are mounted using the same white plastic ball and socket adjusters that are designed to break. You may have to remove the bumper cover to inspect for damage.
Cameras typically do not have a large range of mechanical adjustments. When they are knocked out of adjustment, it is typically due to striking another object or airbag deployment.
One of the most common camera problems occurs during windshield replacement. It is not that the camera is knocked out of alignment, but the opening in the new windshield does not match the camera. It could be due to an ordering issue or a small change by the OEM. It can be very frustrating.
Inspection of the total vehicle is also critical. Mechanical items like the suspension, steering and brakes matter to the operation of ADAS features. Even items like wiper blades matter to the camera.
ADAS Tooling
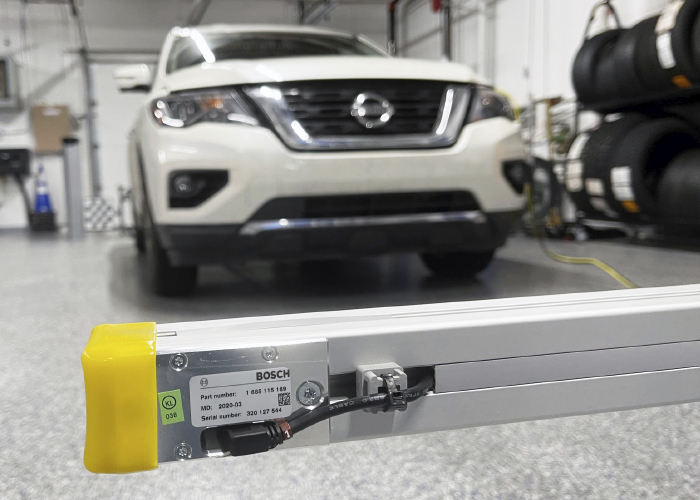
ADAS tools come in two flavors: factory and aftermarket. What is the better tool? It is the aftermarket tooling. If you look at the factory-required tools in the service information, it will typically include the factory scan tool, targets/fixtures and measurement tools. The measurement tools can include string, a plumbob and a tape measure. With these simple tools, you can probably set the target and fixture.
You may have noticed that diagnostic scan tool companies have introduced ADAS calibration tools and fixtures that may cost more than $20,000. You might think these are a little expensive compared to the cost of factory tools and methods. But, there are two ways you can recoup your investment.
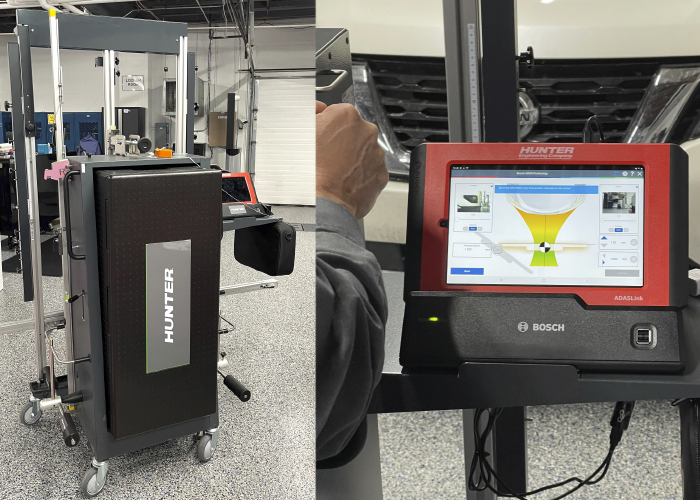
The first way is to reduce setup and calibration times. Most aftermarket ADAS tools use a cross-bar system and fixtures on the wheels to locate the proper positions of targets for calibration. These replace the need to measure with string and tape measures. Not having to crawl around on the floor with a roll of tape makes these tools priceless.
Second, these units have targets and mats that cover many makes and models. These can help you calibrate a wider range of vehicles. This can help to “future proof” your skills and business.