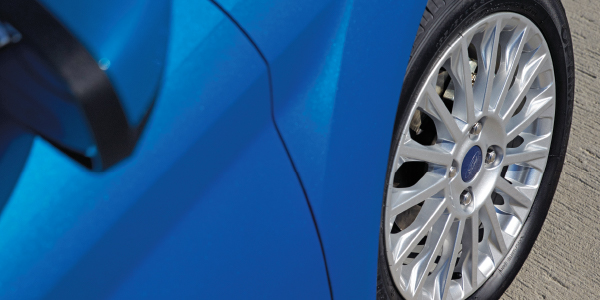
What’s so significant about the 2010-current Ford Fiesta brakes? First, the Ford Fiesta is one of the first sub-compacts on the market with the “Full Monty” of ABS/ESC/EBC/TC to come as standard. 2014-current models even have torque vectoring. Second, this vehicle uses an old drum brake technology to solve a modern problem with cars equipped with electronic brake distribution.
Front Brakes
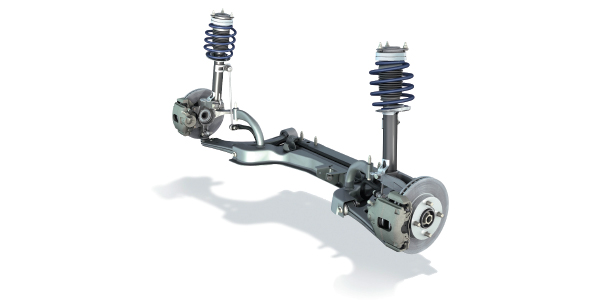
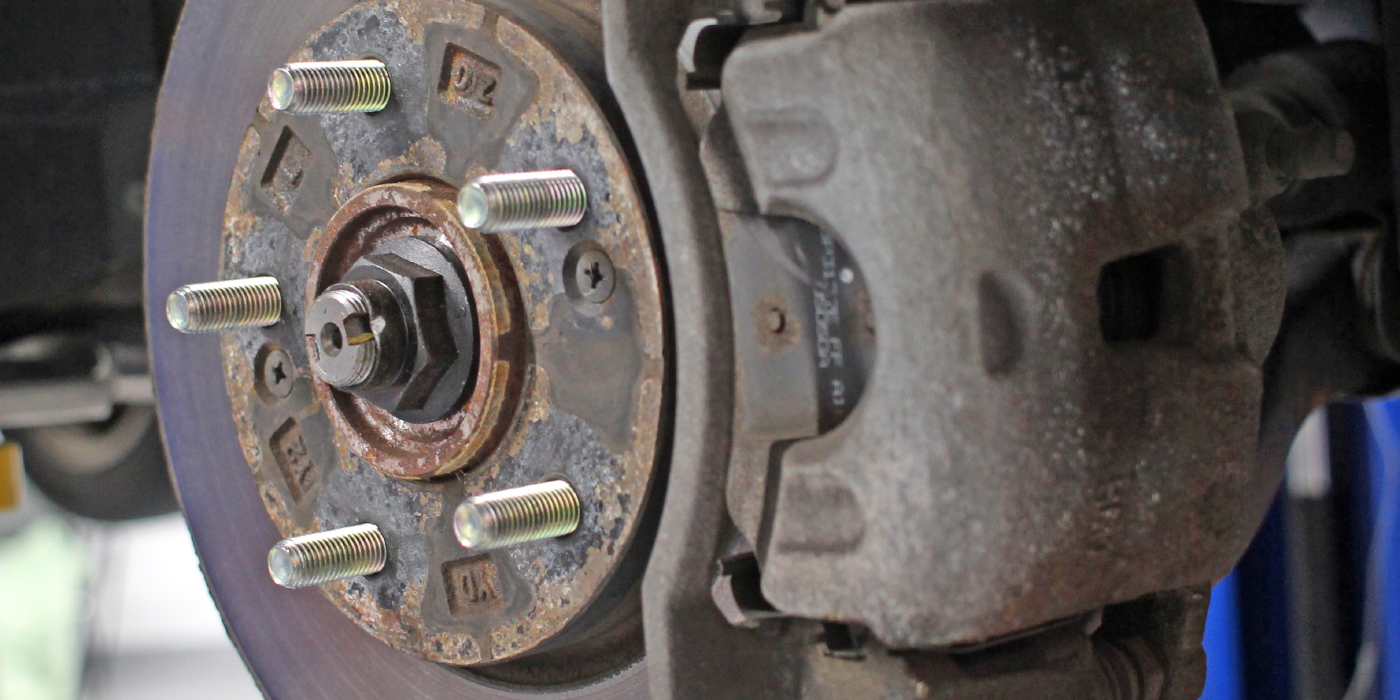
The front brakes are the conventional single-piston floating caliper design. Servicing the pads is straightforward and simple. The stock pads use a double floating shim arrangement to control noise.
Rear Brakes
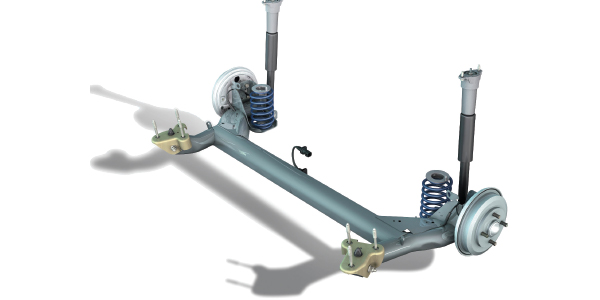
The standard rear brakes on the Fiesta are a self-adjusting drum system. You might think they did this for cost or weight, but it is Ford’s solution to stop rear brake wear problems that has plagued the rear disc brakes of small cars with electronic brake distribution (EBD).
EBD provides more control over the brakes during normal stops by using the rear brakes more and in different modes. This gives the vehicle better pedal feel, less nosedive and prevents rear brake lock up. But, wear rates for rear disc brake pads was in some cases half the life of the front brake pads.
Several manufacturers tried to correct the problem with new reflash programming procedures and friction materials, but Ford had a different solution for the Fiesta.
Ford stuck with rear drum brakes (ST models have disc). Drum brake shoes typically last longer than brake pads on a rotor of a similar size because there is more friction surface area between the shoe and drum. By doing this, Ford has avoided the problem of rear brake pads wearing out faster than the front pads.
How EBD Works
During initial application, full pressure is applied to the rear brakes. Once vehicle deceleration exceeds a certain threshold, the ABS module closes the appropriate solenoid valves in the HCU to hold the rear brake pressure constant while allowing the front brake pressure to build. As the vehicle decelerates, the valves are opened to increase the rear brake pressure in proportion to the front brake pressure.
If there is a DTC in the ABS module specifically for the HCU, or there are two or more wheel speed sensor DTCs set, the EBD is disabled.
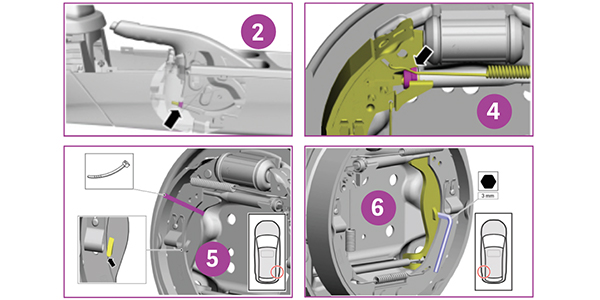
Shoe and Parking Brake Cable Adjustment
After the brake shoes are replaced, you must use a brake drum gauge to set the new shoes to the size of the drum. The clearance between the drum and shoe is about 1 mm. Adjusting the parking brake is critical for the self-adjusters.
1. Remove the floor console finish panel to access the parking brake cable adjuster nut.
2. Make sure the parking brake control handle is in the fully released position.
3. Remove the brake drums.
4. Loosen the self-adjuster one full turn on both axles.
5. Using a cable tie, secure the parking brake actuation lever to the brake shoe as shown on the passenger side rear.
6. Install a 4 mm Allen wrench against the parking brake actuation lever on the driver-side rear only.
7. Adjust the parking brake cable adjuster nut until the allen wrench falls out.
8. Remove the cable tie.
9. Adjust the brake shoes.
10. If new rear cables have been installed, carry out the following sub steps. If new rear cables have not been installed, proceed to step 11.
a. Cycle parking brake control lever to the 10th notch 10 times to stretch the new cables.
b. Remove the rear drums and verify that the gap exists between the parking brake stop lever and the brake shoe web.
c. If the gap is zero, repeat step 2 and steps 4 thru 9.
11. After assembling the wheel, verify the wheel turns freely to ensure there is no brake drag present.
12. Fully depress the brake pedal 10 times. Apply the parking brake to verify correct operation.
13. Install the floor console finish panel.
Article courtesy Brake & Front End.