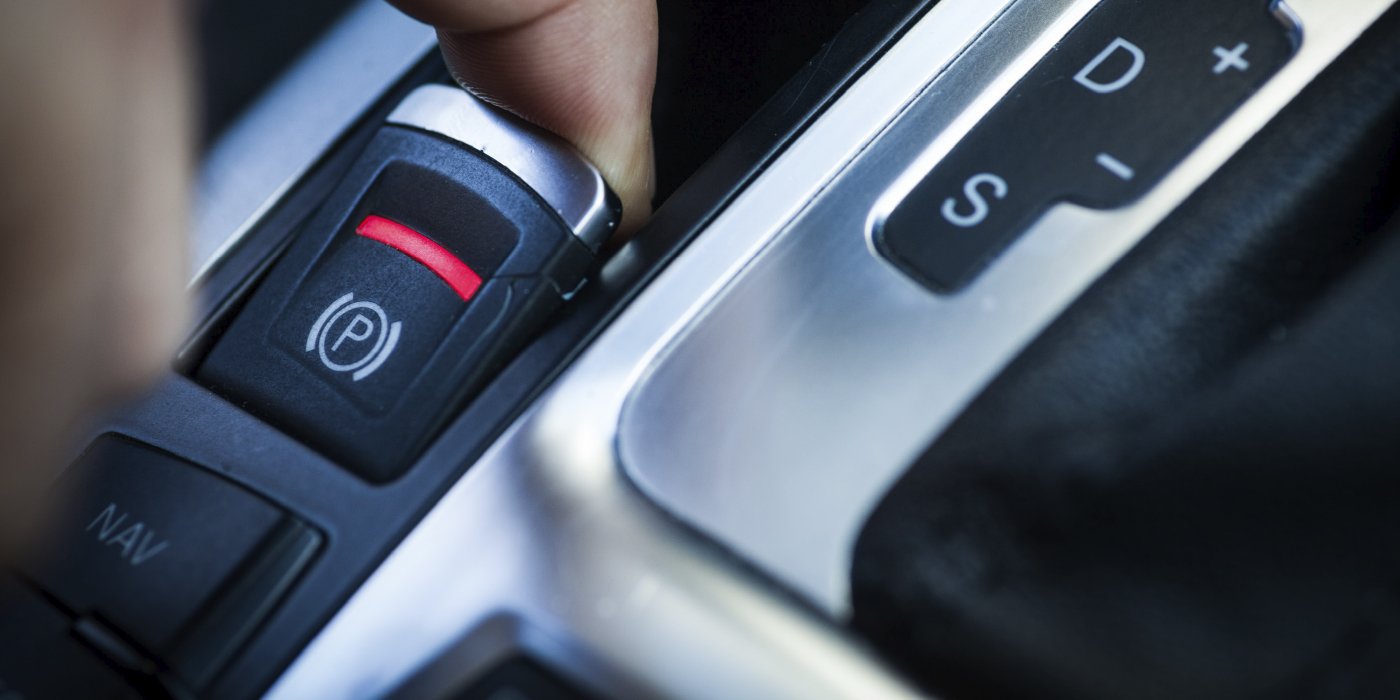
If a vehicle comes into your shop with the TPMS light already on, there are a few key things to always check first for time’s sake. Sometimes the solution is much simpler than the time it takes to diagnose the issue itself.
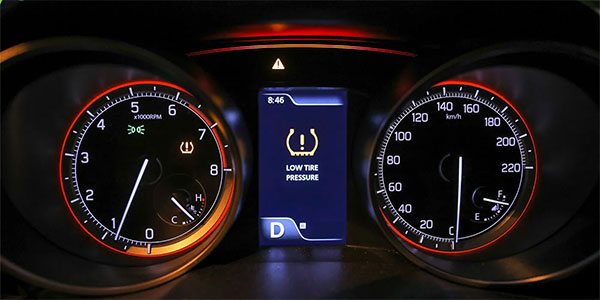
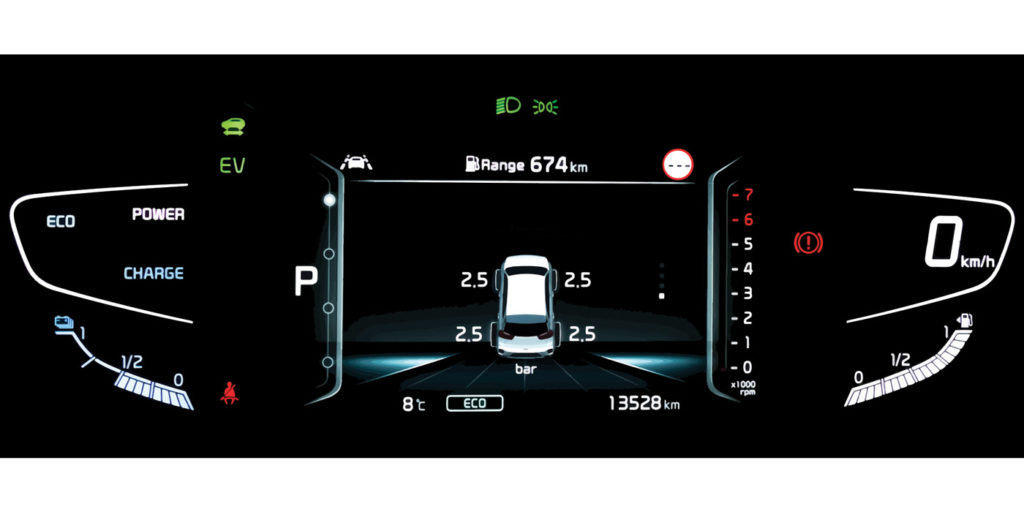
The first step is to turn on the vehicle and look at the TPMS light yourself. Check if the TPMS light turns on instantly and remains solid, or if it blinks before remaining solid. This step alone can be a huge time-saver.
If the light is solid, it is signaling that one or more tires is inflated to at least 25% below the recommended placard pressure. This can likely be fixed by simply filling up the tires to the vehicle’s recommendations. Here are some common mistakes that are made when filling up tires that can cause the light to remain on:
- The tires were filled while warm. Air expands as it warms up, so a tire’s air pressure will naturally increase as the tires spin and heat up. It is very common for a vehicle to show a solid TPMS light in the morning after cooling all night, and then for it to shut off as the vehicle is driven. Even if the pressure is reading correct while the tire is warm, keep in mind that the tire pressure can decrease 1-3% once the tire cools; this might be just enough to kick that TPMS light back on.
- The tires were filled by the pressure displayed on the sidewall of the tire instead of the recommended pressure on the vehicle’s door placard. These are often two different recommendations and can be confusing for the average driver. Always inflate the tire to the door placard pressure.
- The spare tire was not checked. Some vehicles will also read the spare tire pressure, so it is important to check that the spare tire is also inflated to the proper pressure in order to ensure the TPMS light stays off.

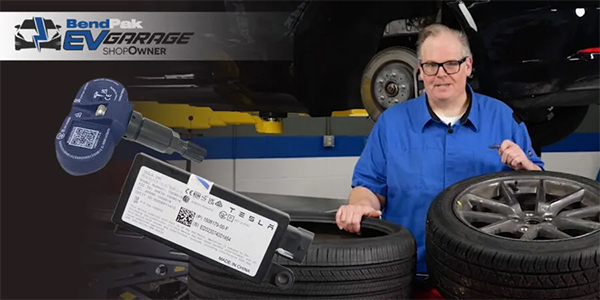
If the TPMS light blinks for 60-90 seconds before remaining solid, then the issue lies with the TPMS system itself. There is likely a dead, damaged or missing sensor in one or more tires. Doing a quick “Test Before Touch” will identify any sensors not working. Once you discover which sensor(s) failed, find out why in order to make service recommendations to the customer.
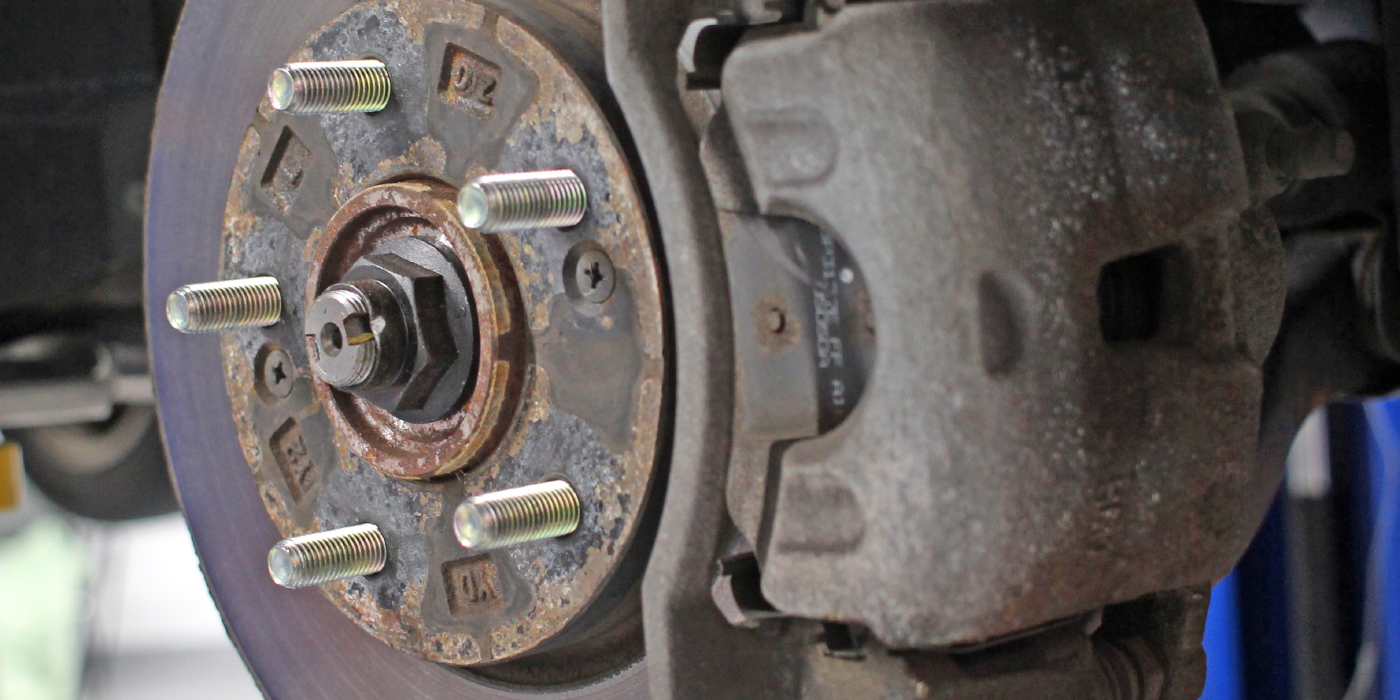
- First, check for signs of damage. If the stem looks bent or the sensor isn’t sitting properly in the rim of the tire, it could signal that the driver hit a curb or a pothole just right, hitting the sensor and causing it to malfunction. You can also check the sensor body for any damage that could have been caused by improper handling during a previous service. If damage is present, the solution is to replace the sensor.
- If you don’t see signs of damage, and if you have the tool functionality, test the sensor battery. TPMS sensor batteries cannot be replaced, so if the sensor battery is dead, the vehicle will need a new sensor. Knowing if it is a battery issue allows you to recommend the other three (or four) sensors should also get replaced at the same time. If one has died, the rest are sure to follow. Servicing them all at once will save the driver time and money in the end.
- If you don’t find any malfunctioning sensors, then the issue likely lies with the sensors not being properly programmed or that a relearn is needed on the vehicle. A sensor could be completely functional but perhaps was programmed to the wrong MMY, for example. In this case, the tool might be able to “ping it,” but the vehicle’s ECU won’t be able to find it, causing the TPMS light to illuminate. In the same sense, if the sensors are programmed correctly but were never relearned to the vehicle, then the ECU might not be reading the sensor. This creates an unreadable tire pressure and illuminates the TPMS light. A simple relearn procedure should solve this issue.
If you try all of these things and are still unable to get the light out, call your sensor manufacturer. They can help walk you through more rare and unique possibilities for a TPMS light remaining on after service.