 The original equipment belts on late-model vehicles are made of synthetic materials and are far more heat-resistant and wear-resistant than older materials. These innovations mean serpentine belts may last up to 100,000 miles before they need to be replaced. If a belt fails sooner, you need to be a detective and investigate why it failed.
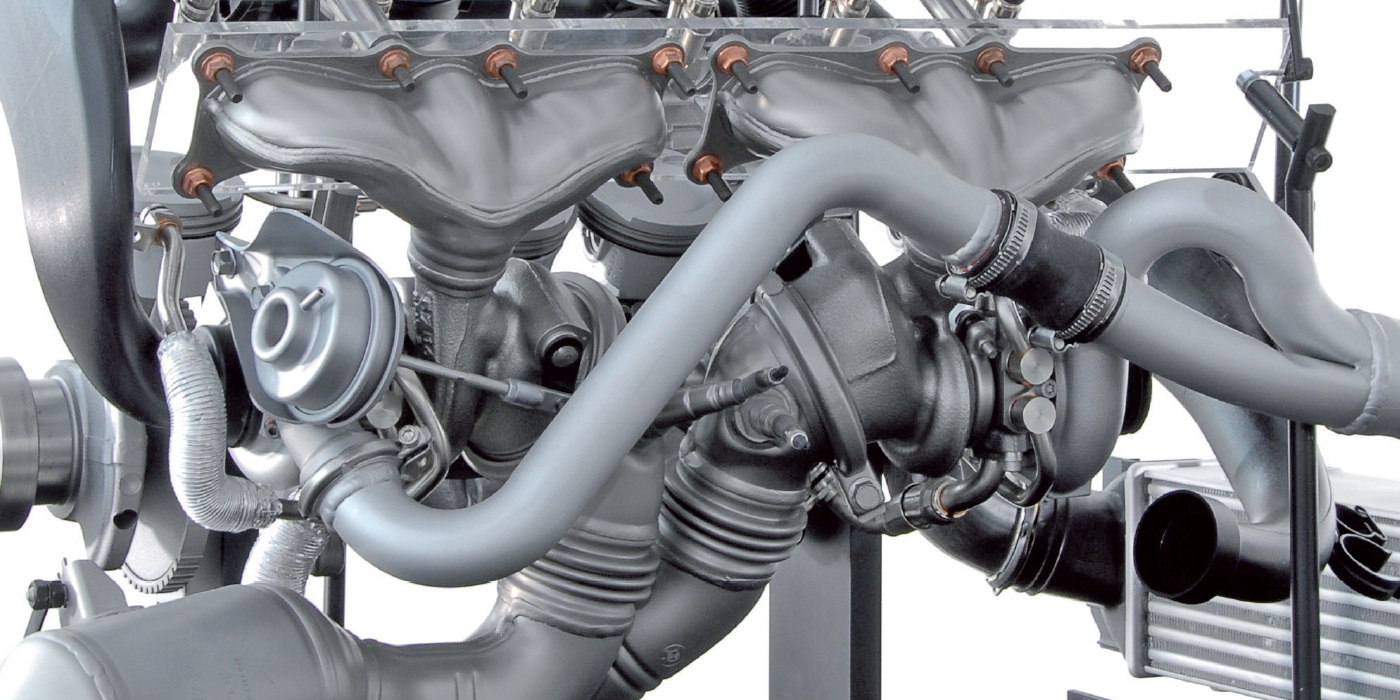
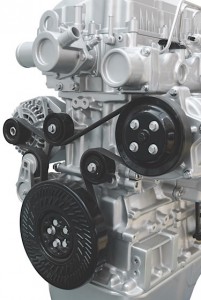
The key to understanding why belts wear is looking at the crankshaft. The rotation of the crankshaft is not smooth, and the power to the belt is not smooth. As air and fuel are ignited, the crankshaft speeds up. As the piston reaches the bottom of the cylinder, it slows down. These pulses are transferred to the belt and the pulleys. These pulses or changes in speed are greater in engines with fewer cylinders and longer strokes. This means that a 2.3L four-cylinder can be a lot harder on a belt compared to a 4.6L eight-cylinder.
Noise is the first sign that more components than the belt need attention. Listen to the belt before proceeding with the rest of the inspection. The first clue is a belt squeal heard during engine start-up. The second clue might be a belt squeal heard during parking maneuvers or during an alternator load test. Either a belt is able to grip the pulleys during these small changes in RPM, or it starts to slip. What allows the belt to grip the pulley is the walls on the grooves and the force put on the belt by the tensioner.
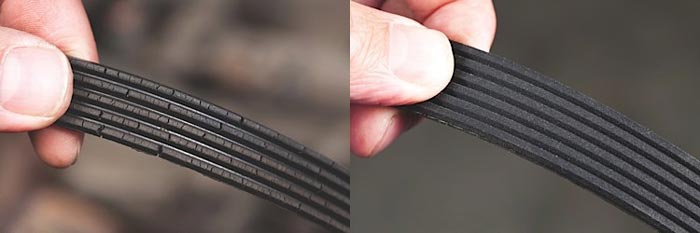
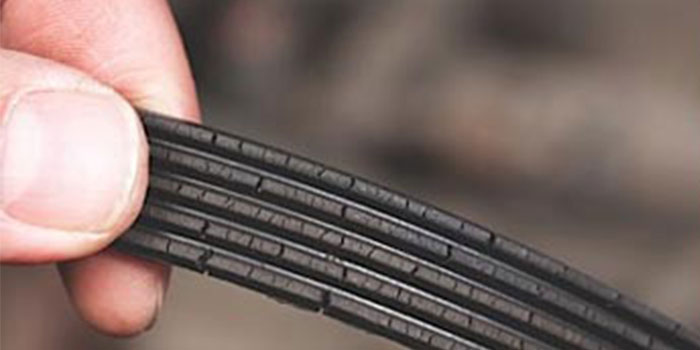
Late-model belts should not crack or show signs of abuse in normal operation. The belt should wear uniformly. The OE-recommended service interval is based on this wear and not on signs of cracking. Once enough material is worn away from the grooves in the belt, the grooves on the pulley bottom out, and the belt is not able to grip the alternator, power steering pump or A/C compressor. In this case, the belt will slip. This is why following replacement intervals and measuring depth is critical to keeping the belt and system healthy.
Abnormal wear like cracking, pilling and glazing on the grooved side of the belt is a sign there is not a problem with the belt, but with the pulleys and connected devices. So, replacing just the belt does not solve the underlying problem.
Cracking and missing chunks on modern belts are usually signs of high underhood temperatures. The heat is generated by not only the engine, but also the flexing of the belt as it travels along the pulleys. Also, slipping on the pulleys creates friction and heat. Heat breaks down the materials of the belt and causes oxidation. If oil or coolant comes in contact with the belt, the slipping can increase and cause even higher temperatures.
If the abnormal wear is in only one area, it is a sign the belt was damaged during installation or an incident occurred where an object came between the belt and pulley. The typical sign of installation damage is rib separation from a 1- to 2-inch area of the belt. This can occur if the belt was pinched or pried into position with a sharp object.
 If the pulleys are misaligned, wear will occur on the edges of the belt. The edge is one of the most sensitive areas on the belt because the structural fibers are exposed. Edge wear is typically caused by misalignment of the pulleys.
The Tensioner
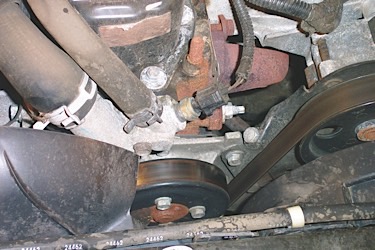
With the belt removed, the tensioner can be fully rotated. Rotate the tensioner pulley by hand and feel for bearing roughness. A rough bearing indicates the potential for immediate failure and signals that the tensioner should be replaced.
With the proper tool, move the tensioner arm as if you were installing a new belt; move the arm through the full range of available travel. By feel, you can detect if there is roughness or sticking of the tensioner arm during this movement. Replace the tensioner if sticking is detected.
A tensioner is more than just a spring, it is also a shock absorber. Inside most tensioners is a dampener that moderates the movement of the arm. If this is worn, it can cause belt flutter.
As the internal components wear, it can cause alignment issues. Try to move the pulleys fore and aft to make sure the mounting is tight and the pulley exhibits minimal axial movement, which can cause misalignment. With your hands, move all idlers fore and aft and check for free rock. Excessive movement indicates a bearing or alignment problem and that the idler should be replaced.
Decoupler Pulley
 An alternator decoupler pulley has a special clutch and spring that absorbs vibration to smooth out vibrations in the drive belt system. These new pulleys allow the alternator to “free-wheel” or “overrun” when the belt suddenly slows down. This prevents the belt from slipping and reduces vibration. These pulleys have a limited lifespan due to how they operate internally. A decoupler pulley can also cause noise if it is worn.
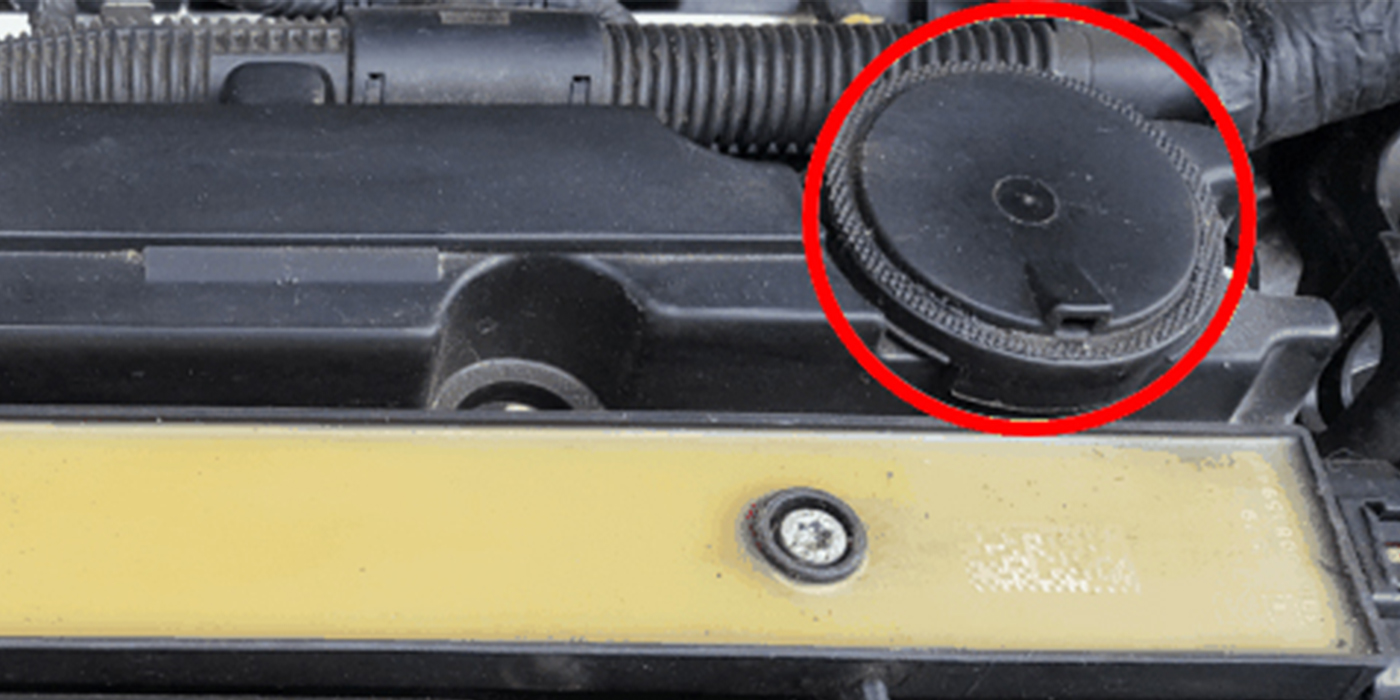
Inspection Procedure
1. Raise engine speed to 2,000-2,500 rpm in Park (auto trans) or Neutral (manual trans) and then shut off the engine. Listen for any noises from the OAD after the engine is shut off. A worn-out bearing will generate a “buzz” noise during this test. If the OAD is noisy during this test, replace it.
2. Remove the cap, and with the proper tool inserted into the front of the OAP, rotate the alternator’s shaft in both directions. In the overrun direction, it should feel smooth; in the drive direction, it should have a spring feel.
• If the pulley is locked up, replace it.
• If the OAD has no spring feel in the drive direction, replace it.
• If the OAD requires more than 9-13 in./lbs. (1-1.5 Nm) of torque to turn in the overrun direction, replace the OAD.
• If the OAD is not smooth in the overrun direction, replace it.
Courtesy Underhood Service.