To correctly install wheels, follow this easy-to-remember acronym
Adapted from Sean Phillips’ article in Tire Review
A lot of customers think that wheel installation is so easy that a monkey could do it, to which I like to respond by scratching my armpits and jumping up on the counter.
Seriously though, wheel installation is never quite as easy as it looks, particularly since doing it wrong carries some serious risks for the customer. Having a wheel come off or fail because of bad installation is never fun – especially if someone is injured or worse. And it’s frustrating not being able to remove a wheel by the side of the road because some ape overtorqued the fasteners.
Proper wheel installation involves a short checklist of items, which the Tire Industry Association refers to in its Automotive Tire Service training program by the acronym RIST, which stands for Remove, Inspect, Snug and Torque.
Remove Debris
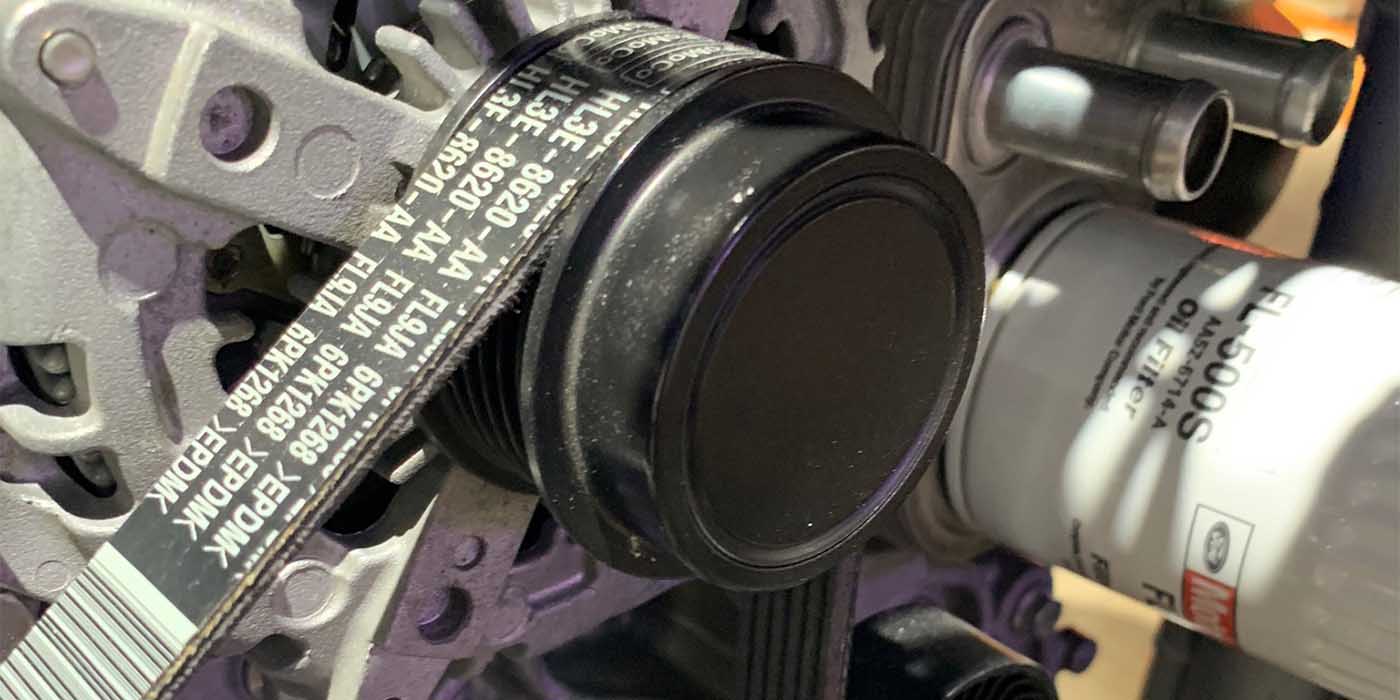
Even small amounts of debris or rust on the mating surfaces can affect the clamping force when the wheel is installed. Small amounts of debris or rust can generally be removed by using a stiff wire brush to clean the mounting surfaces.
Ensure that the mating plate on the back side of the wheel is clean, as well as the lug nut holes and the inside surface of the wheel hub, then do the same with the mounting surface on the brake rotor, paying particular attention to the rotor hub that fits inside the center hub of the wheel. Lug stud or lug bolt threads should also be clean and free of rust.
If the rotor plate or bolt threads are extremely dirty, rusty or oily, a good spraying with brake cleaner can make cleaning much easier by dissolving rust and baked-on dirt. If you’re using brake cleaner, you should take precautions to ensure that the spray does not contact any painted surfaces on the car, as the chemicals involved will remove paint and clear coat as easily as rust.
It’s also a good idea to put a pan down below the rotor to catch excess cleaner and keep it off your shop floor. Never use brake cleaner on hot surfaces, as it can be flammable, and never ever use brake cleaner on wheels, as it can damage those painted surfaces as well. A gentler cleaner is more suitable for removing oil or brake dust from wheels without damaging the cosmetics.
Inspect Surfaces
Once the mating surfaces are clean, you should inspect all surfaces carefully for cracks and other irregularities that could affect mounting. On the wheel, both the hub center hole and the lug nut holes can sometimes crack, which can lead to a very dangerous situation if the wheel is installed. The rotor hub and mounting surface should also be looked at, and lug studs or lug bolts should be carefully inspected for thread damage that could lead to cross-threading.
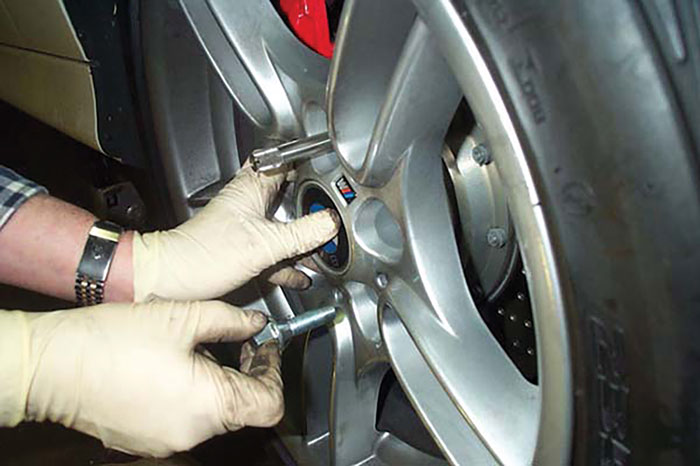
Snug Bolts By Hand
Taking a fastener and zipping it on with an impact gun may look and sound like you’re on a NASCAR pit crew, but in an auto shop it’s how experienced techs tell who the new techs are. It’s also a great way to cross-thread the fastener and with many flat-shouldered lug nuts, it’s a great way to ensure that they end up off-center, which will prevent them from torquing properly. Whether the car uses lug nuts or lug bolts, they should always be snugged down by hand in a proper star pattern before applying torque to ensure that both the wheel and the fasteners are properly centered and to prevent damage to the threads.
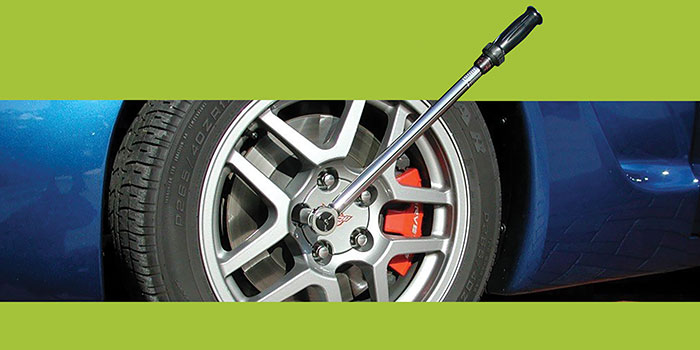
Torque to Spec
It’s best to lower the vehicle slightly, but not completely so that the tires contact the ground enough to prevent rotation before applying final torque. Most smaller cars require torque in the range of 80-120 ft.-lbs., while larger SUVs and pickup trucks require 100-180 ft.-lbs. Charts providing torque values for all modern vehicles are available both online and in poster form for quick reference.
Like many things involving humans and mechanical issues, there is a great deal of debate regarding the proper way to apply torque. At issue is the fact that substantially undertorquing or overtorquing fasteners is equally as bad. Undertorquing leaves open the possibility of fasteners working loose over time, while overtorquing not only makes wheels much more difficult to remove, but also can “stretch” lug bolts or studs, weakening the fasteners and potentially damaging threads.
Many people insist that the only way to properly torque fasteners is to do it by hand with a torque wrench, and it is true that in many cases a well-calibrated torque wrench will be more accurate than any other method. When using a torque wrench, keep the wrench at 90 degrees to the fastener and tighten only until the wrench clicks once.
The counterpoint to this argument is that most busy shops simply don’t have time to hand-torque every fastener, and that properly calibrated impact guns with torque sticks, while perhaps not as fanatically accurate as torque wrenches, provide “good enough” torque protection to avoid substantially overtorquing fasteners.
If you do use an impact gun to torque fasteners, it is critically important to use torque sticks to limit the amount of torque the gun puts out. The impact gun’s torque settings and incoming air pressure must be kept constant to get consistent results from torque sticks.
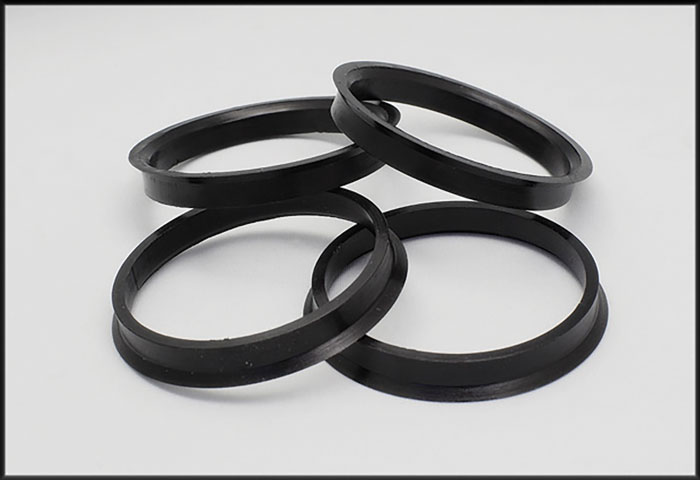
Hub-Centric Spacers
While it is not a subject covered by the RIST procedure, this is a very good time to also discuss the issue of hub-centric spacers.
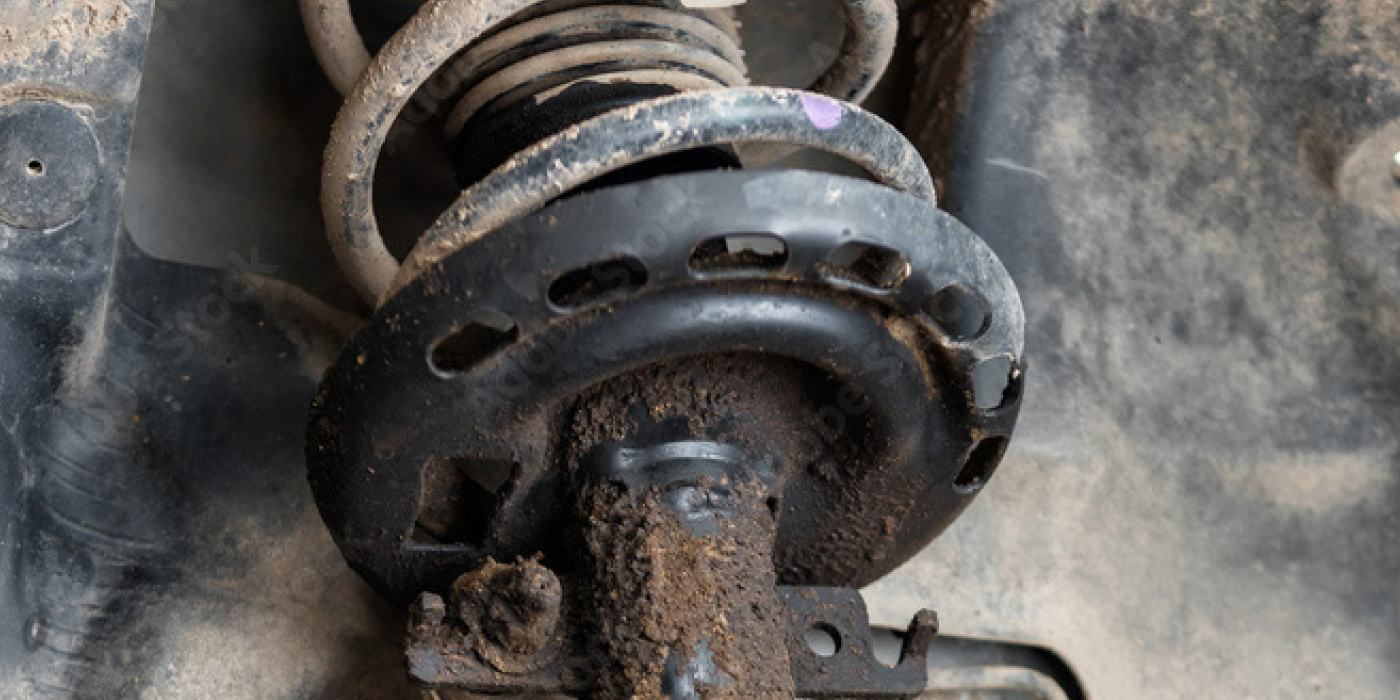
When you fit a wheel onto the rotor plate of the car, the wheel’s hub center – that large hole in the middle that is covered by the center cap – fits over the rotor hub, which is basically an extension of the axle. When the wheel fits perfectly over the rotor hub and there is good contact all around, the wheel is said to be “hub-centric.” The vast majority of OE wheels are hub-centric, because they are specifically designed for the cars they fit on.
On the other hand, aftermarket wheels must fit on a wide variety of autos, so the hub center is generally made larger to accommodate many different sizes of rotor hub, so there will usually be some space left between the rotor hub and hub center. These wheels are called “lug-centric.”
The issue here is that this connection between wheel and hub is extremely important because it holds the weight of the car, which is one reason both areas must be kept clean and inspected for damage. The clamping force provided by the lugs is designed to keep the wheel on the car, not to keep it from moving laterally against the car’s weight or against impacts.
If there is space between rotor and wheel hub, any severe impact could cause the wheel to slip against the mounting plate, bending the studs and possibly damaging the hub center itself. To prevent this, a set of hub-centric spacers is required. These metal or plastic rings fit over the rotor hub and inside the wheel hub and are sized to create a perfect fit.
As with torque, there is a long-standing debate on this issue, with some claiming that clamping force is in fact enough to keep the wheel from slipping and that spacers are an unnecessary addition. I strongly disagree with this position for two reason: first, because I have personally seen the bent studs and hub damage caused by slippage, and second, because with spacers being inexpensive and easily available, why even take the chance? There is literally no advantage to not using spacers, only possible downside.
So the next time a customer implies that a monkey could do your job, just remember – it’s all in the RIST.