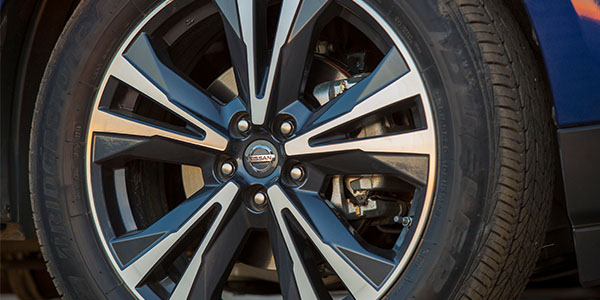

The first generation Pathfinders were introduced back in 1986 as a two-door body-on-frame SUV. Over the years, Nissan has gone back and forth between body-on-frame and unibody constructed chassis. Now in its fourth generation, these new Pathys ride on the same platform as the Infiniti QX60, Altima, Maxima, Murano and Quest. Except for the Hybrid versions that are built in Russia, the majority of these vehicles are manufactured at the company’s Tennessee plant.
The 2013 Pathfinder comes in four trim levels — S, SV, SL and Platinum — and is equipped with a 3.5L V6 engine, a continuously variable transmission (CVT) and front-wheel drive as standard options, while all-wheel drive is an available option.
A search of this model reveals very few complaints about the brakes alone. However, the ones we found were due to a problem with the transmission surging that requires a dealer to reflash the control unit with updated software, which leads us to believe they are related. Early 2013 models did receive a recall for the brake caliper torque member, which Nissan said was “improperly cast resulting in structural weakness.” This can lead to premature failure and cracking, according to the voluntary recall (NHTSA No. 13V-139).
The Pathfinder’s brake layout is relatively straightforward with ABS and Traction Control on all four wheels. The system switches fluid pressure of each brake caliper to increase, hold or decrease via signals from the control unit in the ABS actuator and electric control unit. This system applies to Vehicle Dynamic Control (VDC) function, Traction Control System (TCS) function, ABS function, Electronic Brakeforce Distribution (EBD) function and hill start assist function.
DIGGING IN
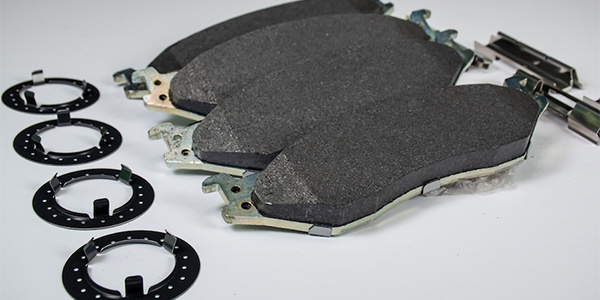
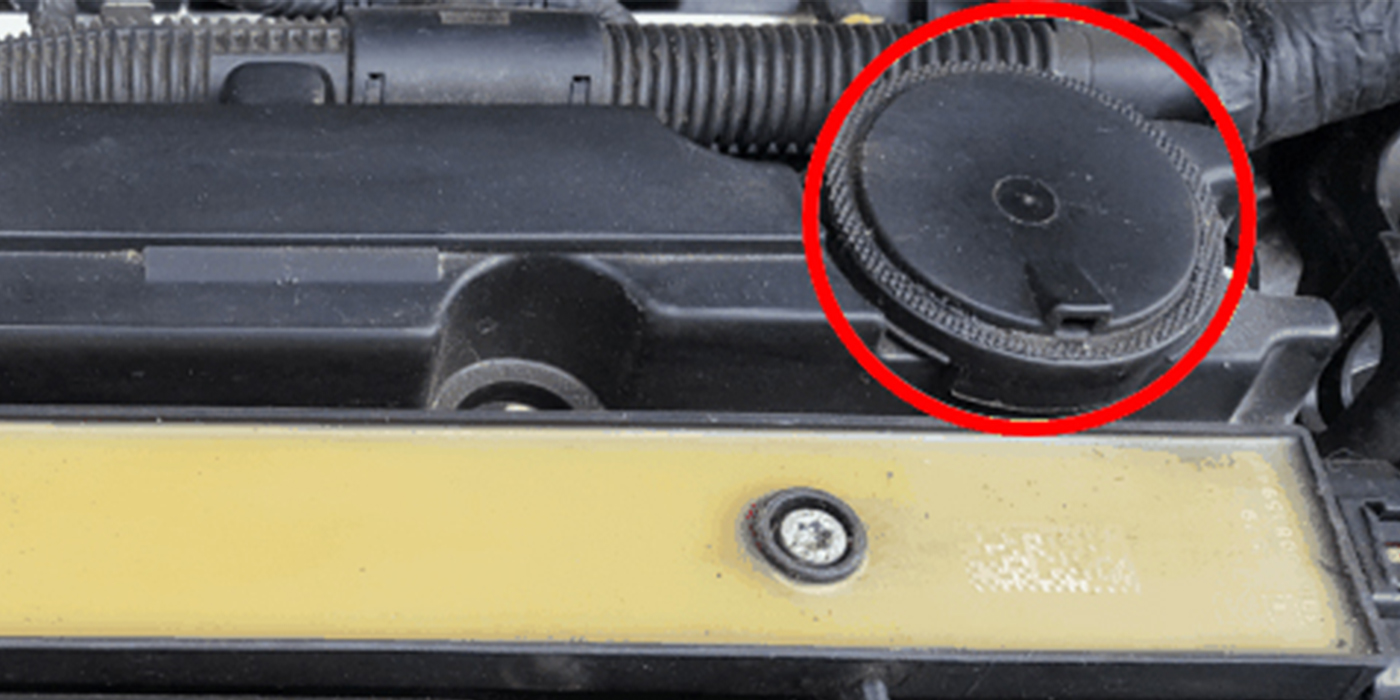
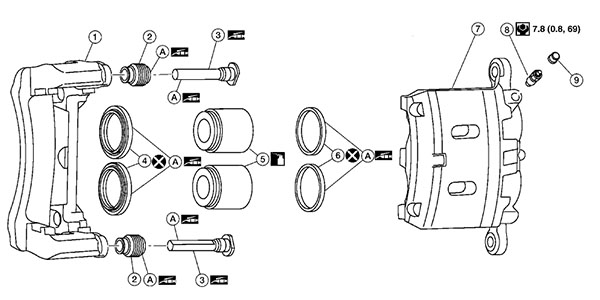
Getting to the nitty-gritty of removing and installing pads and rotors, start by partially draining some brake fluid from the master cylinder to avoid overflow when the piston is pushed back at the caliper. Remove the two sliding pin bolts on each side, making a note of the condition and position. The black slide pin should be at the top of the bracket and the silver on the bottom. Next, remove the brake caliper from the torque member. Leaving the brake hose attached, set aside the brake caliper with wire. Remove the brake pads, shims, shim covers and pad retainers from the torque member.
 Replace the shims and shim covers and install the new pad retainers to the torque member, being careful not to bend them. Note: Do not reuse the old pad retainers, unless you want to redo the job again. It’s always a good idea to replace the hardware and clean up any rust on the caliper and bracket, especially where the pads and clips ride. Make sure the pad retainers are secured properly to the torque member and apply grease to the mating faces between the brake pads and retainers. Nissan recommends using silicone based lubricant for the mating faces between the brake pads, shims and shim covers, then install them to the brake pad.
Using a suitable tool, press the pistons into the brake caliper being careful not damage the piston or piston boot. Install the brake caliper to the torque member. Install the sliding pin bolts and tighten to specification. Depress the brake pedal several times and verify that drag does not exist. Install the front wheels and tires. Check brake fluid level and refill, as necessary.
The parking brake is located inside the hat on the rear rotors. Before removing the rear rotor, operate the parking brake pedal with 44.1 ft.-lbs. of force. Make sure the pedal stroke is within the specified number of notches. You should be able to hear the clicks of the pedal as it ratchets down. When removing the brake rotors, note the condition of the parking brake shoes and hardware.
To adjust the parking brake, secure the rotor using wheel nuts. Release the parking brake pedal by turning the adjusting nut with a deep socket wrench and loosening the cable. Remove the adjusting hole plug from the disc rotor. Turn the adjuster down until the disc rotor is locked. Then back the adjuster off 5 or 6 notches from the locked position. Rotate the rotor to check that there is no drag. Install the adjusting hole plug. If any drag is found, verify the parking brake components are installed and adjusted correctly.
When installing a new rotor, or a rotor that has been removed for any reason, you should index them to ensure they are within the run-out specifications. Make sure the rotor is fully contacting the hub. Clean the rotor-to-hub surface if it is rusty. Install the rotor and all lug nuts. Tighten the lug nuts to 40 ft.-lbs. (for this indexing purposes only). Place a reference mark on the rotor and hub and rotate one position as necessary until the minimum runout position is located. Replace or machine the rotor as necessary if the runout is more than 0.0020˝.
Specs:
Wheel nut: 83 ft.-lbs.
Front Brake Pads: 1.0 mm thick
Rear Brake Pads: 1.0 mm thick
Brake Caliper Bolts: 34 ft.-lbs. (front); 32 ft.-lbs. (rear)
Caliper Bracket Bolts: 91 ft.-lbs. (front); 62 ft.-lbs. (rear)
Min. Rotor Thickness: 0.550˝ (rear); 1.020˝ (front)
Rotor Runout: 0.0020˝ or less (rear); 0.0016 or less (front)
Article courtesy Brake & Front End.