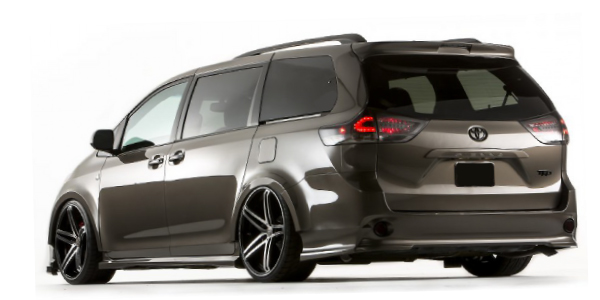

The Toyota Sienna minivan is based on the Camry platform and comes in both 2WD and AWD versions. In 2011, Toyota introduced the third-generation Sienna that stuck with the basic suspension setup of the previous generation.
When aligning this vehicle, there are three things you should know. First, a Sienna with stability control will require a recalibration of the steering angle sensor. Second, rear tire wear can be a problem on some AWD Siennas. Third, measure the ride height before trying to correct a front caster problem.
Front Suspension
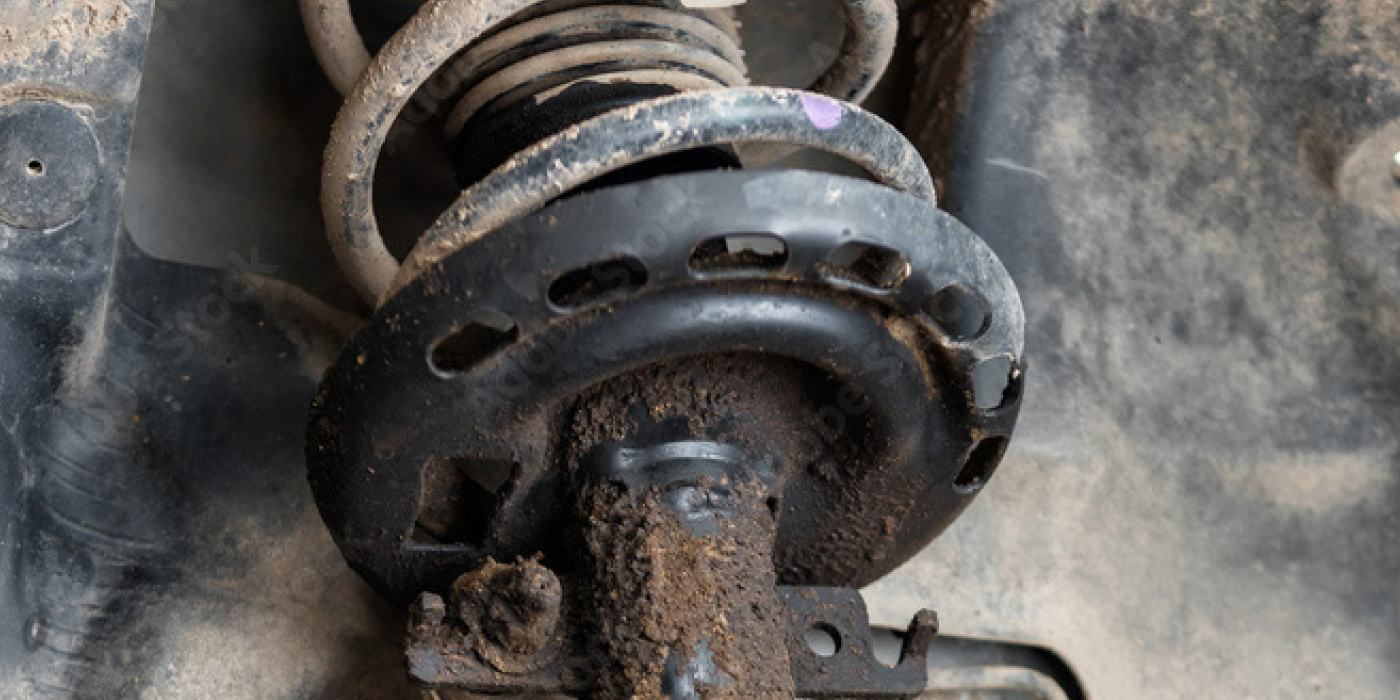
The front suspension of the Sienna is a MacPherson strut design. There is no caster adjustment. For 2011 models, Toyota does provide information about different camber bolts with varying values of camber depending on the placement of dots on the head of the bolt. But, you are better off using aftermarket cam bolts in the mounting holes of the strut. Some kits can give ±1.75º of camber.
Keep an eye on the caster and camber cross-tolerances because a significant difference between the two sides could cause a pulling condition.
When inspecting the front suspension of the Sienna, pay attention to the sway bar links – these can wear out at the end just like on a Camry. Also, the bushing in the rear of the control arm can wear out. Tearing or separation of the rubber from the carrier is grounds for replacement.
Rear Suspension
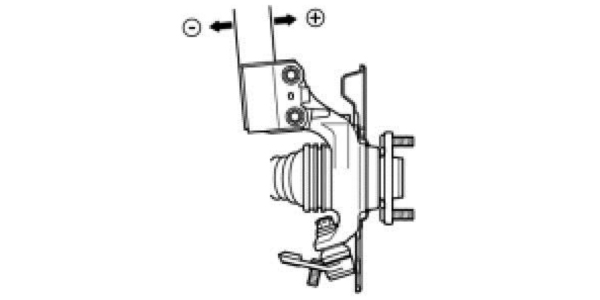
The Sienna uses a trailing arm beam axle in the rear on both the 2WD and AWD models. No adjustments are built into the axle. Aftermarket shims can be installed between the axle and bearing flange to adjust the toe and camber. These shims can adjust the camber or toe by ±1.00º.
The most common problem reported by drivers is inner edge tire wear on rear tires. The main culprit is lack of rotation. In some cases, it is a problem with the axle being out of alignment. Also, ride heights and overloading can cause edge wear. But proper rotation can increase tire life.
There was a recall on these vehicles for the spare tire carrier with the 1998-2010 2WD models. The cable used to raise and lower the spare tire could corrode and break, so make sure the spare is secure. The differential for the AWD models took up space for the spare. This is why Toyota made run-flat tires standard on AWD models.
Zero-Point Calibration
Late-model vans (2004 – current) require a scan tool and special procedure to perform a zero-point calibration of the steering angle, yaw and deceleration sensors. It is highly recommended to do this through the OBDII port. You can disconnect the negative battery cable, but this can’t confirm that the system has been calibrated. It’s common to perform the battery disconnect procedure only to have the vehicle return with the VSC light on.
Using a scan tool is the best way to perform the VSC zero-point calibration. You can reset the system by jumping two pins in the diagnostic connector and/or disconnecting the battery, but there is no way to confirm or document that the calibration was performed.
The steering position sensor’s primary function is to monitor the driver’s steering inputs. This includes the angle of the steering wheel and/or the rate at which the driver is turning the wheel. The steering position sensor on the Sienna is located behind the steering wheel and is a high-resolution sensor.
The VSC system relies on accurate steering input from the steering angle sensor to analyze a situation and apply appropriate measures to help direct the vehicle on the intended path.
The Toyota VSC system uses the information from the steering position sensor and compares the information to the yaw and deceleration sensor to determine what the car is doing.
After the recalibration, the vehicle should be driven for five minutes and at least one lock-to-lock turn should be performed.
Article courtesy Brake & Front End.