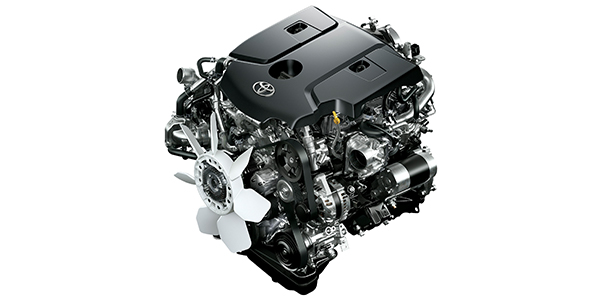
Toyota’s original Land Cruiser was the company’s version of a Jeep that could go anywhere. In its time it was highly rated and collected, which led the Japanese juggernaut to bring back an updated SUV in 2007 called the FJ Cruiser. The retro-styled vehicle was again a go anywhere machine powered by a 4.0L V6 (1GR-FE) used in the Tacoma. The engines are durable and considered relatively robust for the time.
The early versions from 2007-’09 employed VVT-i on the intake cam and produced 236 hp on 87 octane, and 240 hp on 91 octane. An updated version of this engine uses Dual VVT-i, increasing the power to 270 hp on 87 octane and 285 hp on 91 octane.
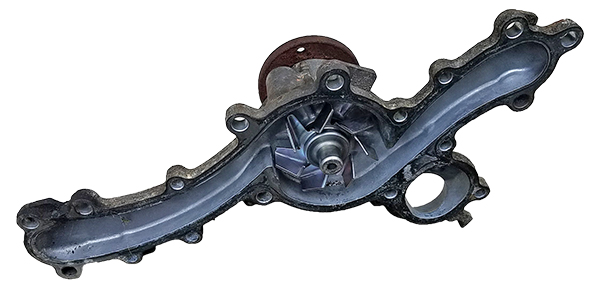
For increased cooling efficiency, the 1GR employs four water passages, with two between the bores on each bank. The extra cooling reduces cylinder hot-spotting and keeps combustion chamber temperatures more uniform. While generally reliable, the 1GR has a lot of belt-driven accessories from the fan-clutch to the AC condenser and, of course, the water pump.
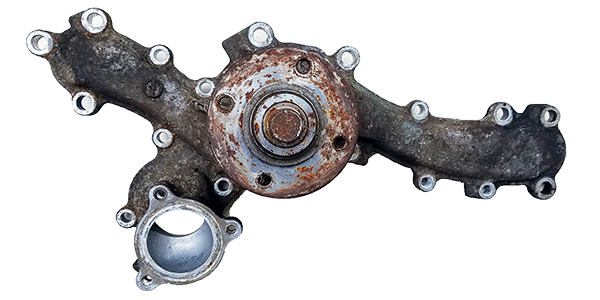
Replacing the water pump on the FJ Cruiser is a reasonably big job because of the number of components you have to remove to get to it, but it is relatively straight forward after that. The pump itself is a large cast aluminum piece with 17 bolts holding it on the front of the engine. The fan clutch is connected to the water pump pulley and is driven off the crankshaft pulley, which also operates the compressor and alternator as well as the power steering pump. The fan shroud must come off along with the fan clutch and serpentine belt.
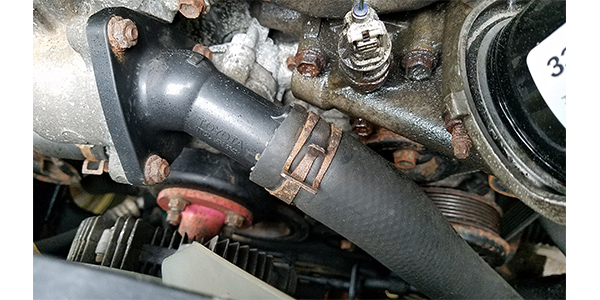
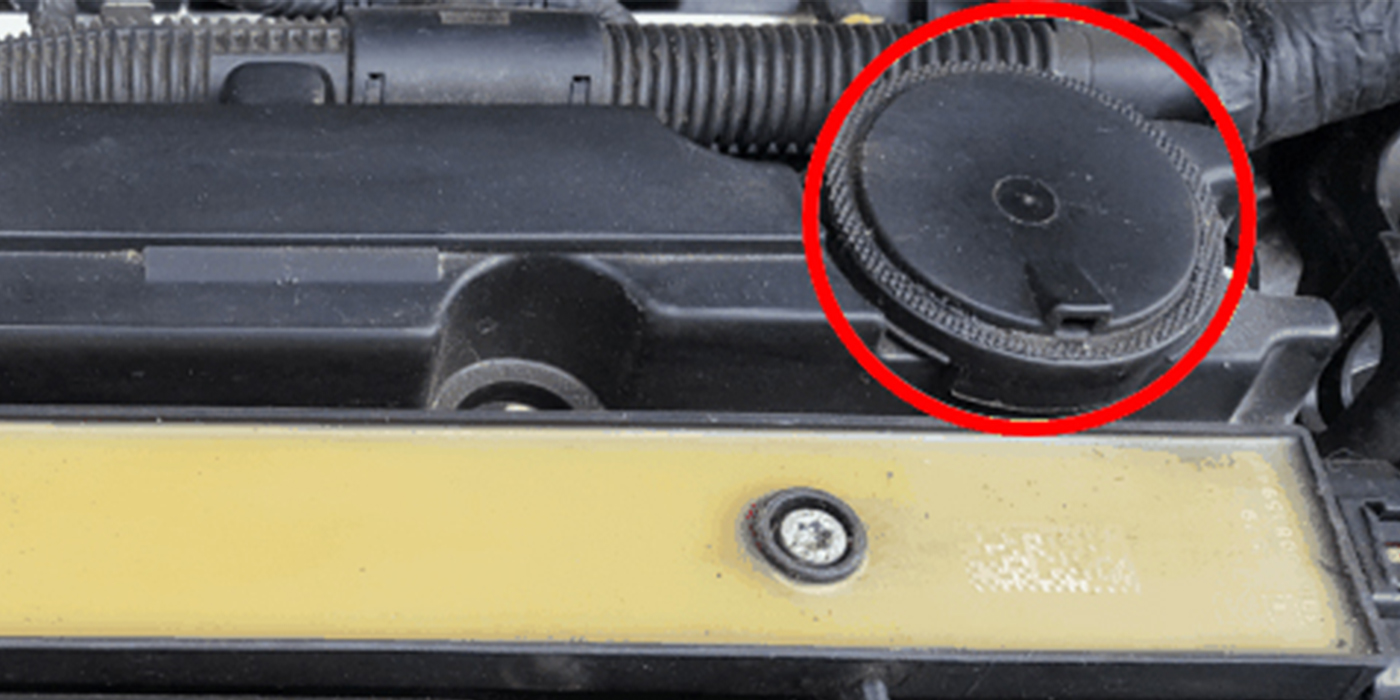
Coolant leaks on the 1GR-FE commonly stem from corrosion and debris running through the bearing and surfaces of the water pump. If there are heavy coolant deposits on the water pump and surrounding areas, the pump should be replaced once the leak is verified. Technicians must be sure the leaks are not from other components on the front of the engine. The plastic thermostat housing uses an O-ring to seal it against the body of the water bypass housing. Check to make sure the leak is not coming from the plastic housing and that the O-ring is not flattened in any area.
Toyota recommends the paper towel test if you see dried coolant on the water pump. Wipe a dry paper towel on the area around the weep hole to determine if the leak is new or a result of debris being cleared when it was installed. If the paper towel remnants remain dry, there’s no need for replacement. But if the paper towel becomes damp/stained, you should replace the pump. Once you’re sure the cause of the leak is coming from the water pump, then you can continue the process of removing the accessories and pump.
It’s about a 2.5-hour job to replace the water pump and accessories such as the serpentine belt, and any worn or noisy idlers. Removing the skid plate isn’t necessary if you’re working from the top, but for access to some components from underneath, it may be a better option. Many of these vehicles have lift kits installed that can make it difficult to work from up top (e.g., this author uses a step stool to reach all of the components from the top of his lifted FJ).
On a side note, if you’re replacing the timing chain or have the front cover off, it’s a good idea to replace the water pump as well on a high mileage engine to be on the safe side. Free play in the pump bearing may indicate that the seal won’t hold for much longer and you’ll have to replace it soon anyway.
The engine cover should be removed to gain access from the top. Next, remove the fan shroud along with the fan and clutch and pull them out together. Once these are out of the way, you can tackle the drive belt. While turning the belt tensioner counterclockwise, you can align the holes in the assembly to insert a 6mm punch or bar so that it will hold the belt tensioner in position while the V-ribbed belt is removed.
The idler pulleys need to be removed along with the tensioner pulley to get access to all the water pump bolts. Note that the tensioner bolt is a reverse thread. The water bypass housing can be removed or loosened to slide the water pump out. There’s an O-ring on the top that mates between the housing and the pump. If you remove the bypass housing, most replacement kits contain new O-rings, so be sure to install them.

Keep track of the 17-bolts that line the water pump since there are two different sizes. The longer bolts thread through the water bypass housing and into the block. The shorter bolts run directly into the block. Torque the longer bolts to 81 in-lbs and the short ones to 17 ft-lbs.
The gasket for the water pump is layered steel with a rubberized coating. Use caution when sliding the gasket and pump into position so that it all stays in place when you bolt it all down. The gasket can be put on dry, but some people add a little high-temp silicone to the bolt threads to ensure a good seal.
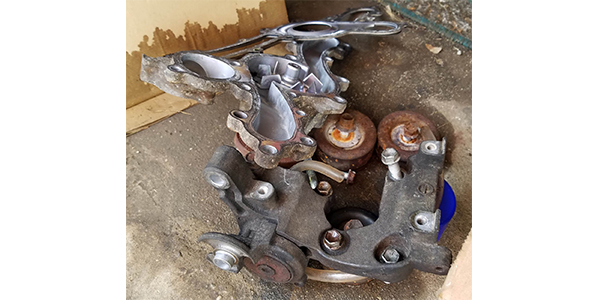
Once the pump is replaced and the accessories belt is installed, fill the system and bleed the air out, then check for leaks. It’s not a difficult job but there’s a good number of parts to remove and keep track of, so it’s best to make room to lay it all out so you can find the parts easily. While the FJ Cruiser was discontinued in 2014, there are many still on the road today and many more Toyota models with the 1GR-FE engine.