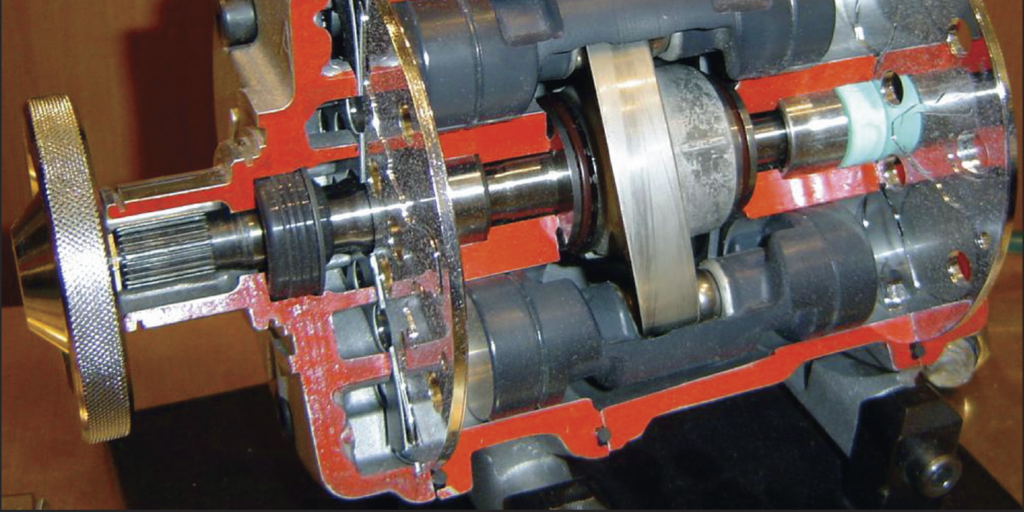
Vehicle HVAC systems often fail because the air conditioning compressor fails.
REFRIGERANT
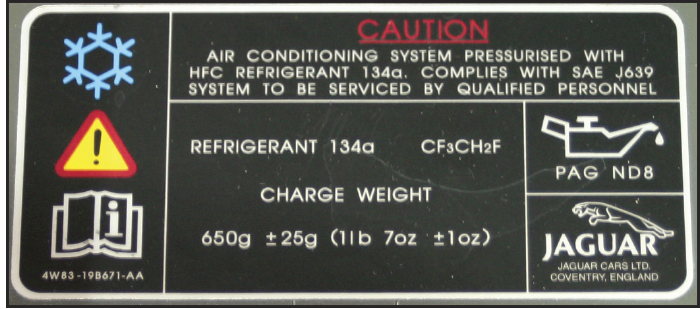
Since the mid-‘90s, all vehicles have been using R-134a refrigerant, but more and more vehicles are equipped with R-1234yf refrigerant. This is the new, more environmentally friendly refrigerant that is being mandated for adoption. Whichever refrigerant the vehicle has – R-134a or R-1234yf – should be the only type of refrigerant used as a replacement.
Swapping one for the other will only lead to potential problems.
OIL
The evolution of refrigerant has required an evolution of oil used inside the A/C compressor as well. When R-12 was the industry-standard, compressors used mineral-based lubricants. When the industry switched to R-134a, OEMs had to switch oils too, because a mineral-based oil doesn’t mix with R-134a and will not move through the system, causing a compressor failure.
The answer was a move to PAG (polyalkylene glycol) oils. R-1234yf also requires a PAG-equivalent oil. PAG oils come in several different viscosities (PAG 46, PAG 100 and PAG 150), and OEM use recommendations vary. As an example, Sanden R-134a SD7H15 piston compressor models use Sanden SP-15 PAG oil for service.
FILL OIL TO SPECS
HVAC systems with too much oil can result in reduced cooling capacity, and systems with excessive lubricant will create an internal coating that results in less heat transfer. So, if you don’t know how much oil was drained from the compressor, then you won’t know how much remains in the system, and then you will not know how much to add back. Also, keep in mind that many new compressors come pre-filled with oil, so you’ll have to drain the appropriate amount from that compressor before installing.
Here’s a good procedure to follow:
- Remove the oil plug from the failed compressor and drain as much oil as possible from the suction and discharge ports and from the crankcase into a suitable container. Turn the front shaft nut one-half turn every minute for about three minutes. Be sure to slightly tilt the compressor back and forth a few times to help the oil reach the oil drain hole.
- Measure and record the amount of oil drained from the compressor.
- Drain oil from the new compressor following Step 1.
- Replace some of the new oil back into the new compressor in an amount equal to the measurement taken in Step 2.
- Reinstall the oil plug and torque to specs.
FLUSHING THE SYSTEM
An internal compressor failure will result in small particles that mix with the oil and move throughout the HVAC system. This contaminated oil must then be flushed from the system but doing this can be tricky. The best methods are liquid based, either a closed-loop power flushing using refrigerant, or back-and-forth flushing with a fluid flushing solvent. Afterward, dried air must be blown through the components to blow out the flushing fluid because residual fluid can cause contamination and another failure.
R-134a can be used to flush lubricant and loose debris from an A/C system, but the refrigerant will not remove any particulate matter attached to the inner tube walls. A system flush is also a good practice if, for some reason, the amount of lubricant in the A/C system is in doubt.
In the event that the entire system has been flushed, unless otherwise specified by the OE, best practice is to add half the total oil capacity in the compressor and the other half in the accumulator or receiver dryer. Doing this ensures that the compressor will not start up dry and that lubrication will be distributed evenly throughout the system. To prevent oil sludging and potential internal damage to the compressor, after the hoses are reattached, manually rotate the compressor shaft 10 times.

