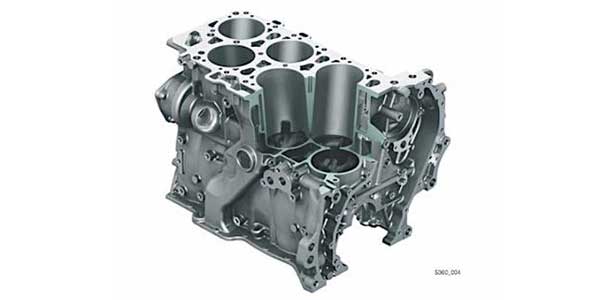
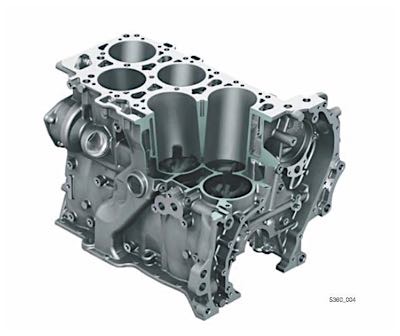
The Volkswagen VR6 engine, introduced in 1994, has a narrow “V” configuration that allows six cylinders to be mounted in the same area as a four-cylinder engine. The oddest things about the engine are that the narrow angle between cylinders allows the use of just one cylinder head for the six cylinders, and the timing chain is located between the block and transmission. While head gasket failure is not a common occurrence, it does occur on engines where the cooling system has been neglected due to a lack of regular maintenance. With that said, here are seven tips to make a head gasket job a little easier.
1. Remove and Replace the Cylinder Head Bolts in the Correct Sequence
Since both banks of cylinders have a single cylinder head, they are more prone to distortion. The maximum permissible distortion is 0.10 mm. When removing the head, the sequence starts with removing the outermost bolts on the edge of the head and working your way toward the center. The head bolts can’t be reused because they are torque-to-yield fasteners. To install the head, the bolt sequence starts in the center and then works outward. Refer to the service information for the sequence.

2. Lock Up the Camshafts First
After the valve cover is removed, the engine should be turned to top dead center and locking plates should be installed on the camshafts. If the chain is off by as little as half a tooth, it can cause driveability problems. If the chain shifts position on the intermediate shaft while the tensioner is out, it can advance or retard the timing of both camshafts. Note: Never turn the engine with the upper chain tensioner removed.
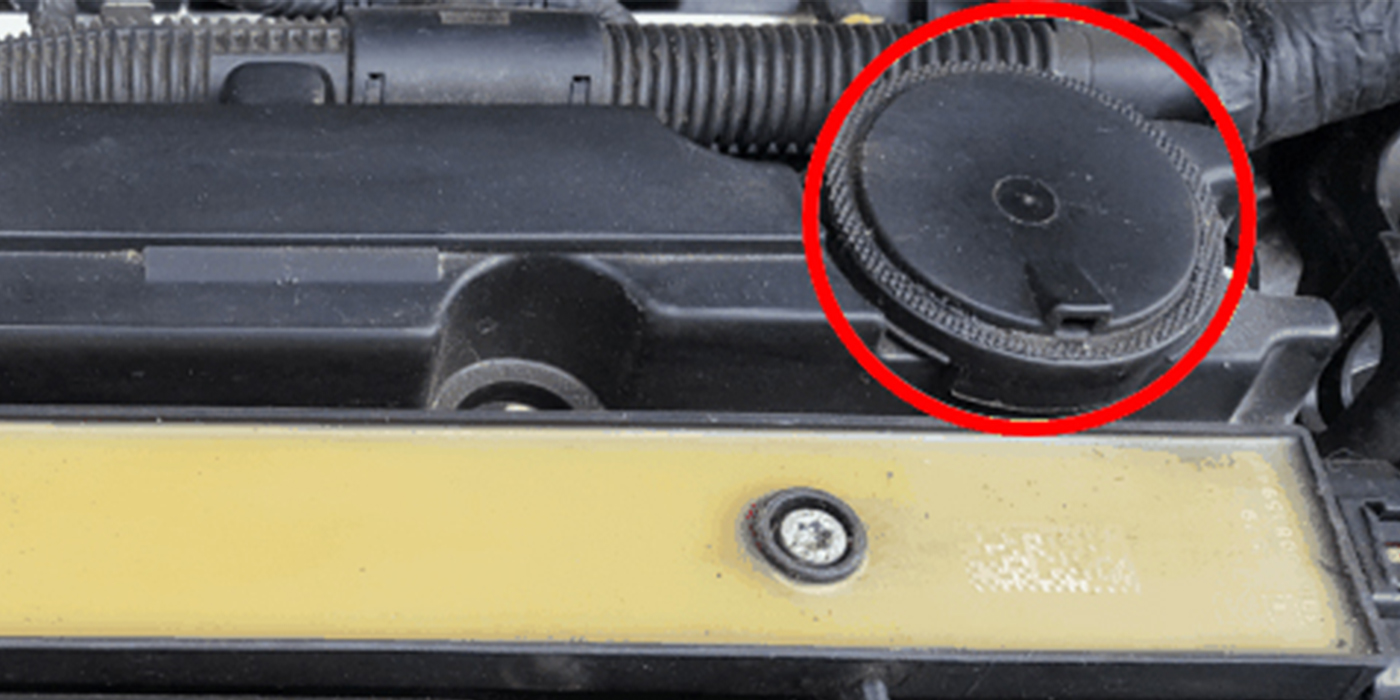
3. Check For Vacuum Line Leaks
Once everything is back together, take the time to inspect for vacuum leaks. On 24-valve engines, the lines that carry vacuum to the EVAP solenoid and canister are the most common areas where leaks can develop. These lines, located on the back of the intake manifold on the passenger side, are made of hard plastic and can crack.
Leaks under the lines’ silver heat-resistant covering can go undetected. If such a leak is not detected, the engine will generate both lean and misfire codes. After a few drive cycles, EVAP codes might be triggered. It is critical that before the vehicle is returned to the customer that the long-term fuel trims and oxygen sensors are checked to make sure the engine is not trending rich or positive.
4. Replace the Guides at the First Sign of Excessive Wear
The upper guides and tensioner should be replaced at the first sign of wear. They can be replaced without removing the transmission. Worn guides are evidence that the driver has been neglecting the oil. If the guides are not replaced, it will cause noise or the engine timing to jump.
5. Soften Gaskets and Then Scrape
When an old gasket is removed, it will leave behind residue on the block and head. It is tempting to go at this residue with an abrasive or metal scraper, but before you ruin the surfaces, use a gasket removal solvent to first soften the residue. It may take 15-20 minutes for the solvent to soften the material, but at that point you might even be able to remove the material with only a shop rag. The use of chemicals will not damage the finish that was applied at the factory.
Note: Never use an abrasive disc or sandpaper. The abrasive materials embedded in the fibers or paper can find their way into the piston rings or crankcase.

6. Leave the Intake and Exhaust Manifolds On
It is possible to gain access to the head gasket without removing the lower intake manifold and exhaust manifold. But, with the total weight of the assembly being more than 60 lbs., you might need help removing it. Be careful resting the head on your bench, as it is possible to damage the combination valve on the bottom of the intake manifold.
7. Check for Cracks
On both types of VR6 engines, cracks can develop between the valve seats and also between the valve seats and spark plug insert. Volkswagen specifies that the crack should not exceed 0.5 mm in width. If the crack is larger than 0.5 mm, you will need to send it to a machine shop to be checked.
Article courtesy ImportCar.