MINI Tech Tip: Engine Vibrations Or Noise -

MINI Tech Tip: Engine Vibrations Or Noise

A customer complains of engine vibrations and noise. What is the culprit?

Models:

2015-current F54 MINI Clubman 
2015-current F55 MINI Hardtop 4 Door 
2015-current F56 MINI Hardtop 2 Door 
2015-current F57 MINI Convertible
Note: with B3x or B4x engines

Situation:

One of the following complaints may be reported: 
• The engine runs erratically
• The engine causes vibrations when running
• Grinding noise from the engine compartment when the engine is running

One or more of the following Check Control messages may be displayed:
• Vehicle battery is not being charged! 
• Engine too hot! Drive gently 
• Engine overheated! Stop carefully

Code FC 210601 for the alternator malfunction may be stored in the DME.

Cause:

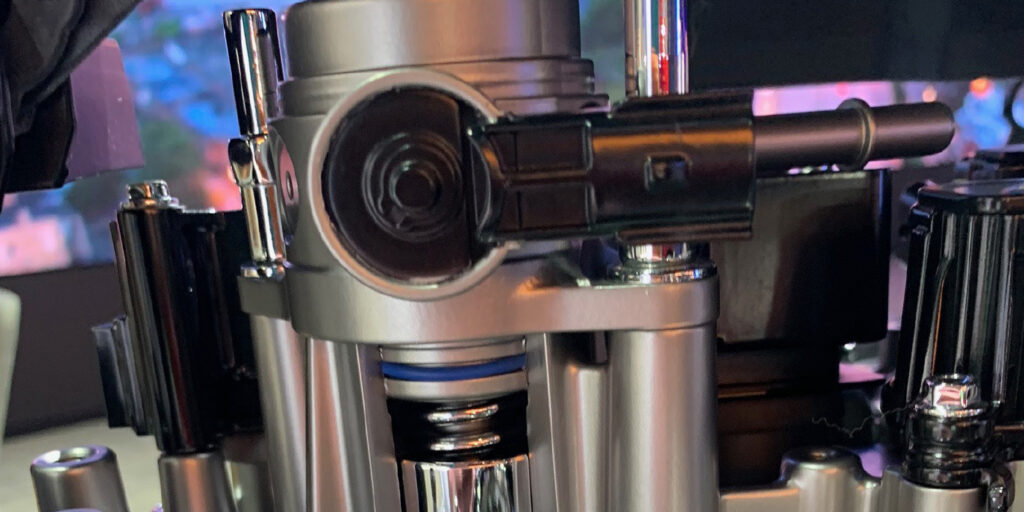
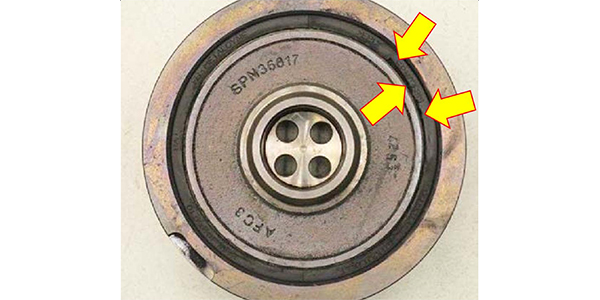
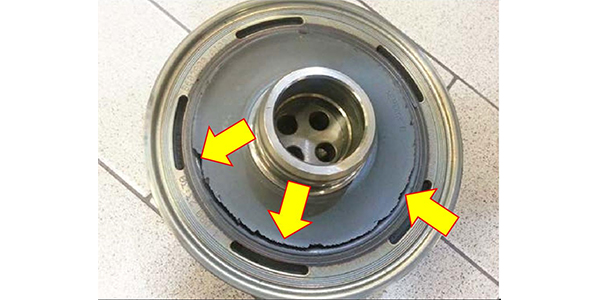
The vibration damper rubber insulator located between the drive belt pulley and its center hub has either partly or fully separated (torn). The separation will allow the two components to move independently from each other. The separation will cause vibrations and or noises from the engine compartment.

Repair Procedure:

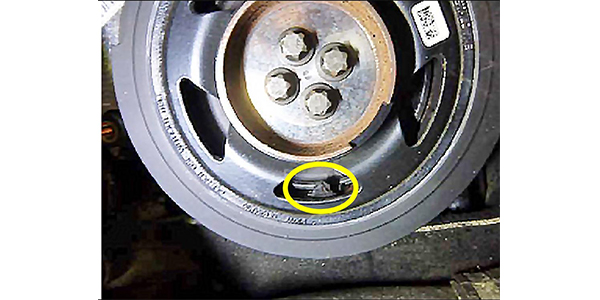
  1. Check the vibration damper and remove the drive belt. Visually inspect the vibration damper for cracks in the rubber insulator. (See Photos).
  2. If cracks or damage to the vibration damper are visible or if the hub and belt pulley are no longer connected, replace the vibration damper.
  3. Check all belt-driven components for damage. Spin the alternator by hand with the drive belt removed. If the alternator rotates freely without loud grinding noise or resistance, the alternator is OK. A slight grinding noise of the carbon brushes is normal. Check axial and radial directional play in the alternator shaft. If there is no play, the alternator is OK.
  4. Replace the vibration damper if damaged.

Article courtesy ImportCar.

You May Also Like

Fuel Pressure Diagnostic Service

Use a scan tool that can look at special direct fuel injection parameters and perform bidirectional tests.

Ever since the fuel pump was moved to the fuel tank, fuel pressure replaced the float height as a measure of fuel system health and performance. Checking the height of the float might have required some disassembly or special tools to bend the arms of the float.

When the shift was made to port or throttle body fuel injection, all a technician needed to diagnose a fuel problem was a set of “noid lights,” a fuel pressure gauge and maybe a multi-meter. Measuring the fuel pressure typically required checking the pressure at idle and under load. Most of the these tools can’t be used on the high pressure side of a direct-injection system because of higher pressures and changes in the injector location and technology. 

Battery Charging and Diagnostics

Here are six tips to use when diagnosing a vehicle with a dead battery. 

Diagnostic Strategies For Stop/Start Systems

This function of the power management system uses several modules to decide when the engine needs to stop and start.

How Extended Interval Oil Filters Have Improved

Over time, the oil filter can collect enough contaminants to become restricted.

Spark Plug Replacement

Here are some tips to follow when replacing a spark plug.

Other Posts

Oxygen Sensors And Catalyst Efficiency

Newer air/fuel ratio or wide-band sensors can detect a wide range of fuel conditions.

Smart Battery Management

Most modern systems will measure the internal resistance.

Understanding Underhood Parts for Hybrids

Anything that can happen to an ICE in a standard vehicle can happen to an ICE in a hybrid.

Transmission Valve Body Replacement

Learning how to perform drivetrain diagnostics and “in-the-car” repairs is important.