CC:
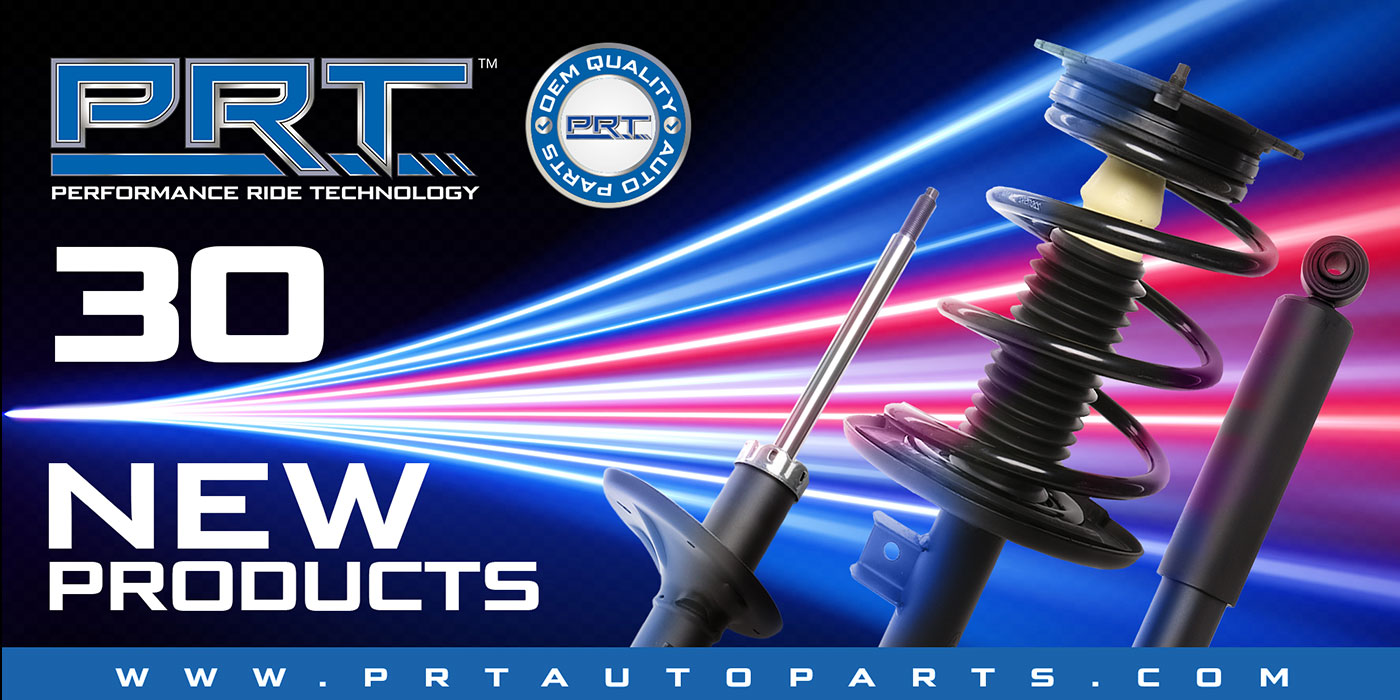
PRT is the first to market choice for complete strut assemblies for one of the bestselling SUVs, the Jeep Grand Cherokee. This video covers the 2011 to 2021 Jeep Grand Cherokee front strut installation. Before ordering the new strut, look at the options like engine, drivetrain and packages. Also, the Grand Cherokee can be equipped with an air suspension option. PRT has a replacement air strut coverage for this model. The installation procedures are the same, but you will have to service the air fitting at the top of the strut that must torqued to 49 inch pounds.
Let’s get started.
- Lift the vehicle, and remove the front wheels.
- Next, remove the bolt and the wheel speed sensor from the knuckle.
- Set the wheel speed harness and sensor aside so they are not damaged.
- Remove the bolts that hold the brake caliper bracket, and hang the assembly in the wheel well. The caliper bracket bolts have an inverted E20 torx head.
- Next, remove the axle nut with a 32mm socket.
- Unfasten the bolt that holds the sway bar link to the strut’s housing.
- Loosen the nut that secures the outer tie rod to the knuckle, and push the tie rod to the side.
- Remove the nut that holds the upper ball joint to the knuckle, and separate the two components.
- Now, the bolt that holds the strut to the lower control arm can be removed.
- Remove the three nuts that hold the upper strut mount to the body.
- The axle and CV joint will block the strut from being removed from the wheel well.
- There are two ways to make removing the strut easier. First, press the axle fully out of the hub unit. Second, the inner joint can be removed from the differential.
The PRT unit matches the original unit for fit, form and function. The new unit spring matches the original, not only for the application, but drivetrain and trim level.
- Install the strut into the wheel well, being careful not to damage the CV boot.
- Maneuver the knuckle back into position, and insert the axle into the splines of the hub unit.
- Align the studs on the upper strut mount to the body, and install the new nuts.
- Install the bolt that holds the strut to the lower control arm. Do not tighten the bolt until the vehicle is lowered.
- Insert the upper ball joint into the knuckle. Torque the nut to 122 foot pounds.
- Attach the sway bar link to the strut. Tighten the bolt to 70 foot pounds.
- Install the outer tie rod, and torque the nut to 70 foot pounds.
- Install the brake caliper, and torque the bolts to 125 foot pounds
- Install the wheel speed sensor, and route the harness through the brackets.
- Install the axle nut, and tighten the nut to 229 foot pounds.
- Install the wheel, and tighten to 130 foot pounds.
- Lower the vehicle.
- Torque the bolt that holds the strut to the lower control arm to 188 foot pounds.
This video is sponsored by PRT.


