Article courtesy ImportCar.
Mr. Walkaround. You probably know the guy (or at least the type). He’s got 22-inch deep-dish wheels with hyper silver centers and chrome lips, and he’s walking you all the way around his car to make the point that, before you change his tires, his wheels are pristine. If you scratch them while doing the installation, he’ll go ballistic.
We all fear him.
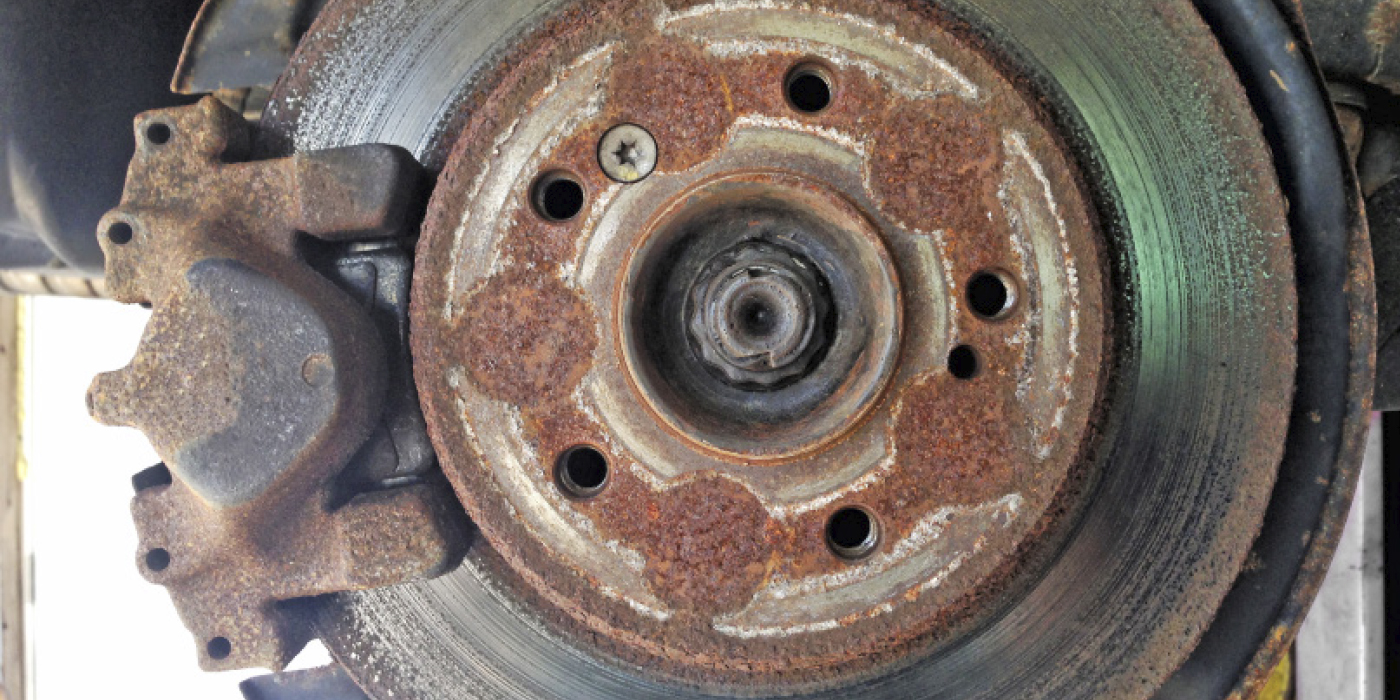
Worse, there’s the customer who leaves happy but comes right back in yelling, “You guys damaged my wheel!” Was it already damaged before we mounted it? Did you notice? Did you tell anybody? A good manager knows that accidents certainly happen sometimes, but that sometimes a customer will try to scam you into repairing that wheel they brushed a curb with last week. That’s why I like the idea of cosmetics auditing.
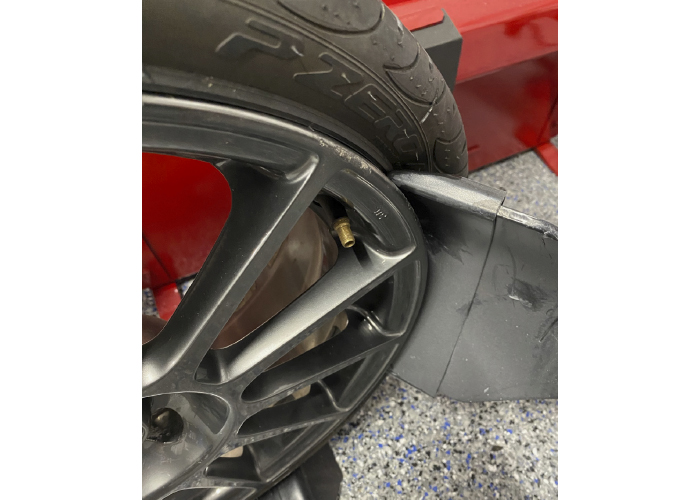
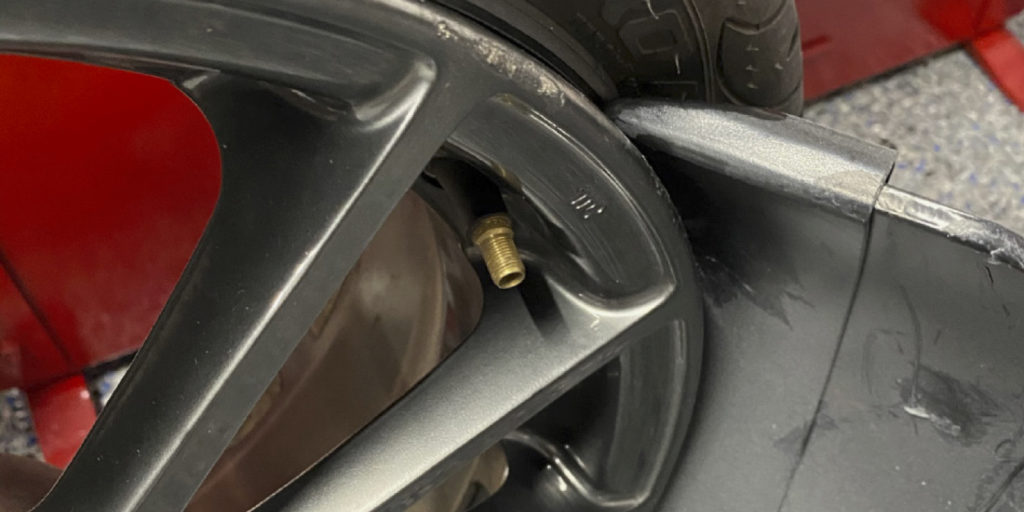
If your shop already does TPMS auditing, it should be easy to look at the wheels at the same time. Especially if you visually check TPMS valve stems for corrosion, noting any scratches to the lips, on the spokes or around lugholes it shouldn’t take but a couple of seconds more. Cosmetics auditing stops a lot of arguments before they start and shows Mr. Walkaround that you’re not planning to just go in the back and bang on his wheels with a hammer. Or worse.
If your shop doesn’t do TPMS auditing, here’s what I suggest: Start doing TPMS auditing. You definitely want to know whether all the monitors are working before you touch them, and you want to know if any of the valve stems are corroding and likely to break before you put a tool to them. Once you have a TPMS audit procedure, you can add in the cosmetics auditing at the ground floor, as it were.
Of course that means you have to follow through on not scratching up Mr. Walkaround’s dubs. TPMS audits can reveal sales/profit opportunities that help customers by replacing balky or damaged units before they become a serious problem. Adding some basic practices cuts down the risk of causing any damage to a customer’s wheels.
How To Mess Up
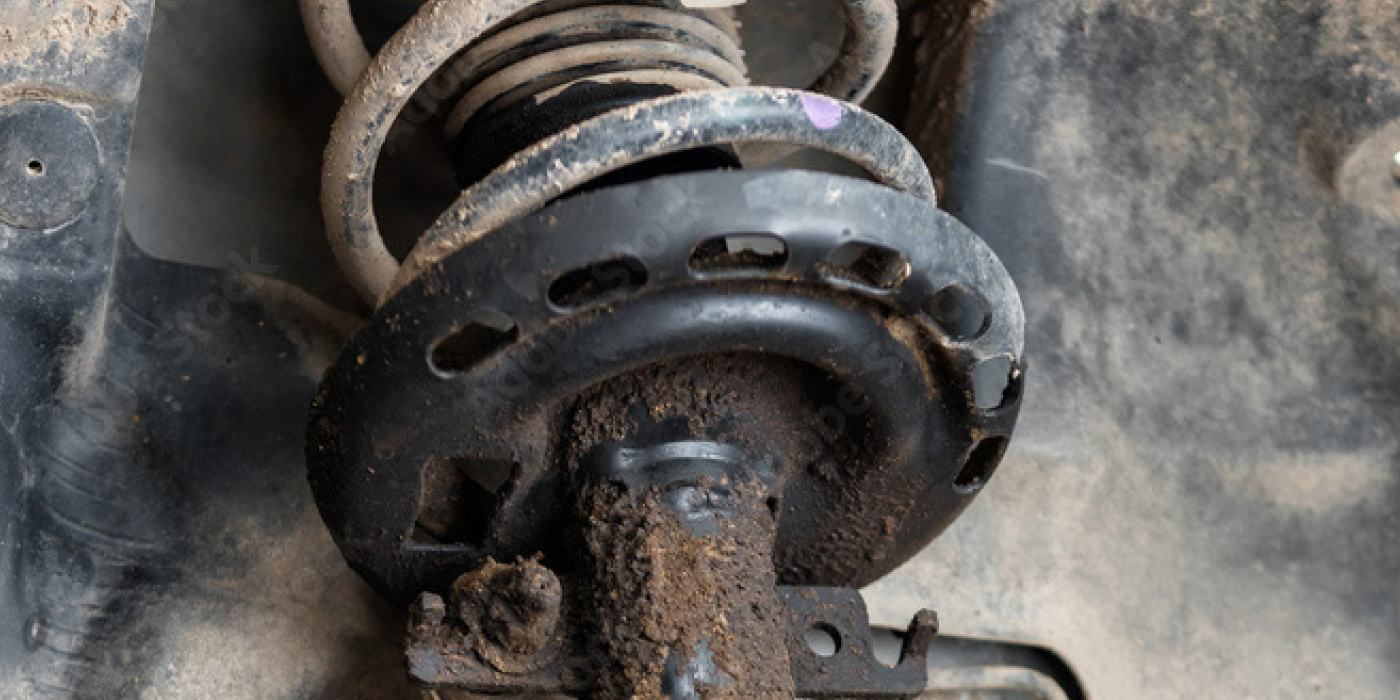
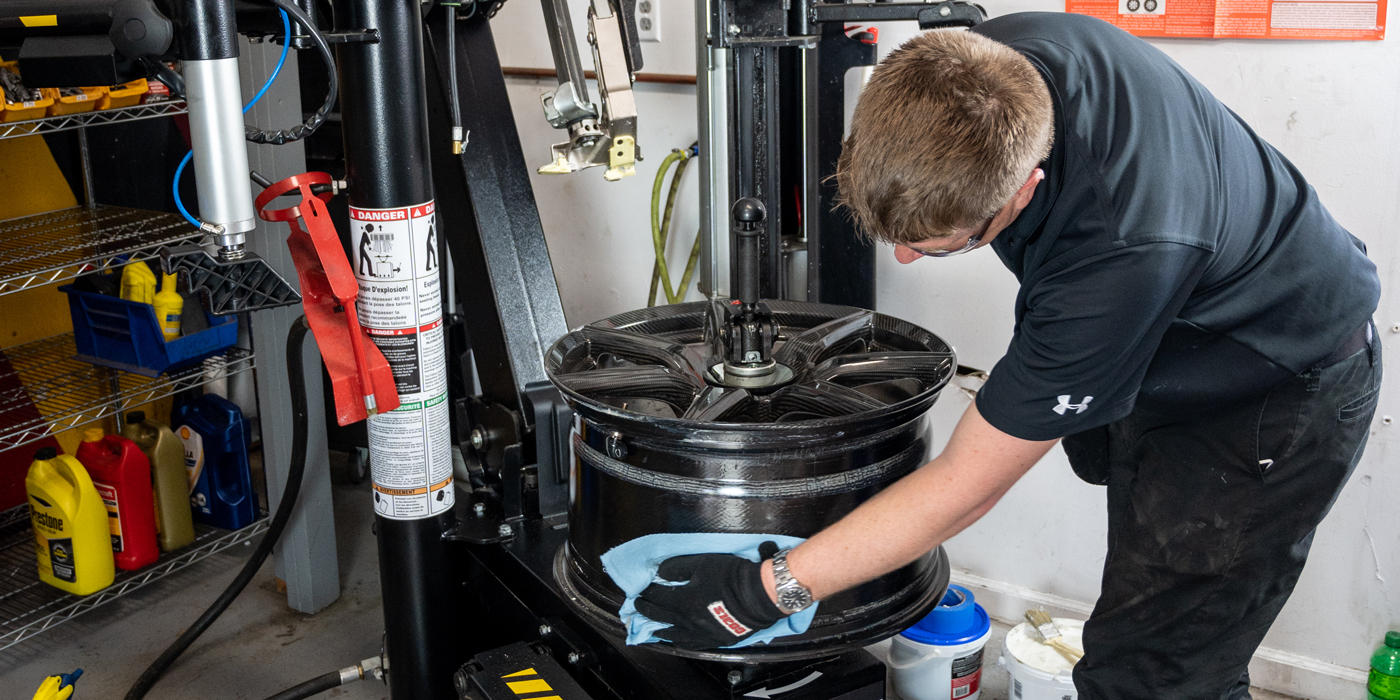
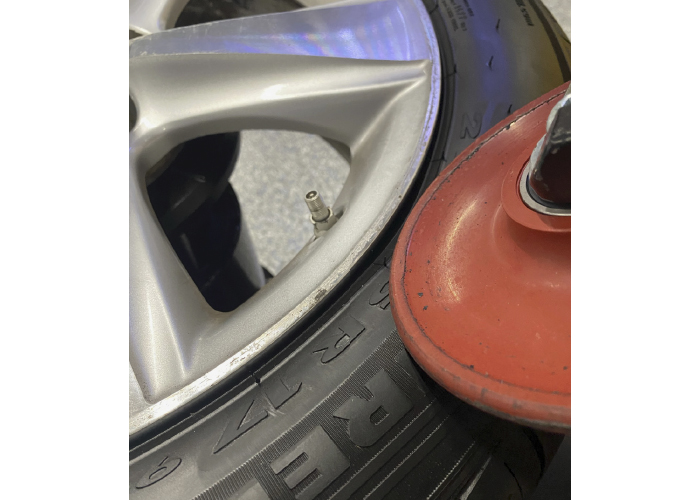
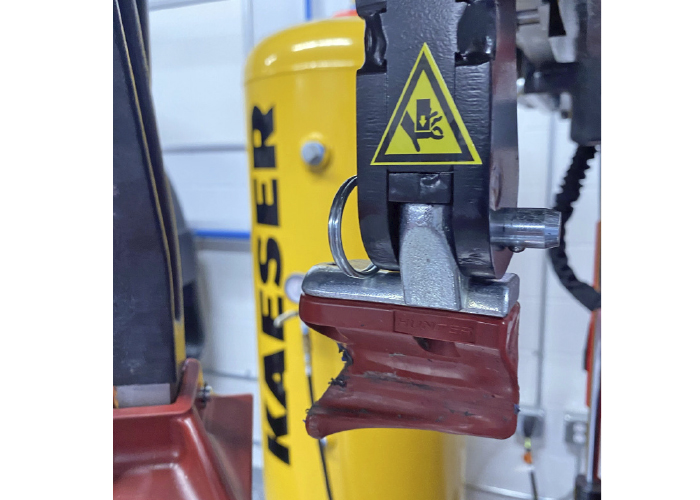
As you probably know there are two main ways to mess up a wheel while mounting or dismounting it. The first is “head drag.” Most mounting machines use a metal head that is supposed to lock in place just above and outside of the wheel lip. But sometimes, especially with very low-profile or run-flat tires, the sidewall is stiff enough to pull the mounting head down onto the wheel, dragging it along the surface as the tabletop spins. Older tire machines are notorious for this, and although many newer mounters use Kevlar inserts in the mounting heads to try to protect finishes, these don’t always do enough to prevent damage.
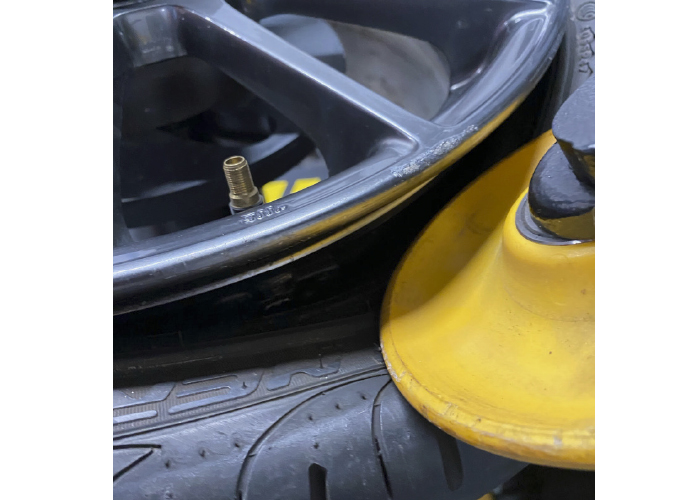
The best way to avoid head drag is to be aware of when the stiffness of the tire sidewall is likely to exert enough force to move the head, and to back the mounting head off slightly before locking it to give it more room to flex. Make sure the tire is properly set down into the wheel’s drop channel before turning the wheel.
Particularly when the tire requires a lot of force to pry up over the head, look closer to make sure there’s no contact before turning. Unfortunately, this can sometimes be a trial-and-error approach because setting the head too far away can make it impossible to get a tight sidewall over the head at all, which kind of defeats the purpose.
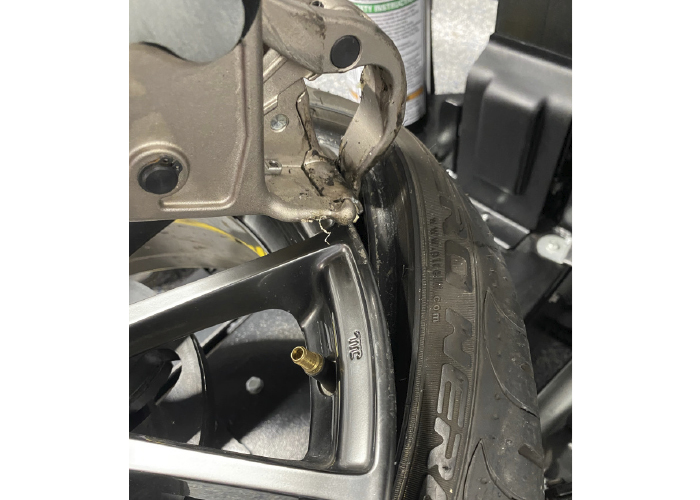
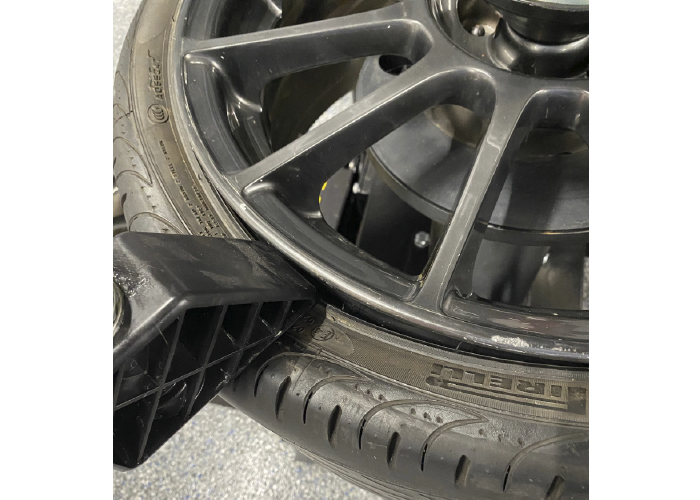
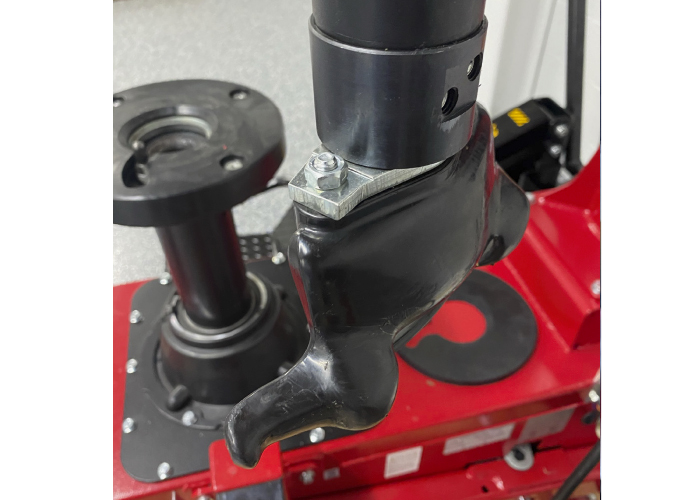
What I call “bar snap” happens when you have the pry bar under the sidewall and over the mounting head. You push the pedal to turn the table and the tight sidewall drags the bar off the head and onto the rim surface with a good hard metal-to-metal snap. With fragile finishes like chrome, that snap can break the finish and leave a mark.
Some companies sell plastic sleeves designed to fit over the bar and protect the wheel from contact. I’ve never met one that lasted more than a few days before shattering.
If you’re worried about bar snap, there are a couple of good techniques to avoid it. The simplest is to hold up the bar. For the upper sidewall, insert the pry bar and roll the sidewall over the head. With your left hand on the back end of the bar, put your right hand around the bar at the mounting head and pull up hard as you turn the table to keep the bar from snapping down. For the lower sidewall, roll the sidewall onto the head, and then push the pry bar so that half the length is on each side of the mounting head. Grab each side with one hand and pull up on the tire as it turns.
Alternatively, if you think the tire is just too tight for you to hold up the bar, you can try holding the bar in place. Start by lubing the pry bar fairly well. When you roll the tire over the mounting head, lube under the sidewall, as well. With a firm hold on the bar, rotate the turntable while pushing the bar firmly back against the head to hold it in place as the tire slips over it.
You can also start by rotating the turntable very briefly backwards to jam the bar against the mounting head and spread the lubricant before rotating forwards to remove the tire. In either case, the lube is necessary to avoid having the bar stick and tearing the bead of the tire – that’s kind of a suboptimal outcome.
Accident Avoidance
In some ways, preventing installation damage is just about taking the time to do things right so that accidents don’t happen in the first place, like making sure that lugnuts and lug bolts are tightened by hand until they seat properly rather than trying to “zip” them in, NASCAR-style with an impact gun.
Doing it right takes up more time, but prevents cross threading mishaps, and lowers the risk of having an impact socket slip off while spinning, which can badly damage the finish around lug holes.