CC: Axle nut installation may seem like a no-brainer, but there are a few important things to keep in my mind when servicing an axle nut. First, no impact wrenches! This includes removal and installation. Manufacturers recommend loosening the axle nut manually with a breaker bar while the vehicle is still on the ground. Same goes for installation. Vehicles should be on the ground and the nut tightened using a torque wrench set to the manufacturers recommended torque specifications.
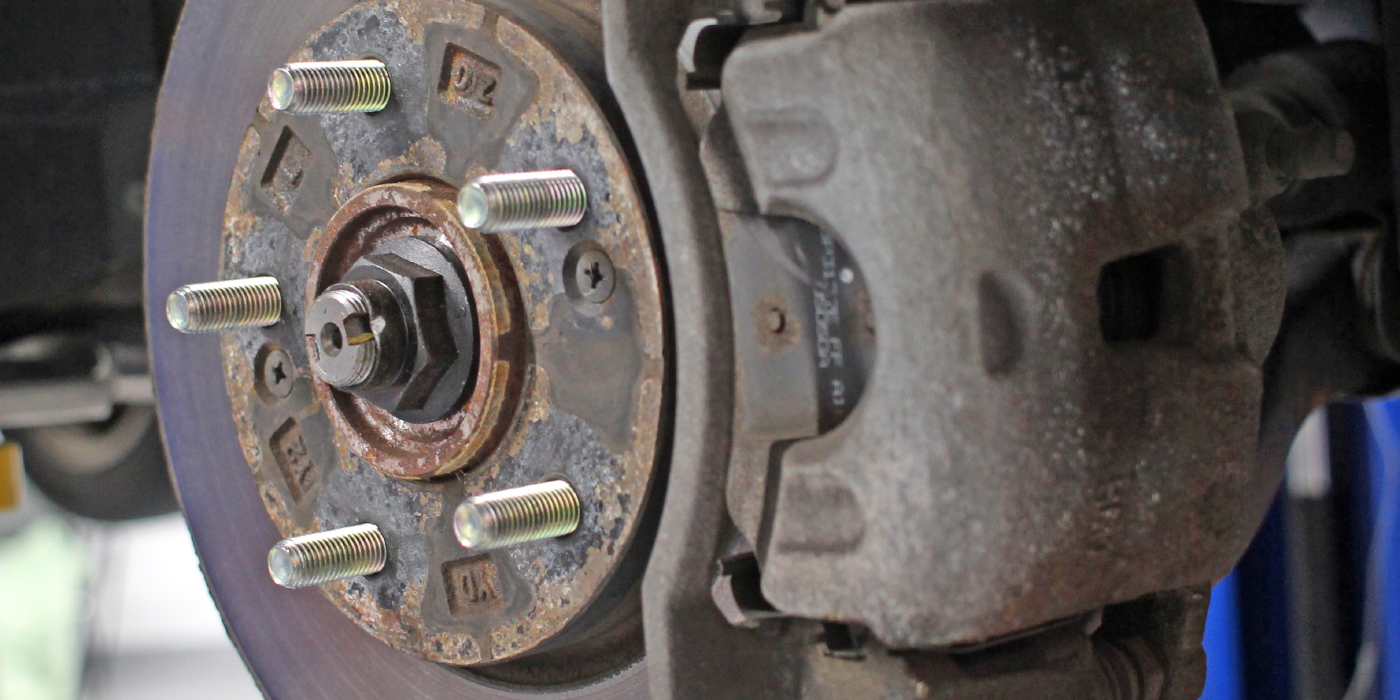
Second, look at the threads of the axle, inspect for threads that appear stretched out due to over tightening. Also, check to make sure that they have not been cross-threaded. Cross-threading is usually caused by the fastener being applied at an angle to the proper position and being forced onto the bolt. The threads are likely to be mangled, damaged and not able to provide the rated strength. The damage should be obvious, and replacement of the axle may be required. The threads should be cleaned before installing the nut and no oil or anti-seize should be applied. These products act as a lubricant and can cause the torque applied to the nut to change by as much as 25% creating an over-tightened condition.
If you are replacing a hub bearing, you may get a new axle nut included with it. It is important to use this new axle nut. While some may have a cotter pin thru the axle to ensure the nut does not back off, others are “staked” to the axle after final tightening and are considered a one-time use. An axle nut that has been staked to an axle should never be re-used. Remember to stake the new nut after the final torque of the nut has been achieved using a chisel and a hammer.
Lastly, always start the axle nut by hand. As I mentioned before, impact wrenches are not recommended especially when threading on an axle nut to the axle. Tightening the nut with a ratchet is recommended before lowering the vehicle on the ground and properly torquing the nut to the recommended specifications. Always use the manufacturers torque specifications as they can widely vary from model to model. There is not a close-enough torque setting that can be used for all vehicles.
This video is sponsored by GMB.