CC:
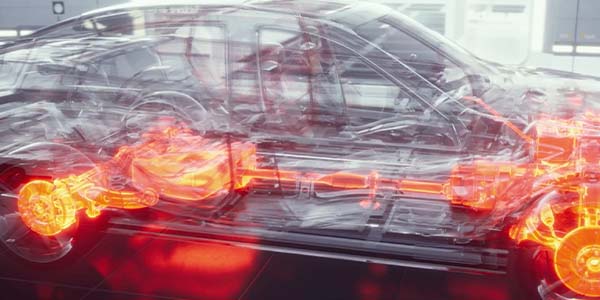
PRT, the first to market choice for complete strut assemblies, is proud to introduce a line of upper strut mounts. The PRT part number 6101248 upper strut mount fits 2013-2018 and newer Toyota RAV 4 SUVs.
-Start by removing the bolt that secures the brake hose and wheel speed sensor to the strut.
-Next, detach the anti-sway bar link by unfastening the upper nut. Make sure the boot is not damaged.
-Pry the harness that secures the wheel speed sensor to the bottom of the strut.
-Remove the two bolts that secure the strut to the knuckle. If the vehicle has cam bolts to adjust camber, mark the position of the bolt. You will have to perform an alignment after the new strut mount is installed.
-Unfasten the bolts that secure the strut to the body while under the hood.
-Lower the strut and spring out of the wheel well.
-Using the appropriate tool, compress the spring. Make sure to follow the instruction specific to the tool. Never use tools like pliers on the chrome surface of the strut rod
-Remove the upper nut on the strut and remove the upper strut mount. Install the new PRT upper strut mount using a new nut. The mount also includes new nuts for the upper mount. Make sure the spring is flush with the upper perch and insulator. The torque specification for the upper nut is 35 foot pounds.
-PRT 6101248 Upper strut mount is designed to match the OEM part for fit, form and function.
-Align the lower strut mount holes and insert the bolts.
-Insert the clip that secures the wiring harness to the lower part of the strut.
-Attach the bracket for the brake hose and wiring harness. The bolt should be tightened to 21 foot pounds.
-Insert the clip that secures the wiring harness to the lower part of the strut.
-Connect the anti-sway bar to the bracket on the strut. Tighten the nut to 55 foot pounds.
-Tighter the lower strut bolts to 215 foot pounds.
-Install the wheel and tighten the lug nuts to 80 foot pounds.
-Lower the vehicle and install the nuts on the upper strut mount.
-If the lower strut mount has cam bolts, an alignment is required.
This video is sponsored by PRT.